Vermicomposting Setup Costs – Bins, Worms & Bedding 

Picture of L.J.

L.J.

Environmental Advocate

Contents

đŸȘ±

📋 Vermicomposting: Where to Start

This section explains the essentials you’ll need to start vermicomposting — including your bin, bedding, and worms — with options to suit different budgets and DIY styles


Affiliate Disclosure: This guide contains affiliate links, which means I may earn a small commission if you make a purchase—at no extra cost to you. I only recommend products I truly believe in or have thoroughly vetted.

đŸȘ±

What Do You Need? 

For simplicity, we’ll refer to your setup as a worm bin throughout this guide.

Materials required:

  • Worm Bin- Ready-made vermicompost system or upcycled DIY approach.
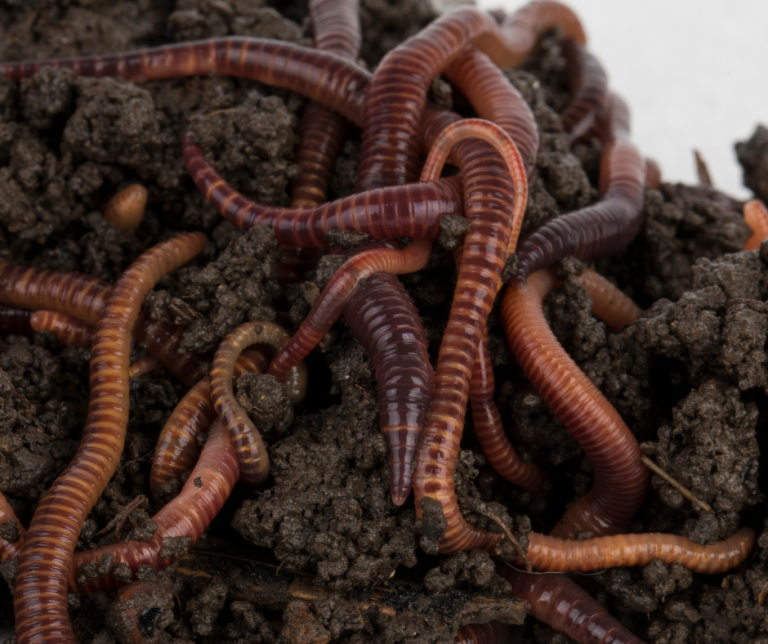
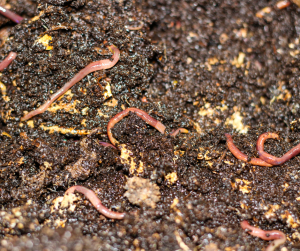
  • Earthworms- Eisenia fetida or Dendrobaena veneta.
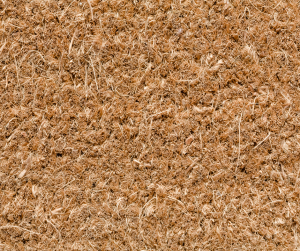
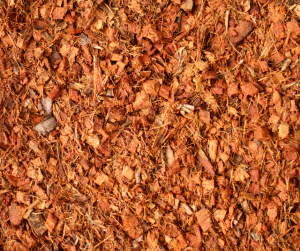
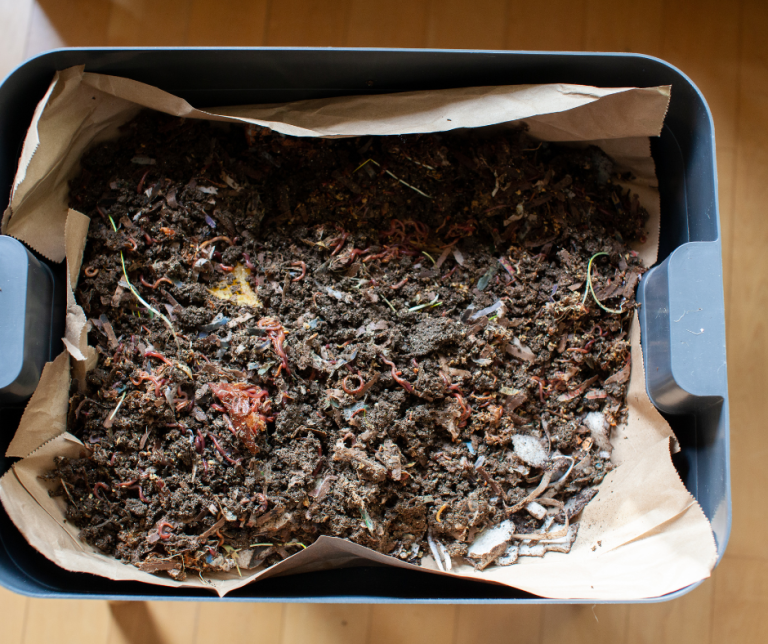
  • Bedding- Creating a comfortable worm habitat, using shredded paper, cardboard, coco coir or aged compost.
  • Organic waste- Mainly food scraps like fruit and veg peelings, and coffee grounds.

đŸȘ±

💰 Vermicomposting Setup Costs

Starting a vermicomposting system doesn’t have to be expensive—but it helps to know where your money’s going. Whether you’re building your own bin from upcycled materials or investing in a ready-made wormery, setup costs can vary widely. This section breaks down the typical expenses for bins, bedding, worms, and optional extras, so you can choose a system that suits your budget and composting goals.

đŸȘ±

đŸȘ± Worm Bins

There’s a wide range of worm bin styles available in the UK, often referred to as wormeries or worm farms. Whether you’re after a compact indoor unit or a larger outdoor system, prices vary based on system type, size, materials, and included features.
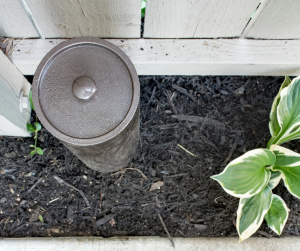
Two Main Vermicompost System Types

When choosing a vermicompost system, you will typically come across two styles:

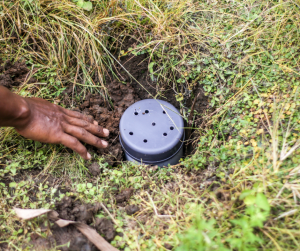
  • In-Ground Systems

These are smaller containers, buried directly into garden beds or soil. They are low-maintenance, blend into the background, and allow native worms to move between the bin and the surrounding soil.

  • Multiple Tray Systems

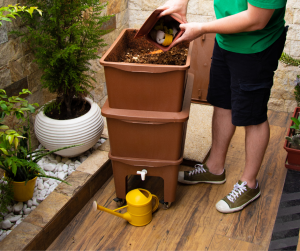
These sit above ground and use stackable trays to separate fresh waste from finished compost. Ideal for harvesting worm castings, managing food input, and scaling up over time. 

🛒 Worm Bin Costs: What to Expect

Your system costs mainly depend on: 

  • System Size
    Larger systems with multiple trays or greater capacity cost more. 
  • System Type
    • Ready-Made Systems: Prices vary by brand, style, and included features.
    • DIY approach: Often more affordable – especially if you can upcycle items meant for disposal.
đŸȘ±

Choosing the Right Size Worm Bin

The ideal size of your worm bin system depends on:

  1. Amount of Food Waste
  2. Available Space

1. Amount of Food Waste

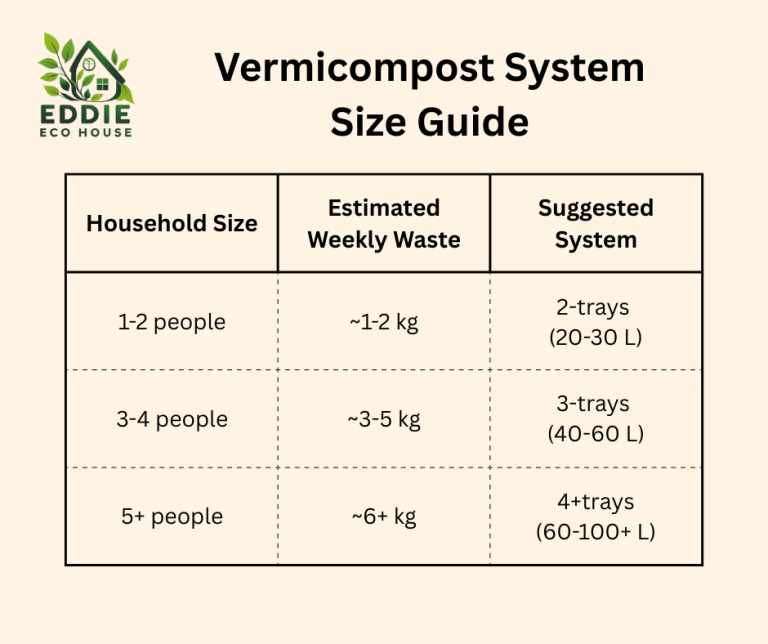
To choose the right vermicomposting system, start by estimating how much food waste your household produces each week.

  • Average per person: ~200g per day
  • That’s roughly 1.35 kg per person per week


Our table uses these averages to estimate weekly food waste for different household sizes.
Figures are based on UK data from WRAP (2023) and WasteManaged UK (2024).

2. Available Space

Before picking your worm bin, consider where it will live. 

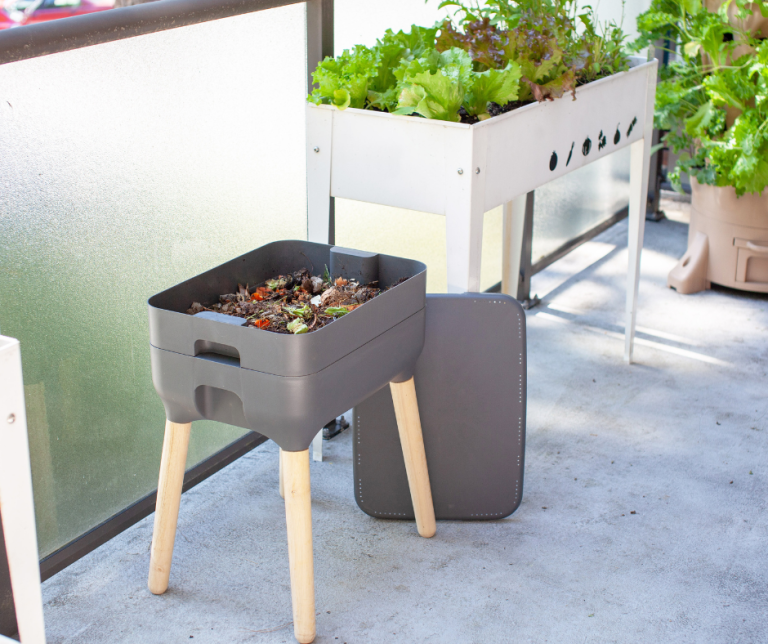
  • Indoor:
    • Ideal for compact systems (20-30 L).
    • Look for odour-control features and drainage taps.
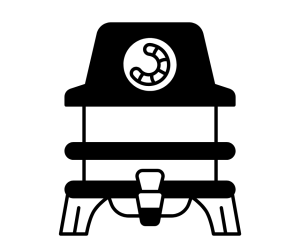
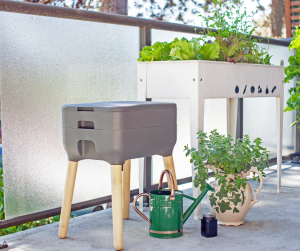
    • Suitable places: under sinks, in utility rooms, or sheltered balconies.
  • Outdoor:
    • Ideal for larger systems (40-100 L).
    • Look for weather-resistance and elevation or drainage collectors.
    • Suitable places: gardens, sheds, or patios.
    • If you store your worm bin outdoors, it’s crucial to protect your worms from freezing temperatures.
đŸȘ±

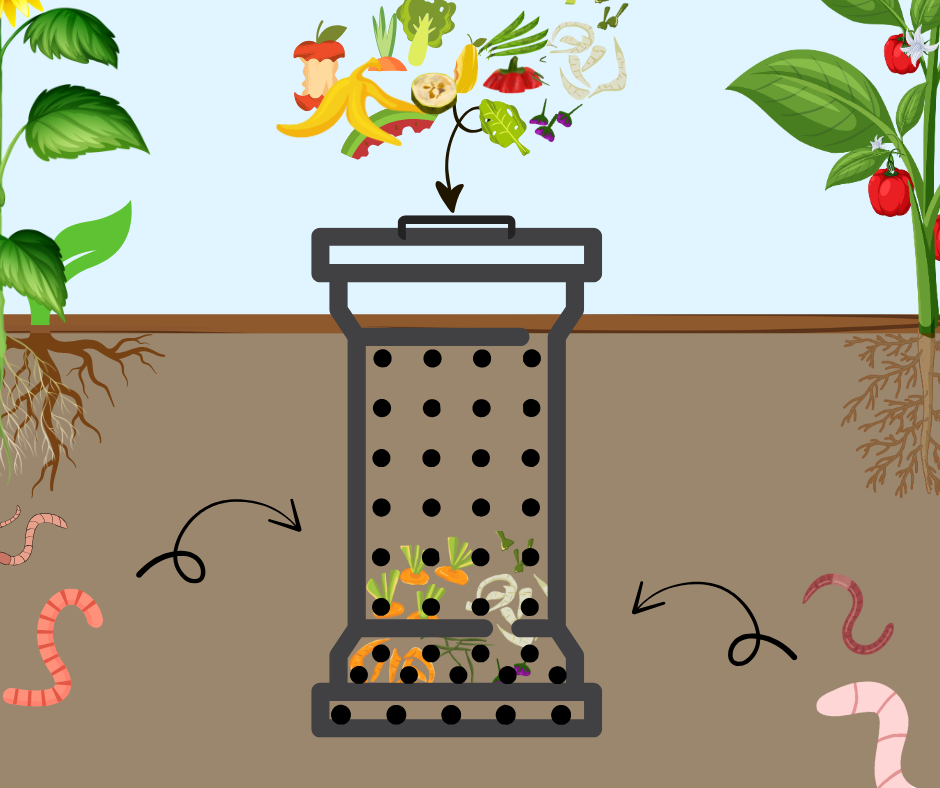
In-Ground Systems

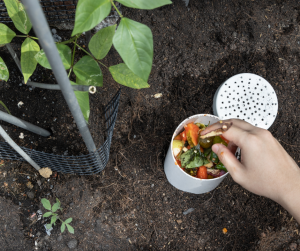
If you’re unsure about worm composting systems or only produce a small amount of food waste, an in-ground worm composter could be a simple, low-maintenance solution.

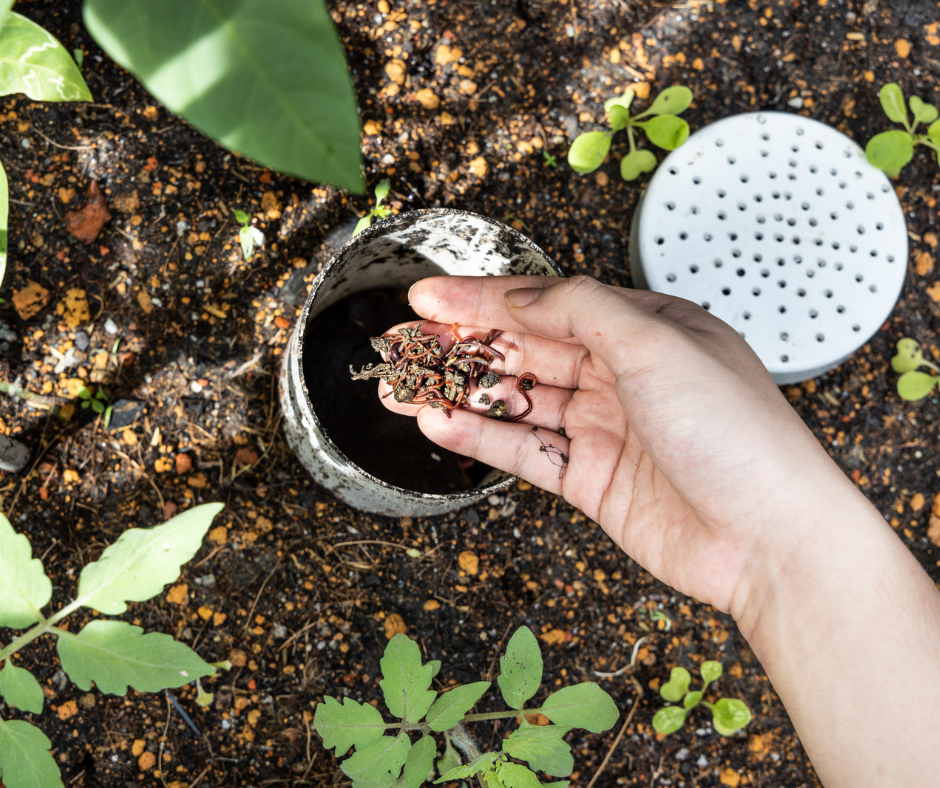
These systems are discretely buried directly in your garden soil, are odour-free, and allow native earthworms to come and go naturally—no need to purchase composting worms.

They’re ideal for raised beds, wildlife-friendly gardens, and anyone looking for a fuss-free way to recycle kitchen scraps and improve soil health.

Interested in an in-ground vermicompost system?

You’ve got two great options:

  • Buy a purpose-built system – These are designed for easy installation and minimal maintenance.
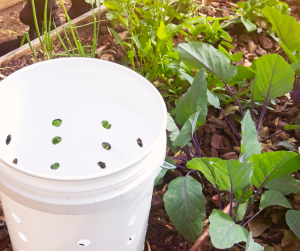
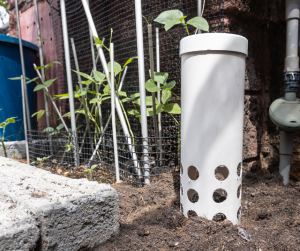
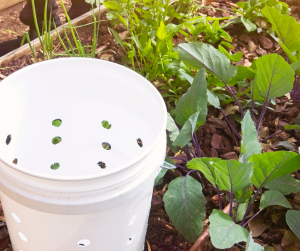
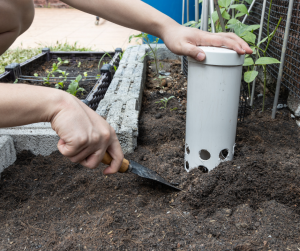
  • Try a DIY approach – If you have lidded buckets or PVC pipe, you can drill ventilation and access holes and repurpose them into simple, effective worm composters.

Purpose-Built In-Ground System

🛒 Purpose-Built In-Ground Systems

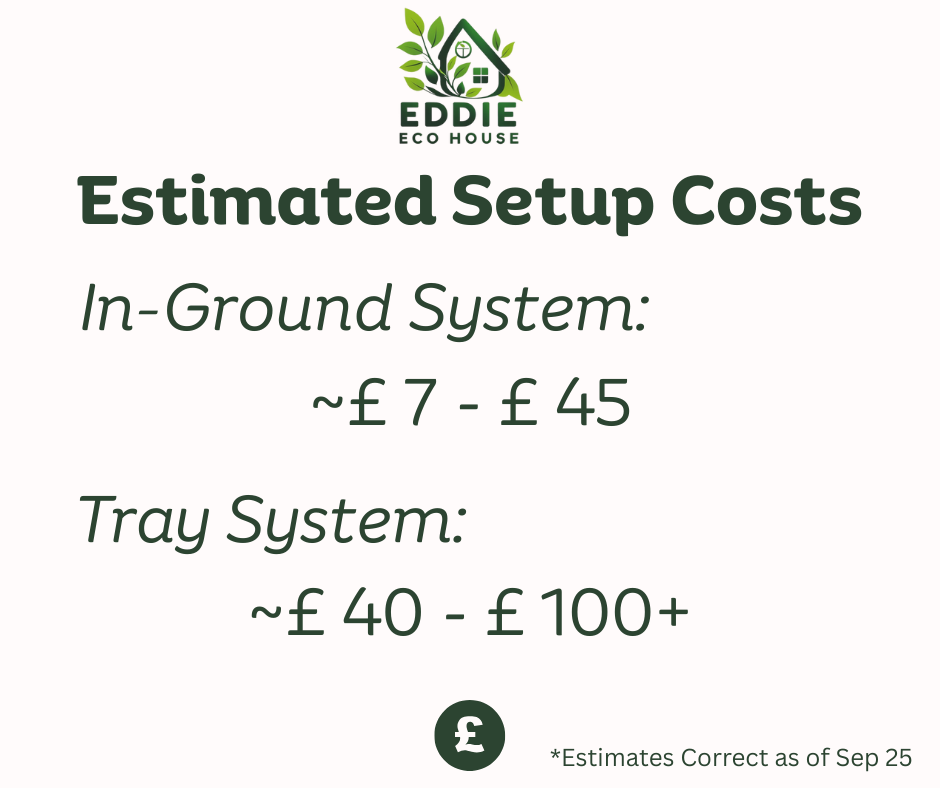
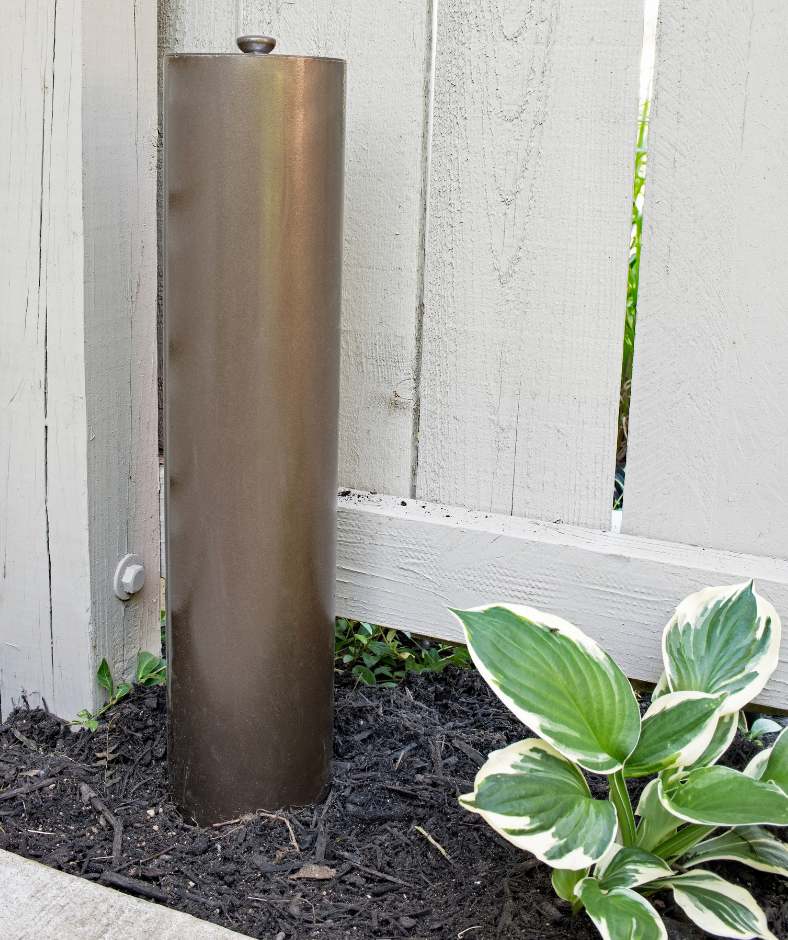
A range of in-ground worm composters are available in different sizes, ready to be placed directly into your garden beds. These systems offer a simple, low-maintenance way to recycle kitchen scraps and enrich your soil—no trays, no fuss. Costs range from £7 to £45, depending on the size and capacity of the system.

DIY Approach In-Ground Systems: 

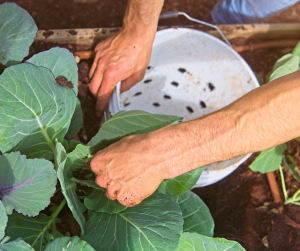
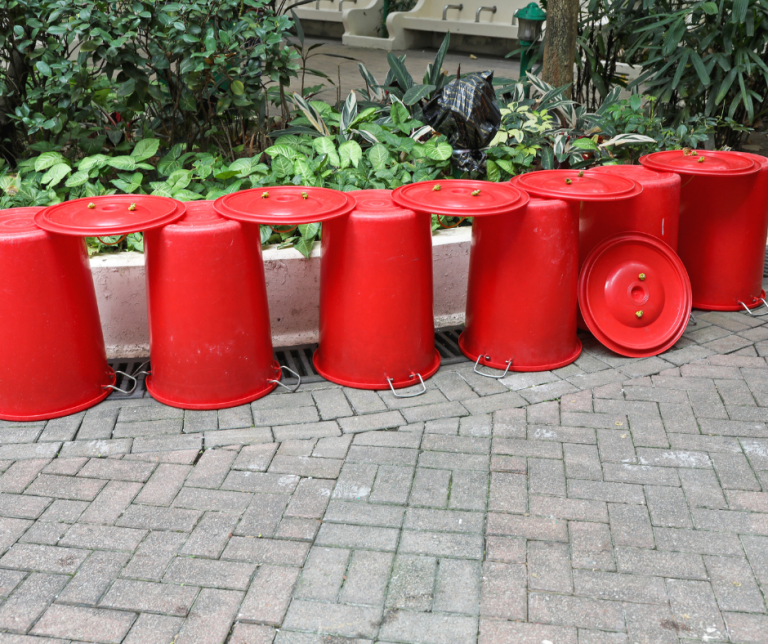
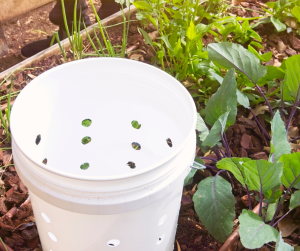
Using lidded buckets:

  • Repurpose a bucket with a secure lid.
  • Drill (ÂŒ inch/6 mm) holes in the sides and base for airflow and worm access.
  • Optional: Add some holes near the top of the bucket sides for additional ventilation.
  • Bury the bucket halfway into garden soil. 
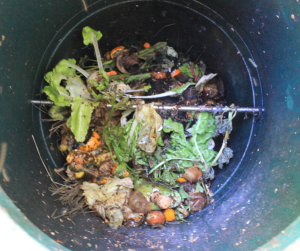
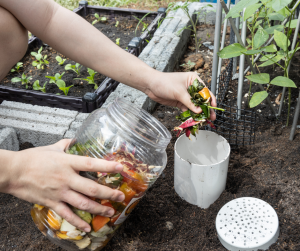
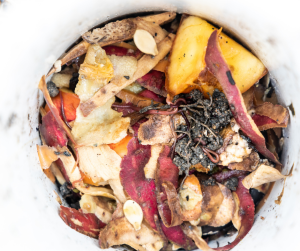
  • Add food scraps and bedding materials.
  • Keep the lid on to deter pests and retain moisture.

DIY Approach In-Ground Systems:

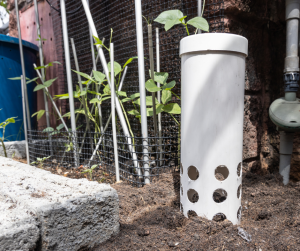
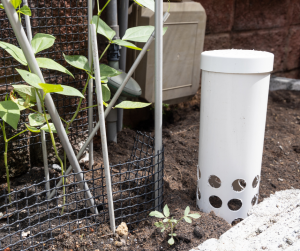
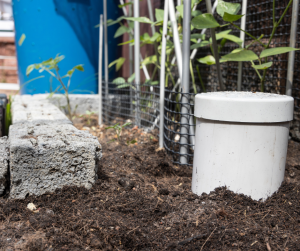
Using PVC Pipe (10-15 cm diameter, ~30-50 cm long):

  • Drill (ÂŒ inch/6 mm) holes around lower half of the pipe for airflow and worm access.
  • Bury the pipe vertically in garden soil, leaving the top exposed.
  • Add food scraps and bedding materials. 
  • Cover with lid or flat stone to keep pests our and moisture in.  
PVC Safety
✅ When PVC Is Acceptable
  • For in-ground systems, PVC is generally considered safe because it doesn’t come into direct contact with food or worms long-term—just bedding and scraps inside the pipe.
  • Rigid, uncoated PVC is preferable. Avoid flexible PVC or pipes with chemical coatings or treatments.
  • Use food-safe or potable-grade PVC if available (often labelled for water supply use).

⚠ Things to Watch Out For

‱ Drilling safety: Sand edges after drilling to avoid sharp fragments.
‱ End-of-life disposal: PVC isn’t biodegradable, so consider longevity and reuse options.

♻ Alternatives to PVC for In-Ground Worm Systems

If you’re looking for low-impact or natural materials, these alternatives offer worm-safe, breathable options—ideal for eco-conscious setups or school-friendly projects.

  • đŸș Terracotta Chimney Pots or Clay Drainage Pipes
    • Pros: Breathable, durable, naturally regulates moisture
    • Cons: Heavier, may crack in frost-prone areas
    • Best for: Permanent installations in gardens or raised beds
  • đŸŒČ Untreated Wooden Tubes or Posts (Lined with Fabric)
    • Pros: Natural, compostable, blends into garden aesthetics
    • Cons: Prone to rot over time unless elevated or lined
    • Best for: Short- to medium-term use in well-drained soil
  • 📩 Heavy-Duty Cardboard Tubes
    • Pros: Compostable, easy to source, great for seasonal systems
    • Cons: Breaks down quickly, not suitable for wet or compacted soil
    • Best for: Temporary feeding stations or school garden projects

🔧 Curious about setup? Explore our post on Installing In-Ground Vermicomposters—from digging depth to lid options.
đŸȘ±

Tray Systems Ahead…

From here on, we’ll be diving into the details of tray-style wormeries.
If you’ve chosen to go with an in-ground system, you’re ready to get started—no need to read further unless you fancy exploring other options.

đŸȘ±

đŸ—„ïž Multi-Tray Systems

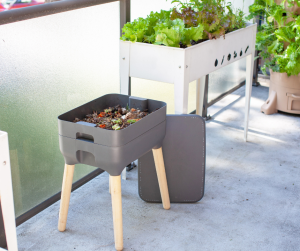
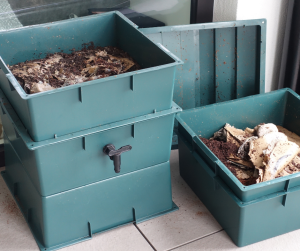
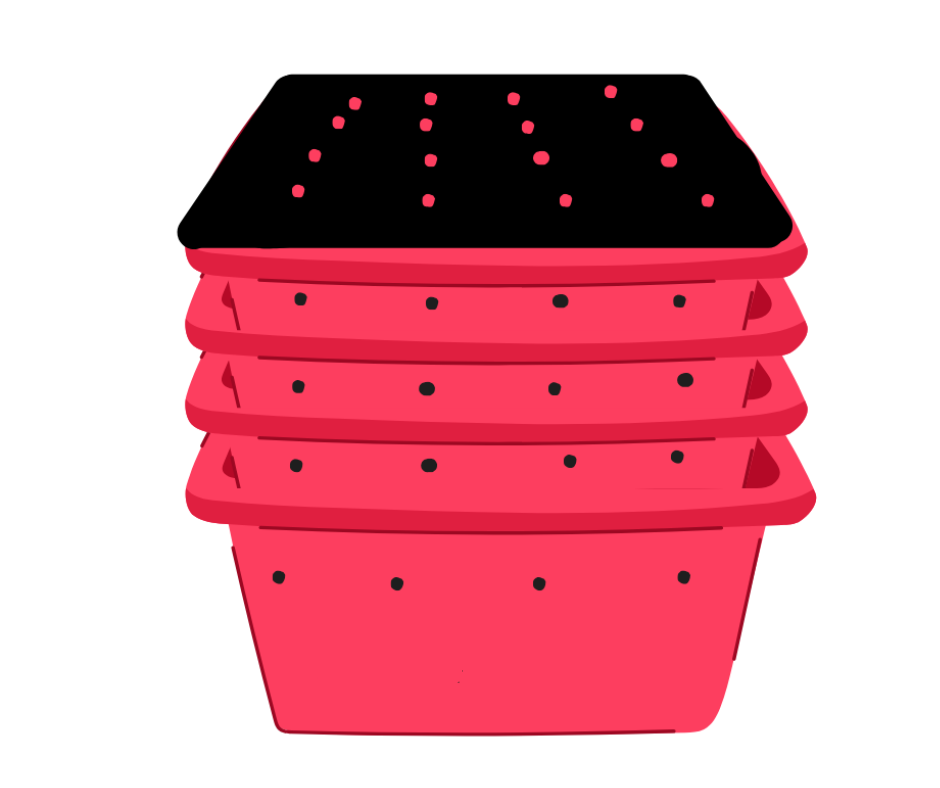
Why Choose a Multi-Tray System? If you’re new to vermicomposting or looking to scale up, multi-tray wormeries offer a smart solution. These stackable bins allow worms to move between layers as they finish processing food, making it easier to collect castings without disturbing your colony. They’re ideal for households that want a tidy, modular setup with minimal mess.

đŸȘ±

⚒ DIY Upcycled Worm Bin

Composting with What You Have

You don’t need a fancy setup to start vermicomposting—creativity and resourcefulness go a long way.

With just a few simple tweaks—like adding ventilation, drainage, and light-blocking layers—everyday items such as buckets, crates, hampers, and storage tubs can be transformed into highly effective worm bins.

🔧 For a full breakdown of container options, setup tips, and creative upcycling ideas, head to Section 3: DIY Worm Bin Guide.

đŸȘ± Note: You’ll still need to source suitable bedding and composting worms—so it’s worth continuing through the remaining sections to get your bin fully prepped and worm-ready.

đŸȘ±

🛒 Purpose-Built Ready-Made Options


If DIY isn’t your style—or you simply want a faster setup—there are plenty of purpose-built worm bins designed for convenience, airflow, and easy harvesting. From stackable trays to compact indoor models, these systems take the guesswork out of vermicomposting and often come with starter bedding or worms included.
Whether you’re short on time, space, or tools, ready-made options can be a great way to get started with minimal fuss.

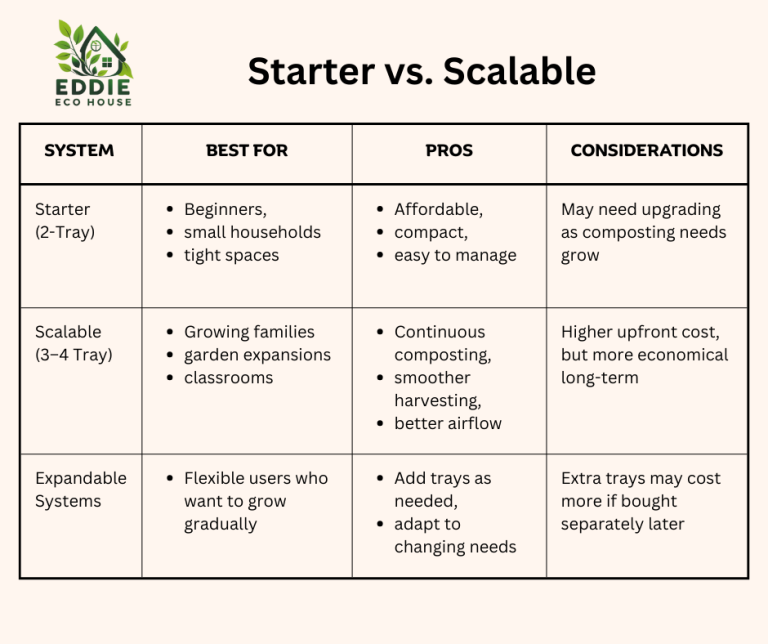
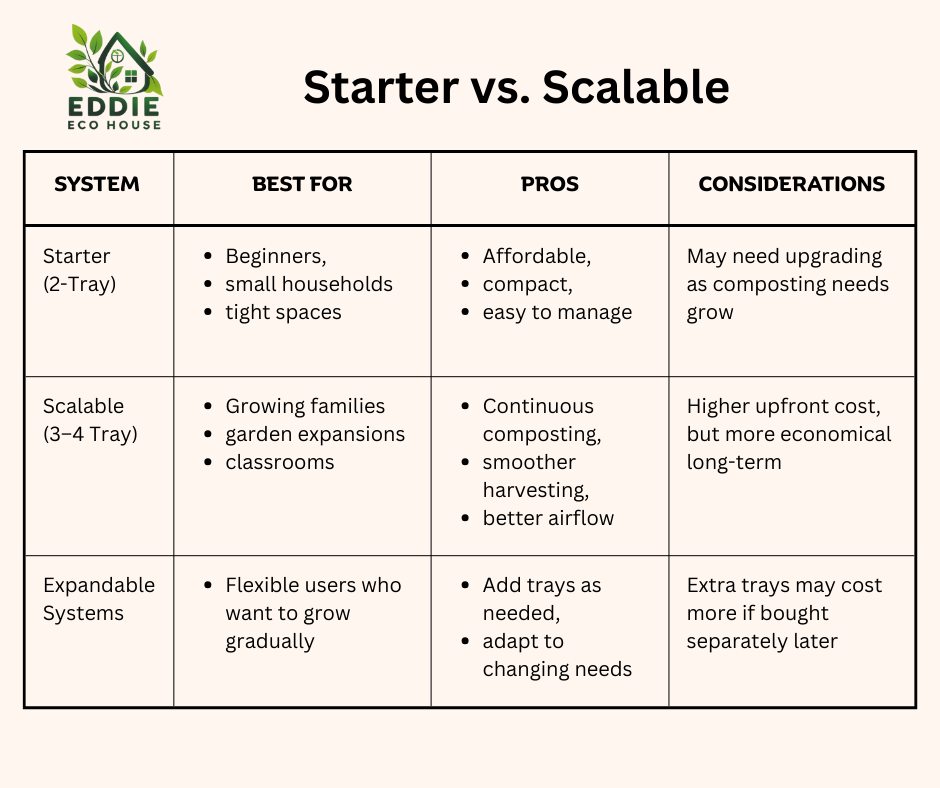
Comparing Wormery Systems: 📈 Start Small or Scale Up?

Choosing the right wormery depends on your space, budget, and long-term goals. Whether you’re just starting out or planning to expand, here’s a quick comparison to help you weigh the pros and cons of starter vs scalable systems.

🔍 Click to Enlarge Image
đŸȘ±

🔩 Starter Kit Spotlight

Want to skip the guesswork and get composting straight away? These all-in-one kits take care of the setup for you—no need to source each component separately.

✅ Worms
✅ Bedding
✅ Bin
✅ Instructions

Recommended Kits
đŸȘ±

Starter Systems

Begin with a compact setup that’s perfect for small spaces and first-time composters.

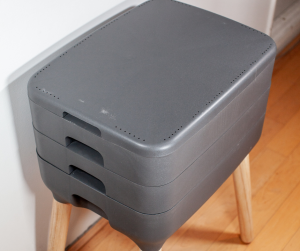
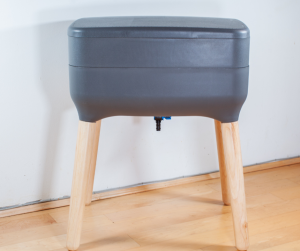
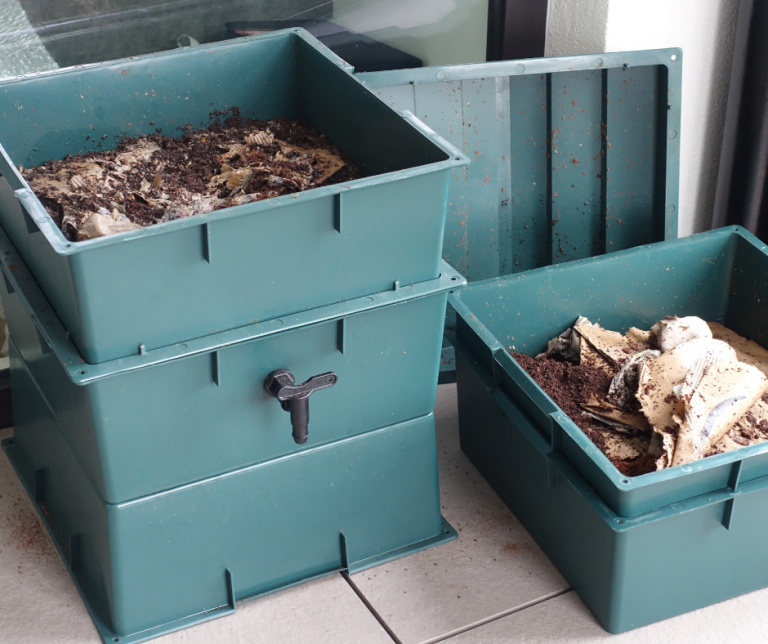
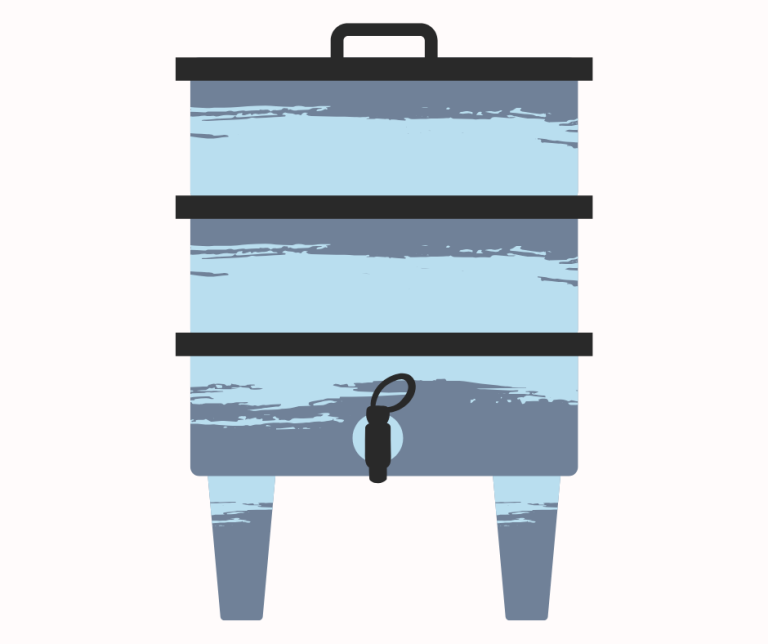
Short on space but big on sustainability? A 2-tray worm bin is a compact composting hero.

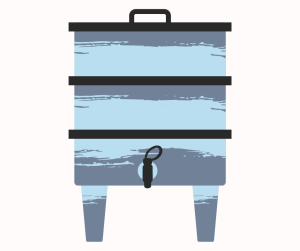
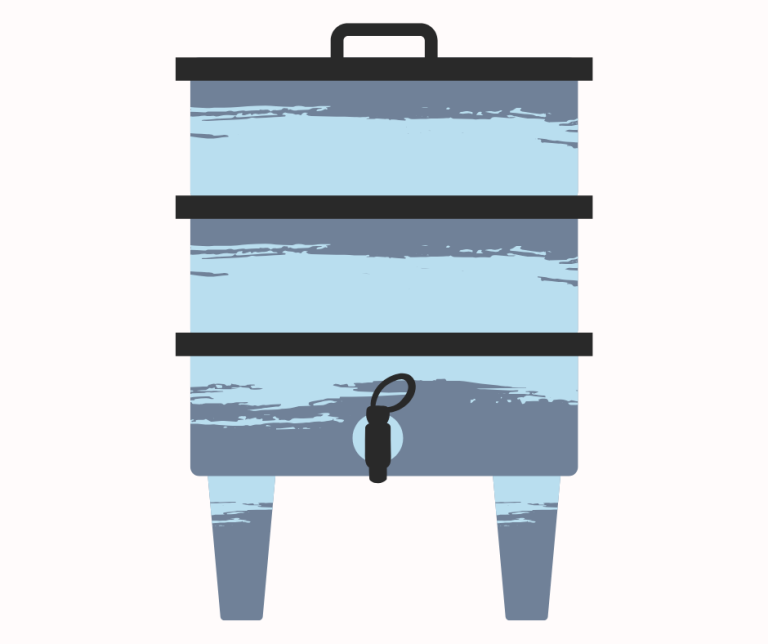
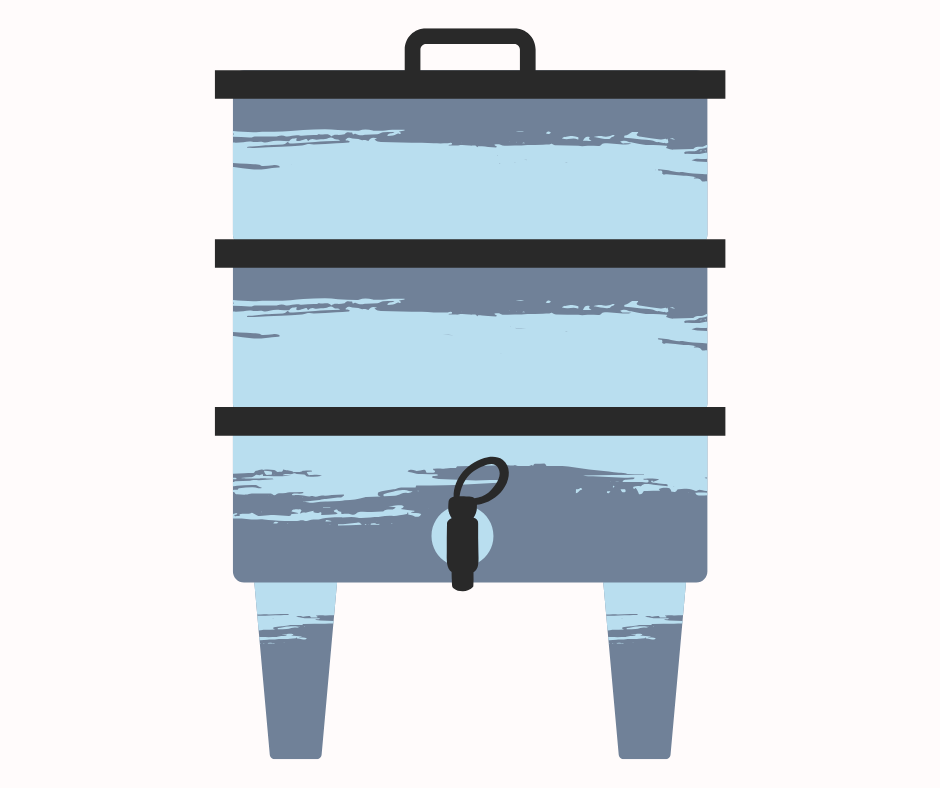
  • Top tray (1): Where worms feast on fresh scraps.
  • Bottom tray (2): Where nutrient-rich castings and liquid gold (leachate) collect.
  • Sump Tray/Collector: Where leachate or “worm tea” collects for easy drainage.

Recommended Suppliers:

🛒 Compact Vermicomposters to Consider

💡 Compact & Practical
Essential Living Composter – ~30L Capacity

  • 2-tray system with good airflow
  • Built-in drainage spigot
  • Space-saving design for small homes or flats
  • Budget-conscious without compromising function
  • Price Range: ÂŁ50-80

📩 Generous Capacity on a Budget
Simpa Worm Farm Compost Bin – 55L Capacity

  • 2-tray setup with drainage tray
  • Larger volume for households with more food waste
  • Affordable and compact for patios, sheds, or utility area
  • Approx. ÂŁ40

Expandable System

Start small and scale up—these modular worm bins grow with your composting needs, making them ideal for evolving households, schools, or garden projects.

Start small, grow big

  • Ideal for beginners who want to test the waters before committing to a larger setup.
  • Modular design – Stackable trays or add-on layers make it easy to increase capacity without starting from scratch.
  • Compatible with upgrades – Many systems allow for airflow inserts, leachate trays, or insulation add-ons.
Recommended Supplier:

🛒 Expandable Vermicomposter to Consider

🌿Stylish & Versatile
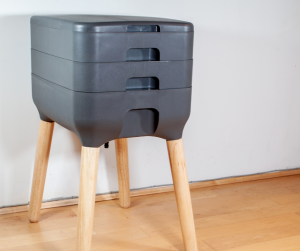
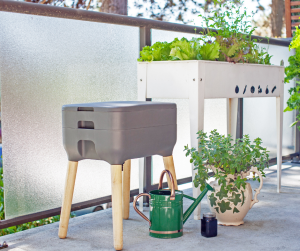
 Wiggly Urbalive Worm Composter Wormery – 20 Litre 

  • Sleek, modern