

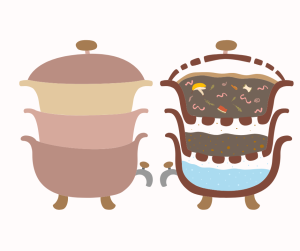


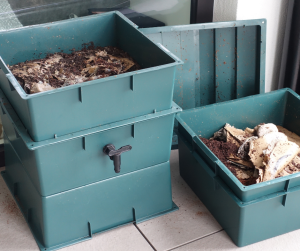
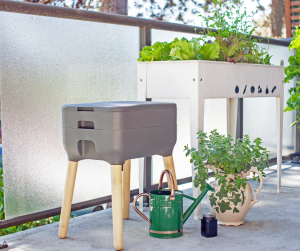
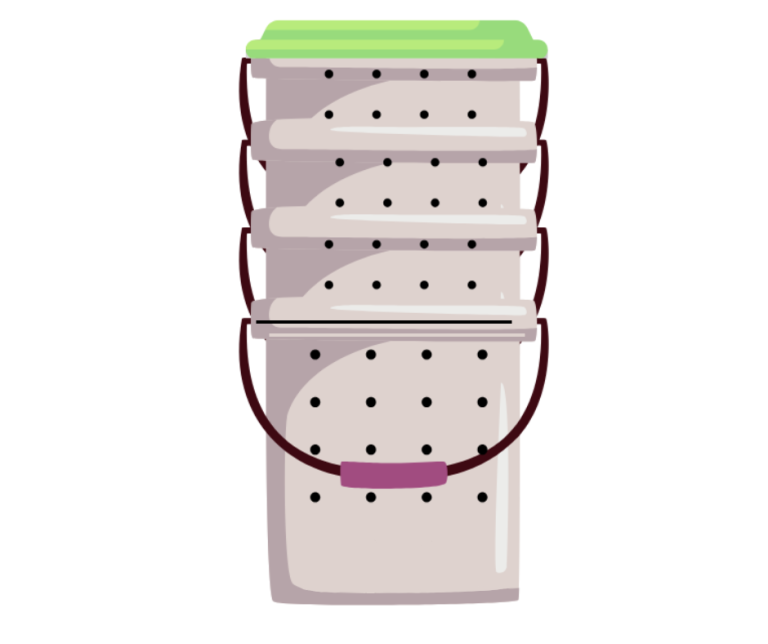
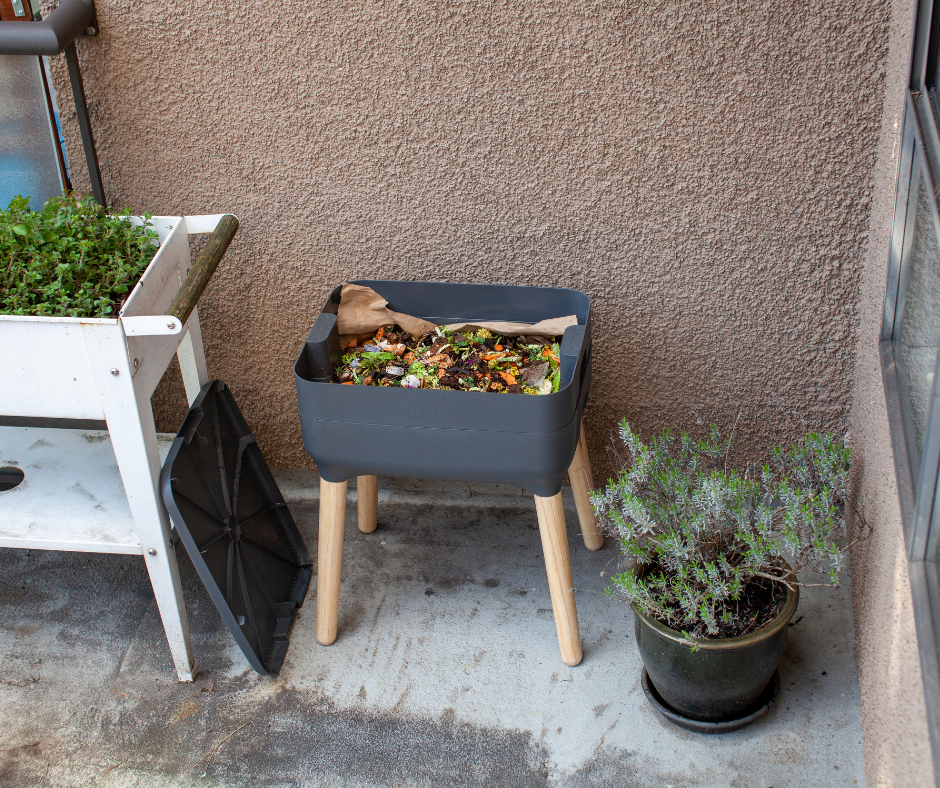
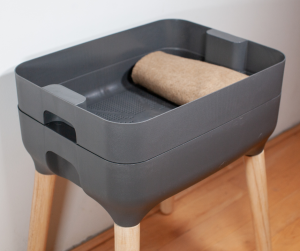
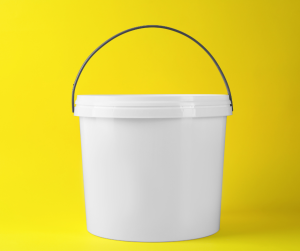
Ready-Made Vermicomposting Bin

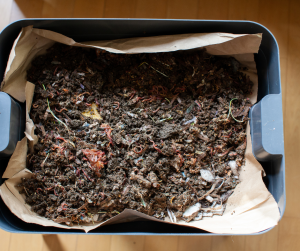
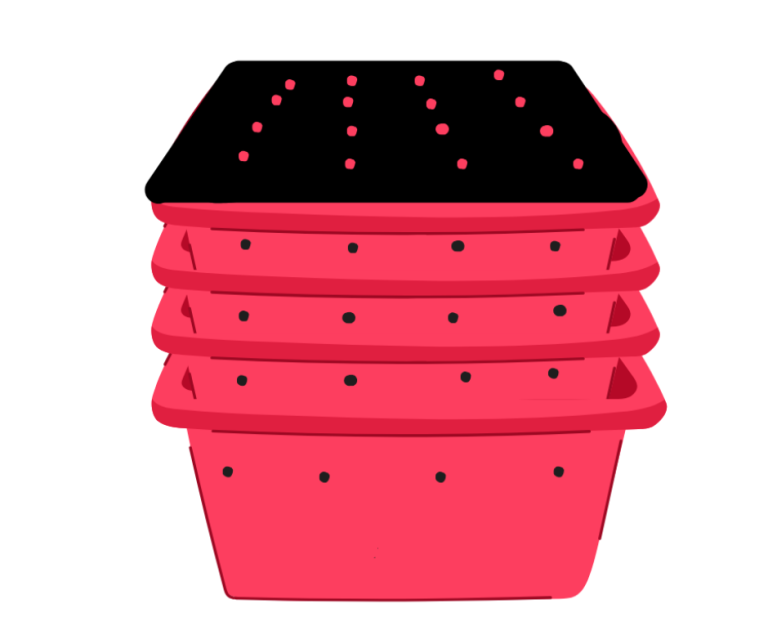
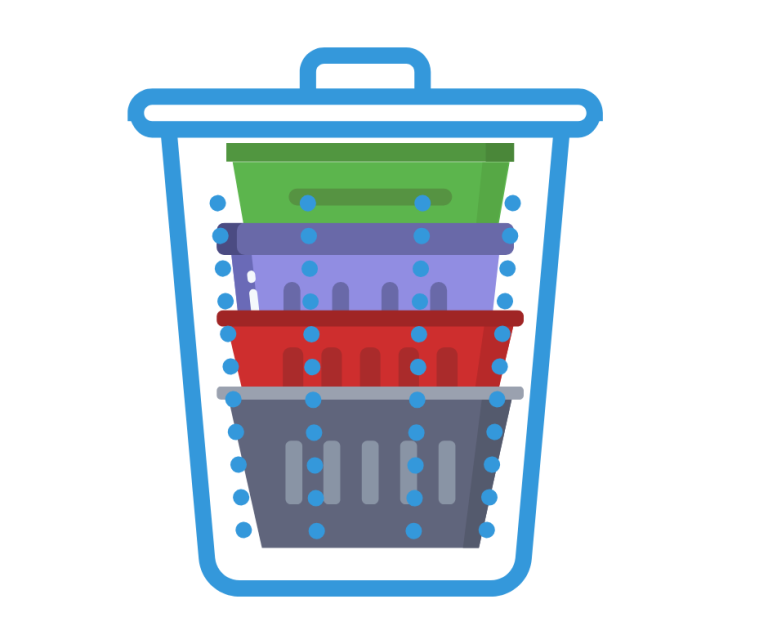
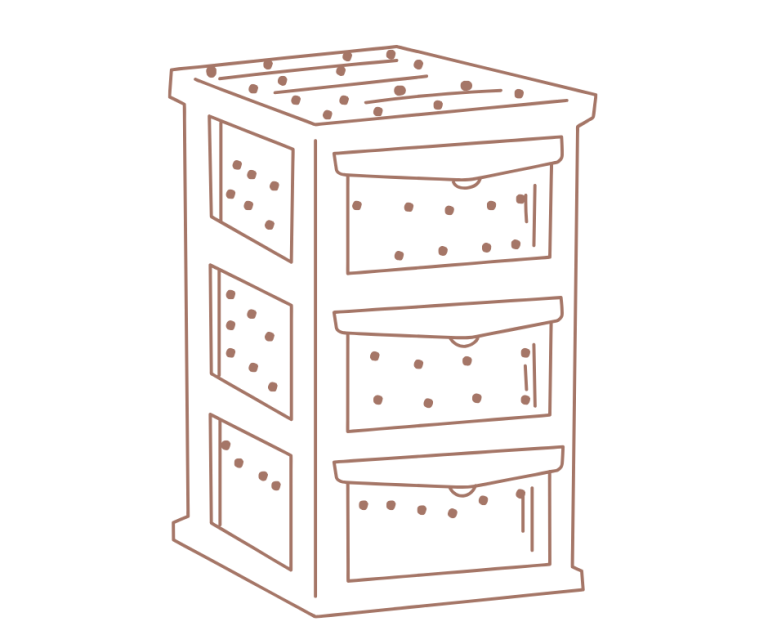
DIY Vermicomposting Bin


Recommended Supplier:
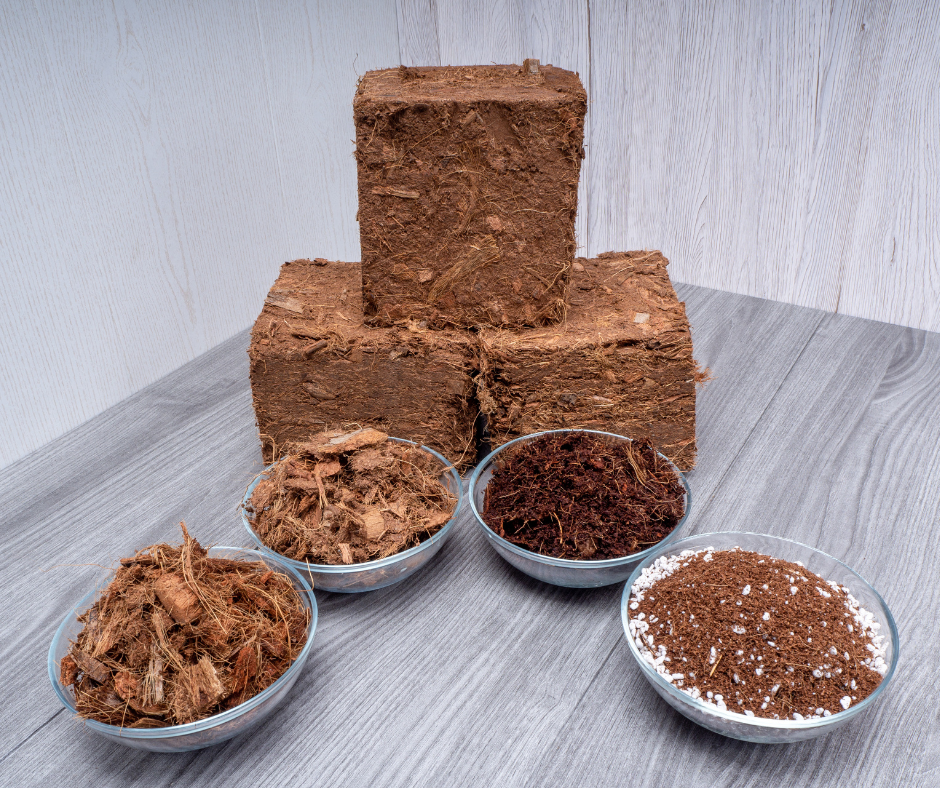
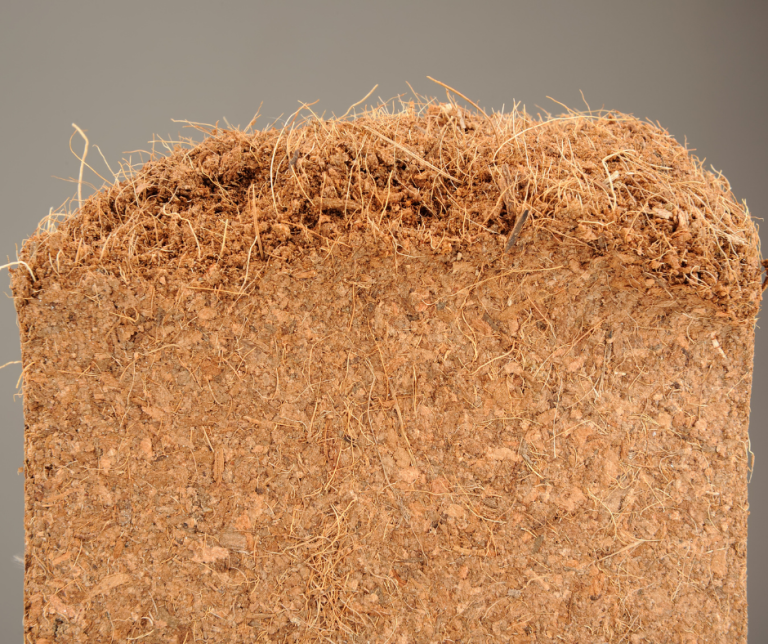
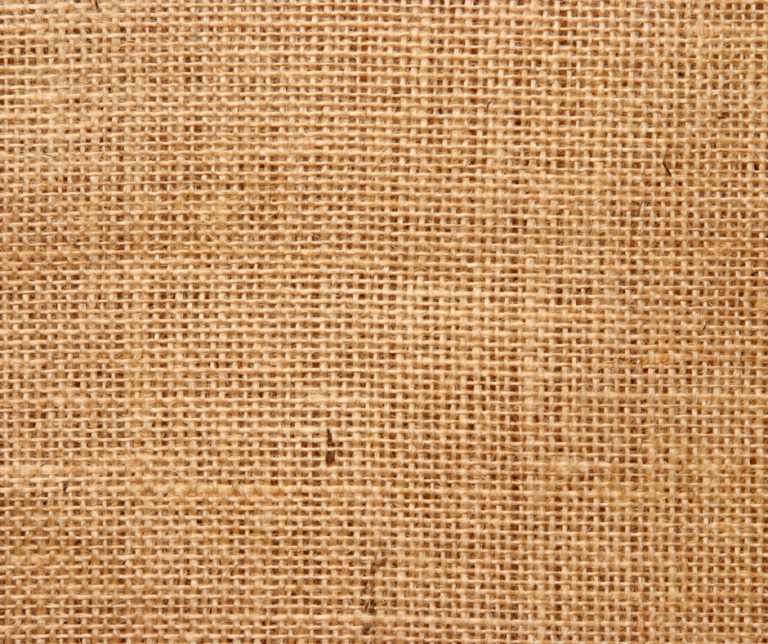
 Organic Coir Blocks
Supplier: Coco & Coir
Sizes Available: Coco Coir 9 L, Coco Coir 54 L and Coco Coir 75 L blocks.
Price Range: ~£6-£12
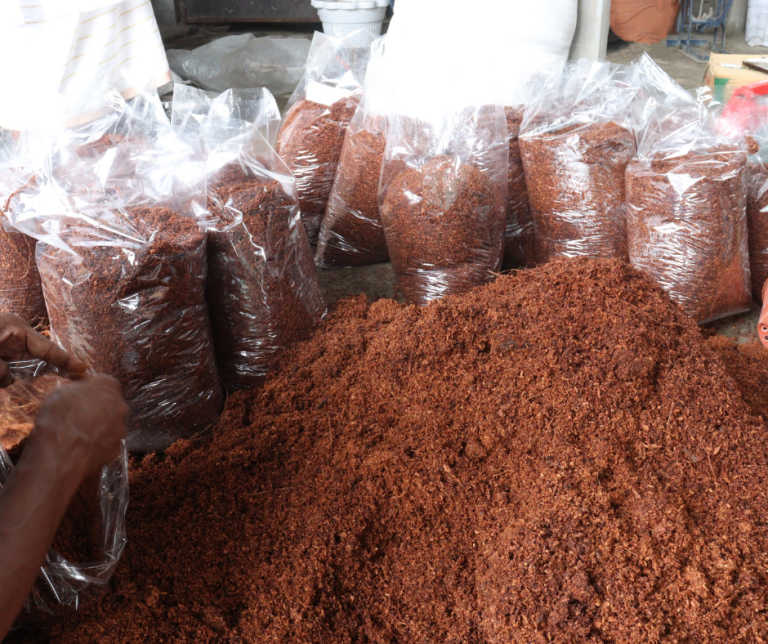
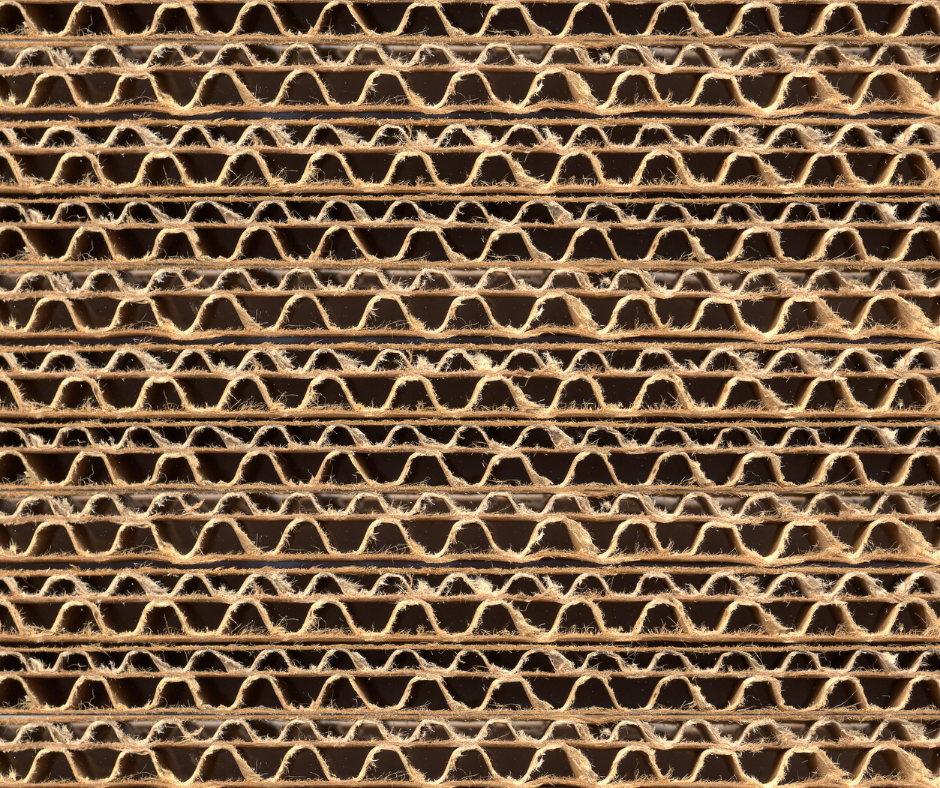
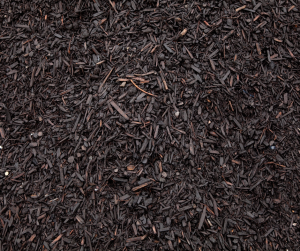
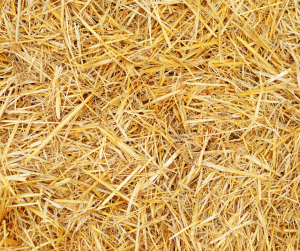
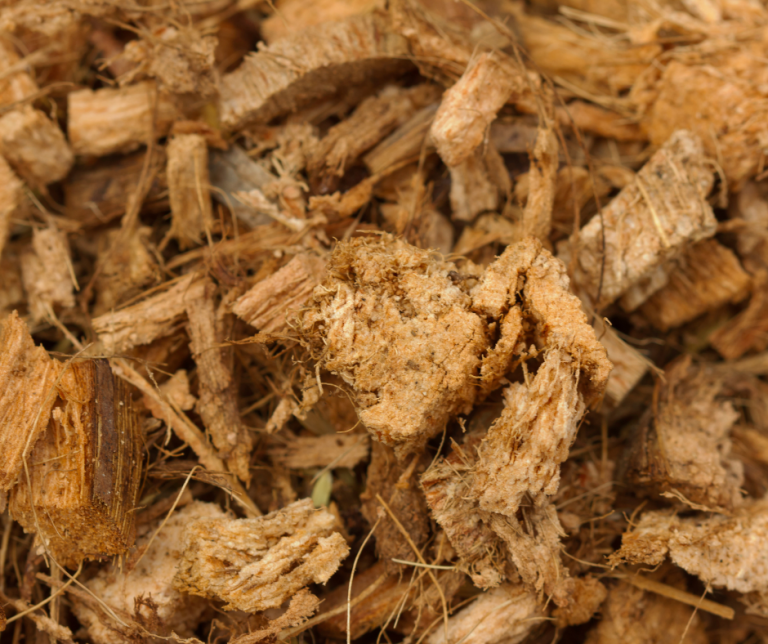
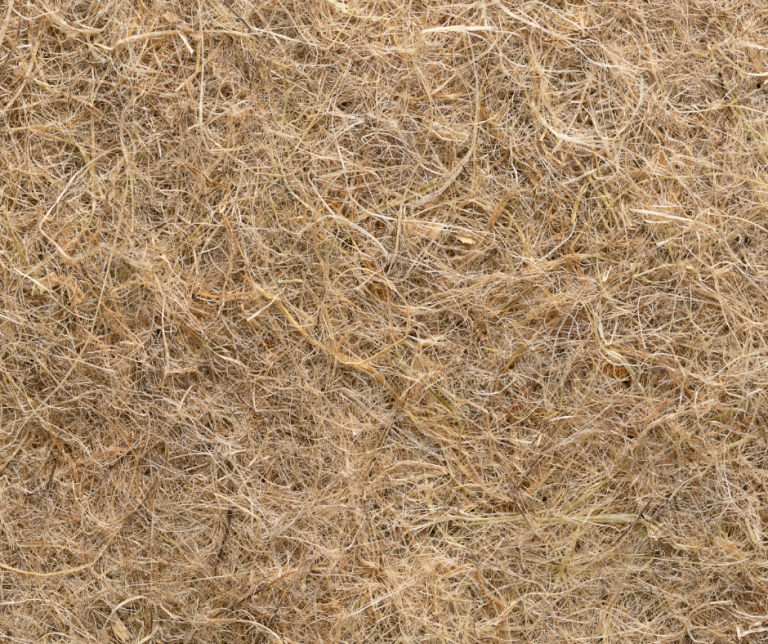
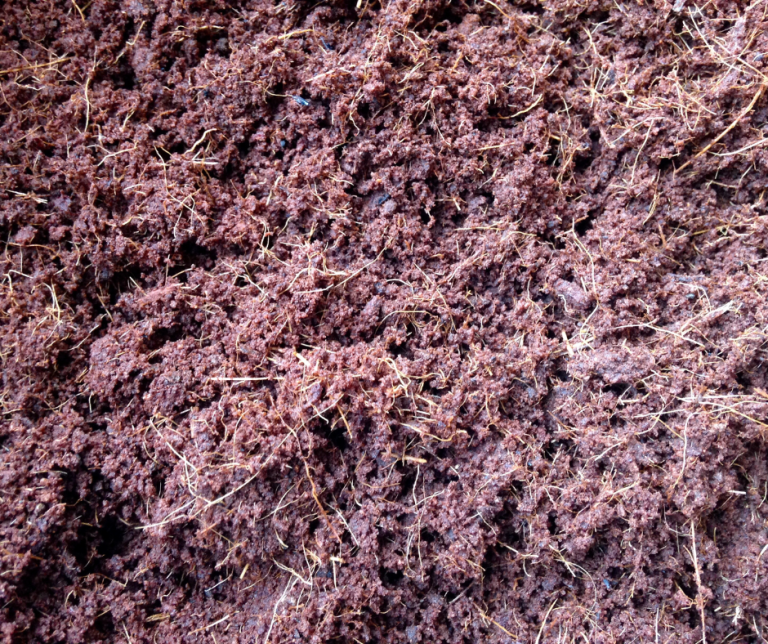
 Coir Chip Husk
Supplier: Yorkshire Worms
Sizes Available: Coir Chip Husk blocks, single and multi-packs.
Price Range:~£10 per pack
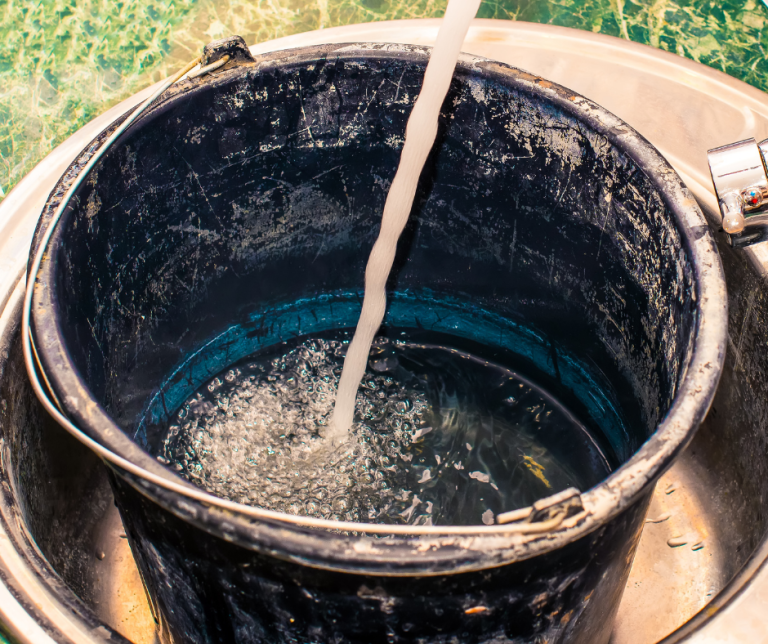
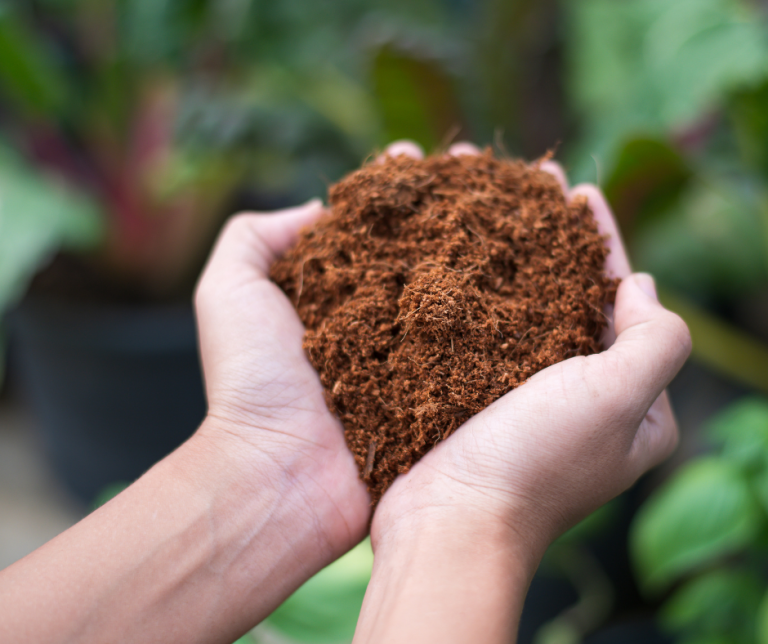
Preparing Coco Coir
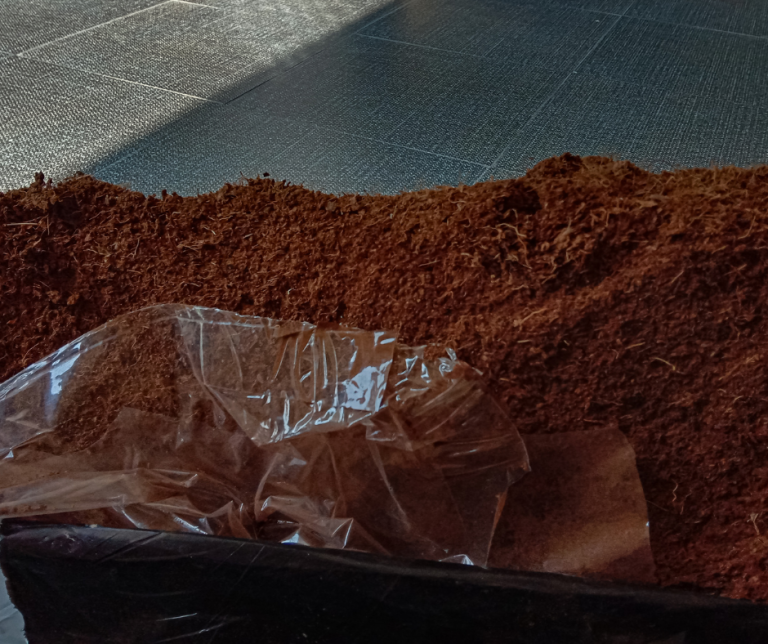
Preparing Coir Husk Chips


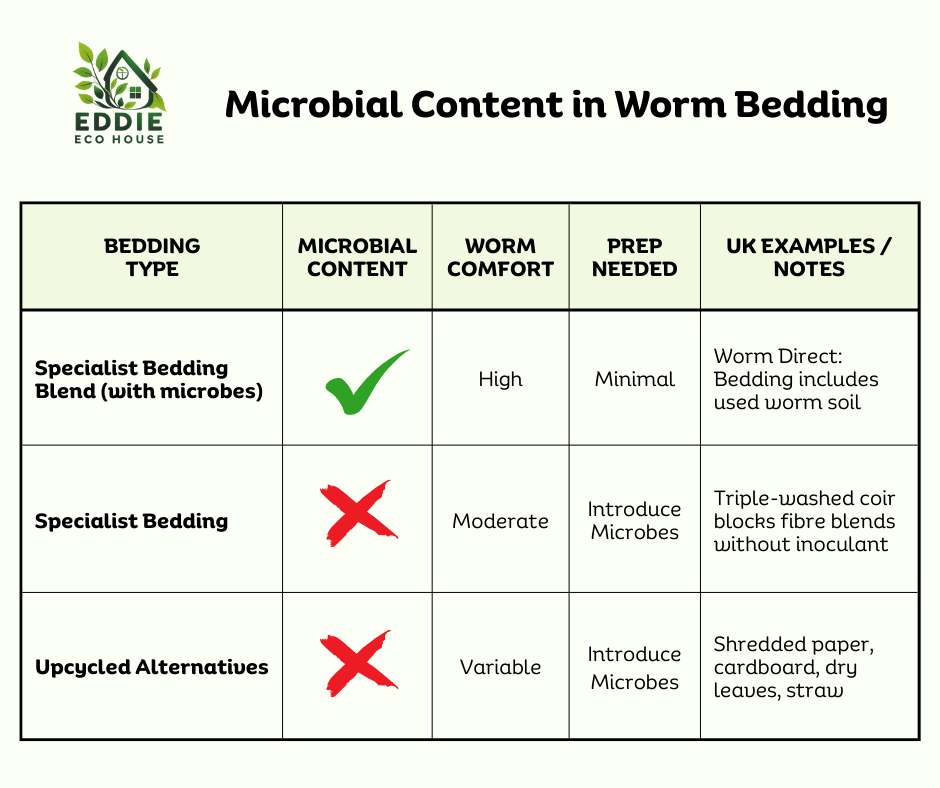
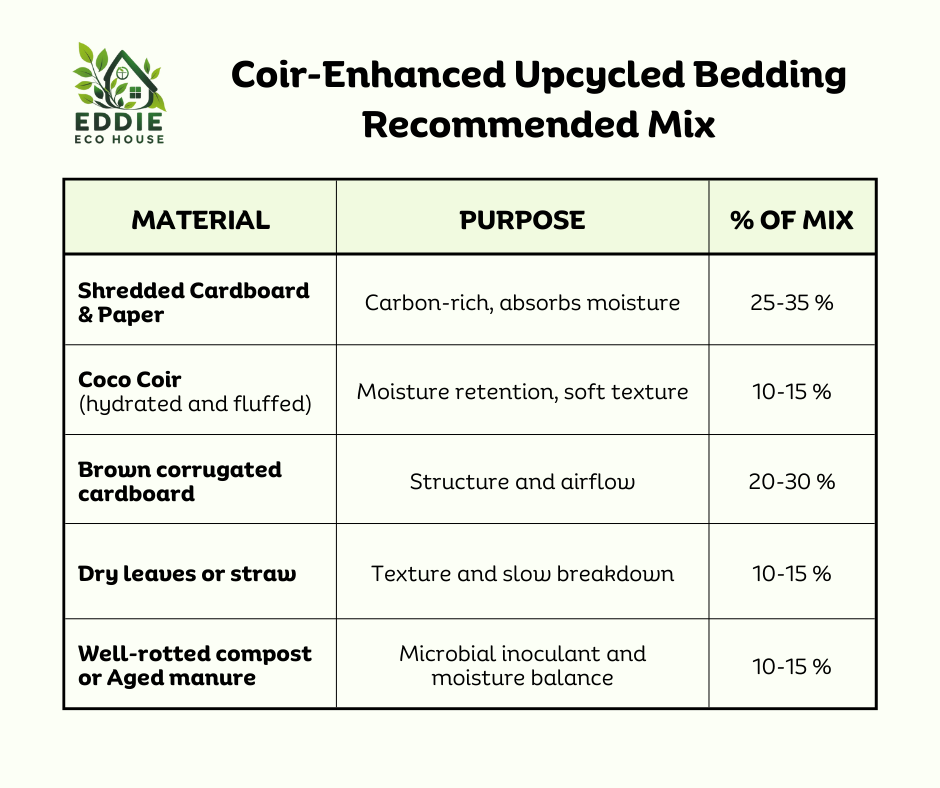
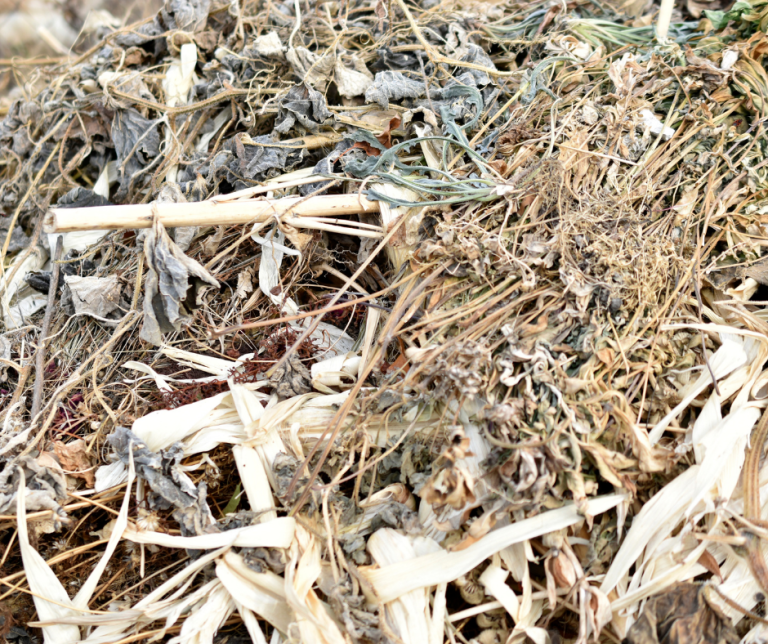
Upcycled Bedding - Recommended Mix

Coir-Enhanced Upcycled Bedding- Recommended Mix
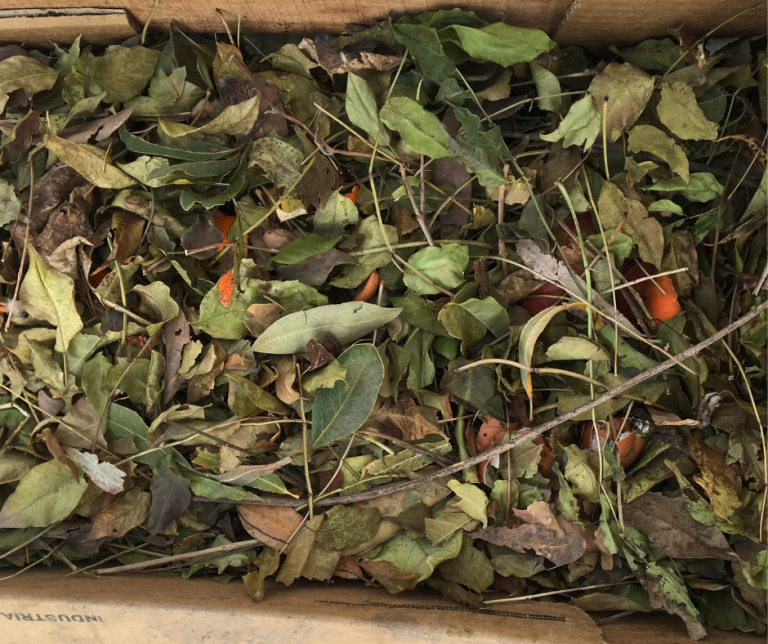
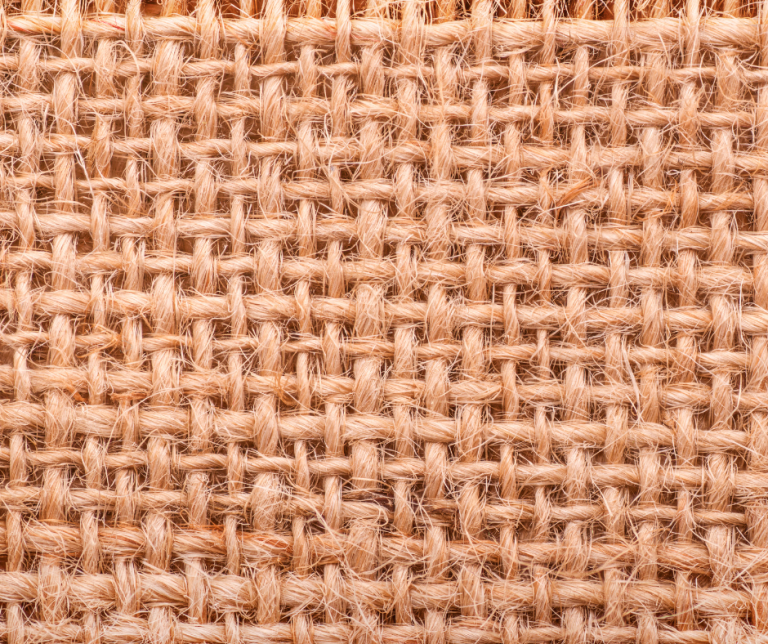
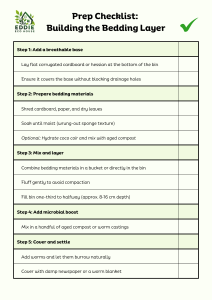
Step 1: Breathable Base Layer
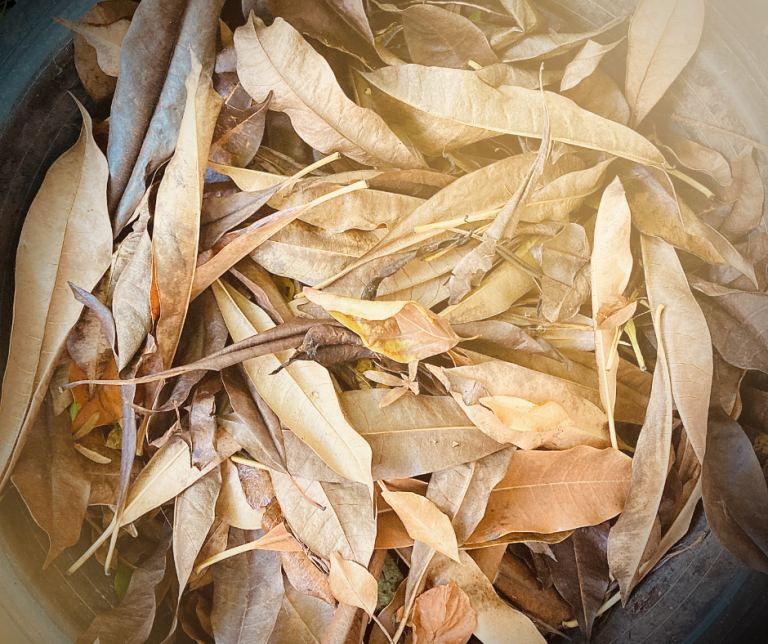
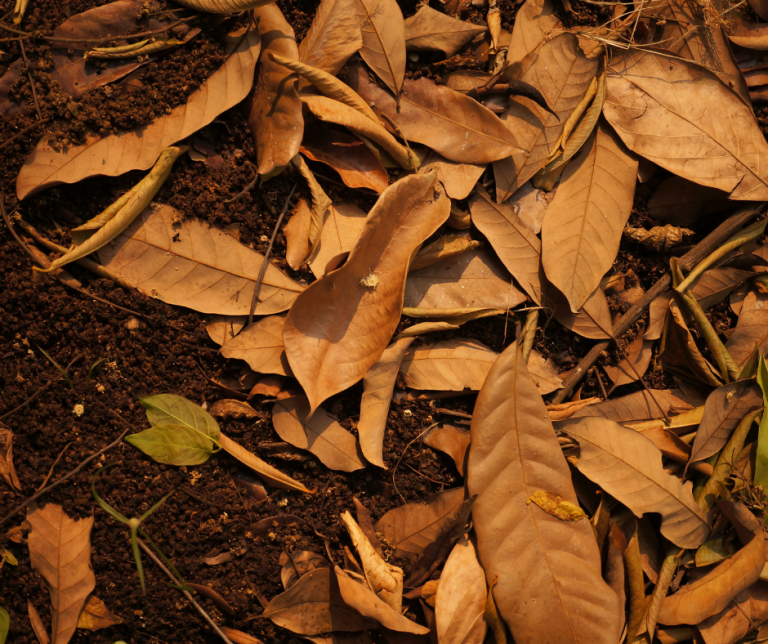
Step 2: Prepare Bedding Materials
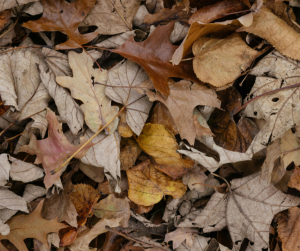


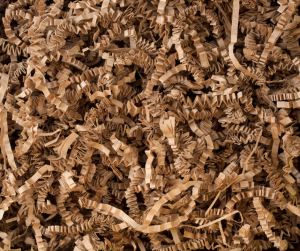


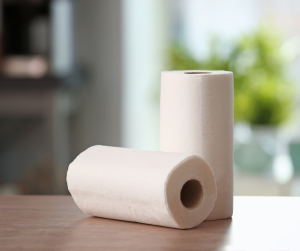

Step 3: Mix & Layer Bedding
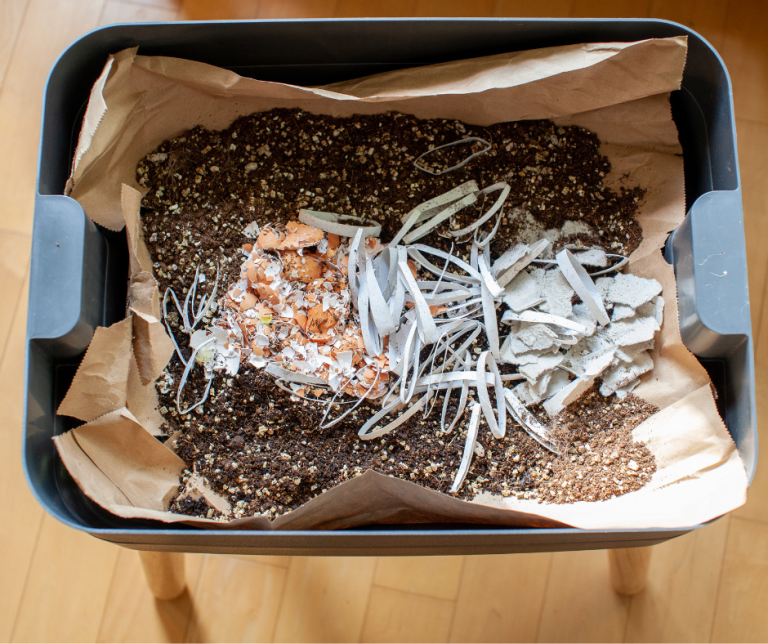

Step 4: Add Microbial Boost

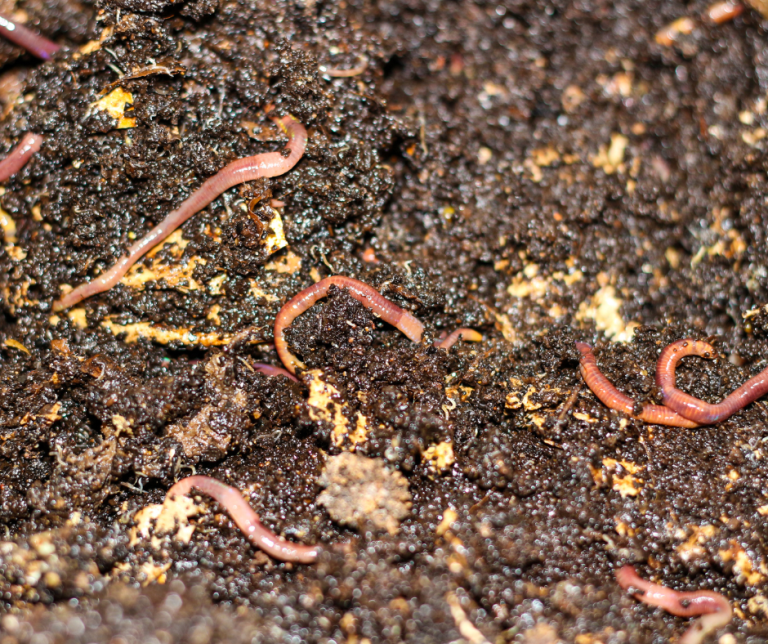
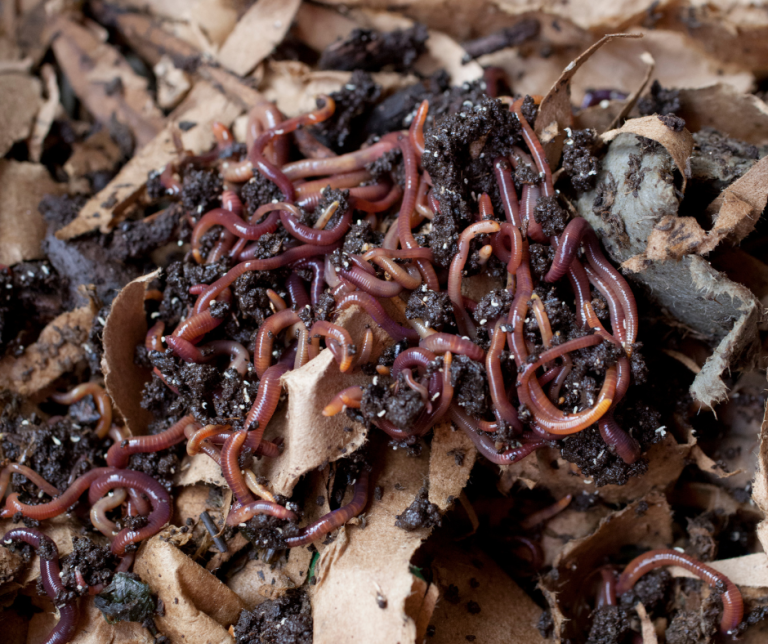
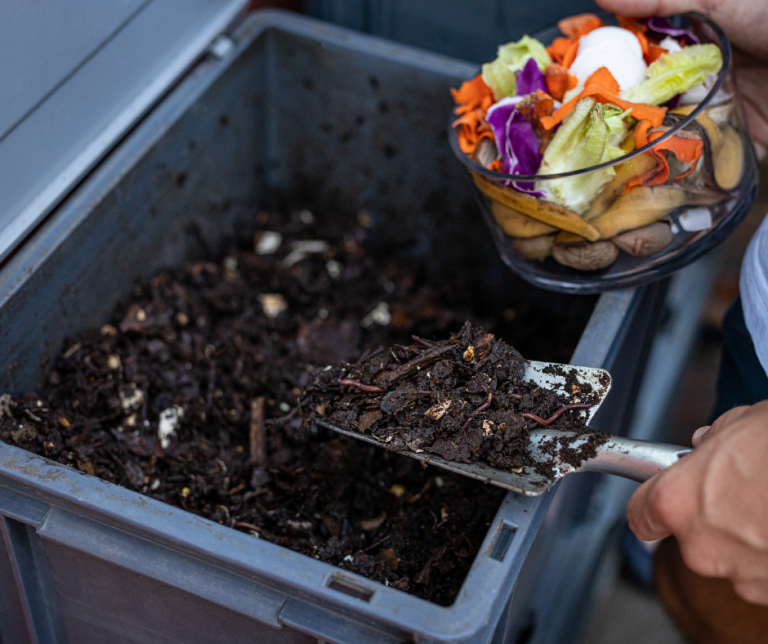
Step 5: Add Worms & Settle
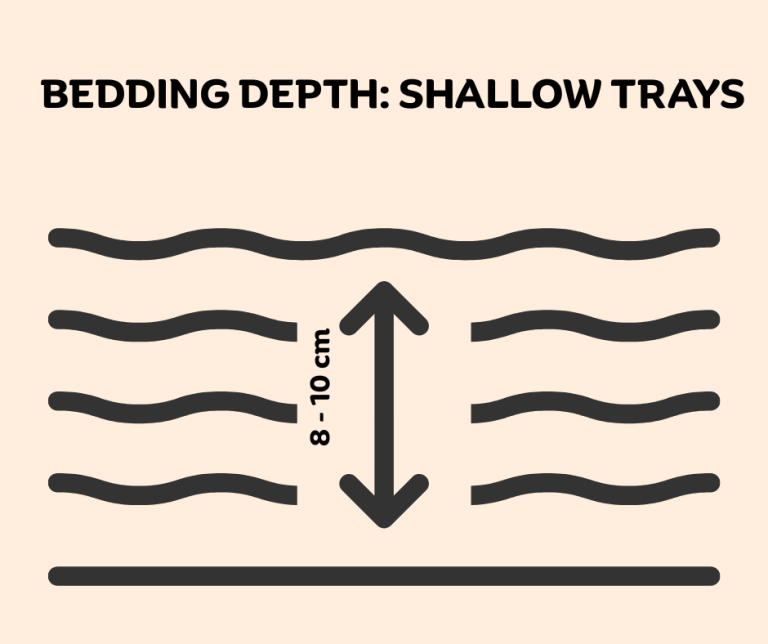
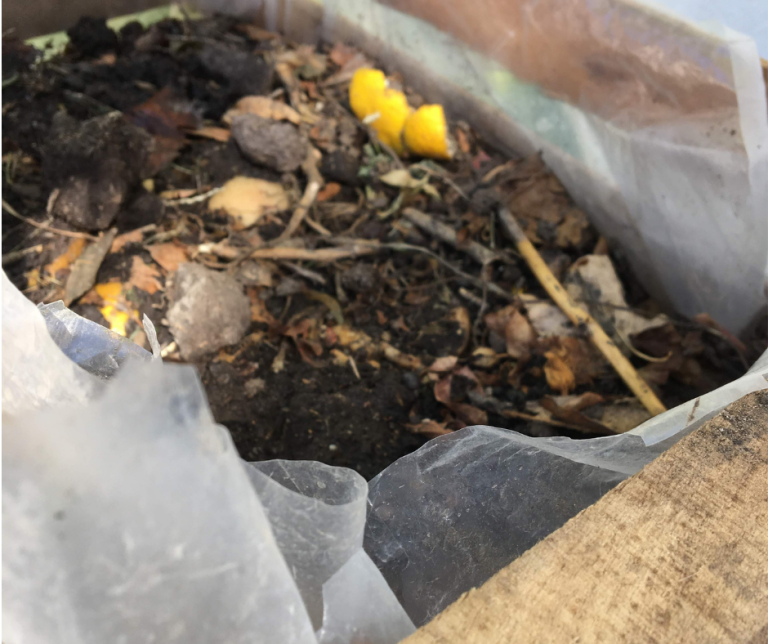
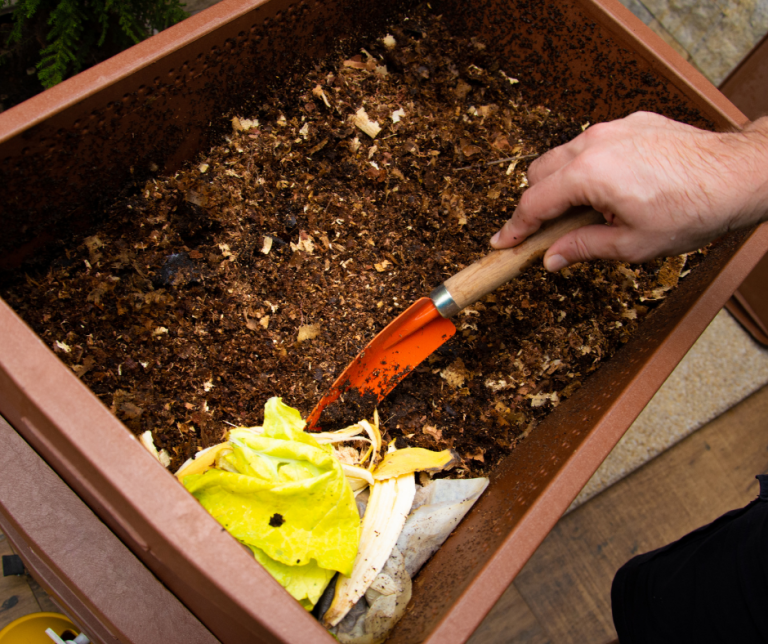
How Deep Should Food Be Buried?

Step 1: Observe Conditions
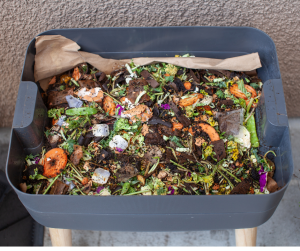
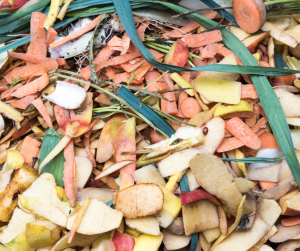
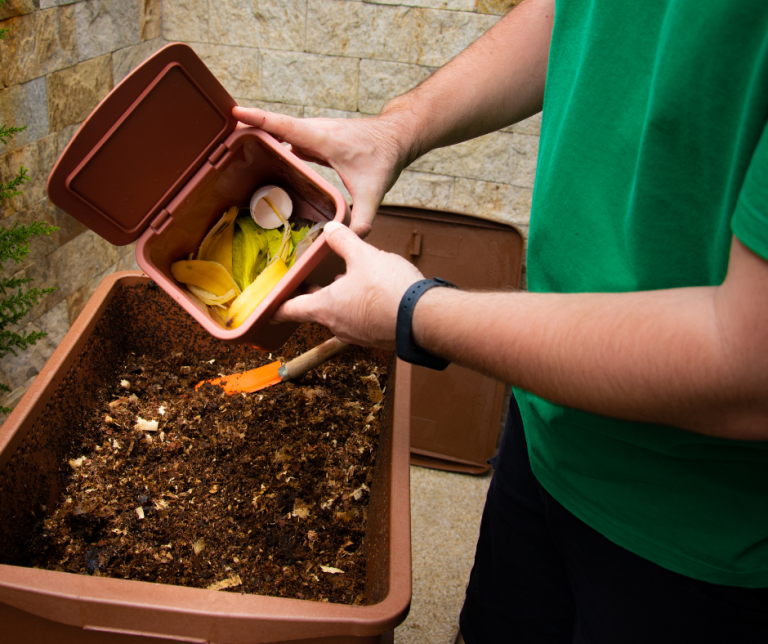
Step 2: Prepare the Feed
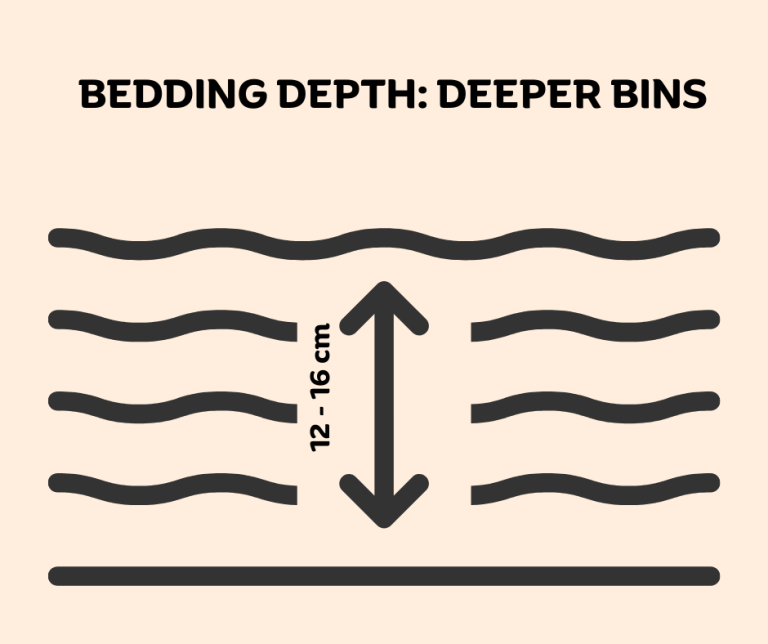
Step 3: Add Bedding
Step 4: Feed + Fluff
Step 5: Monitor & Adjust