
Section 9 of the Vermicomposting: Complete Guide

L.J.
Environmental Advocate

Contents
🌟 Top Tips for Success
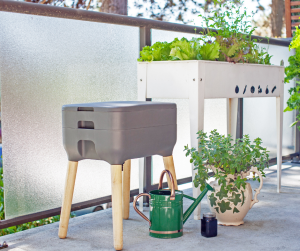
Vermicomposting is more than just tossing scraps to worms—it’s a carefully balanced ecosystem that thrives with a bit of mindful care. When done right, it becomes one of the most efficient, low-maintenance ways to recycle your organic waste while enriching your garden soil with nutrient-packed compost.
This guide highlights the most effective strategies to set you on the path to vermicomposting success.
By following these practices, you’ll keep your worms happy and your compost flourishing all year round.
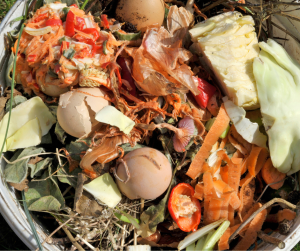
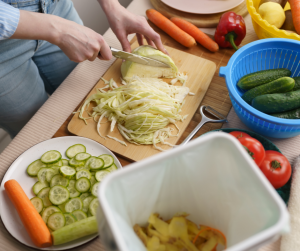
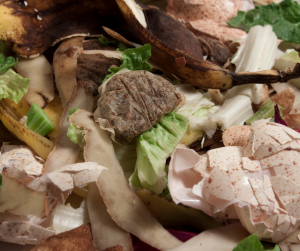
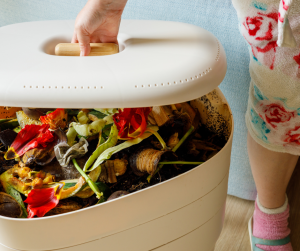

Pre-Treating Food Scraps: Smarter Feeding Starts Here
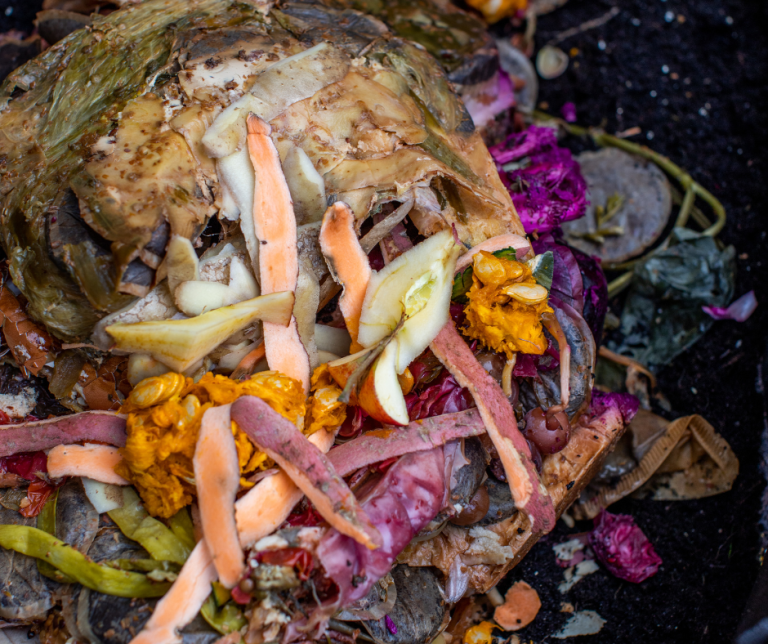
Pre-treating scraps means preparing food waste before adding it to your worm bin. Whether you age, freeze, blend, or ferment (e.g. Bokashi), these methods help soften textures, reduce acidity, and kickstart microbial breakdown—making scraps easier to digest and less likely to cause bin imbalances.
It’s a simple way to improve bin health, reduce pests, and keep feeding consistent, especially in cooler UK climates or small indoor setups.
⏱️ “Ageing” Scraps: Let Nature Start the Work
Ageing scraps means letting food waste sit for a few days before feeding it to your worms.
This gentle pre-treatment softens textures, reduces acidity, and kickstarts microbial breakdown—making scraps easier to digest and less likely to cause bin imbalances. It’s a simple, passive method that works well for most fruit and veg waste, especially in cooler UK climates where decomposition starts slowly.

🥣 Step-by-Step Ageing Method
Step 1: Collect Scraps
Step 1: Collect scraps
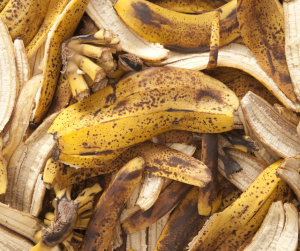
- Use veggie peels, fruit bits, coffee grounds, etc.
- Avoid meat, dairy, oils, or salty foods
Step 2: Store for 2-5 Days
Step 2: – Store for 2–5 days
- Keep in a cool, shaded spot
Use a lid with air holes or a loosely covered container to allow airflow
Optional: stir occasionally to prevent anaerobic pockets
Step 3: Check Texture and Smell
Step 3: – Check texture and smell
- Scraps should feel softer and smell earthy or mildly fermented
- Avoid feeding if they smell sour, rotten, or attract flies
Step 4: Feed in Thin Layers
Step 4: Feed in thin layers
- Mix aged scraps into bedding or layer lightly
- Avoid dumping large amounts at once
Why it Works
Letting scraps sit allows beneficial microbes to start colonising the material.
💡 Tips:
- Store aged scraps in a sealed container with air holes.
- Keep in a cool, shaded spot to avoid spoilage or attracting pests.
- Creates a microbe-rich environment that worms find irresistible.
- Softens tougher scraps, making them easier to break down.
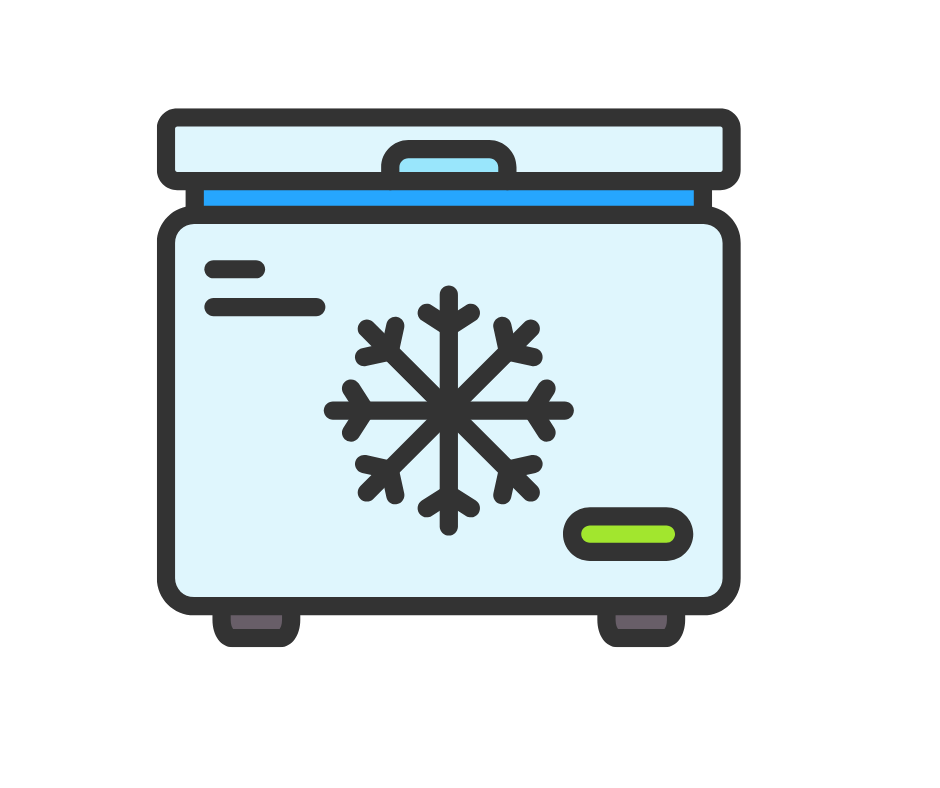
❄️ Freezing Scraps: Soften, Store, and Stabilise
Freezing scraps ruptures cell walls, softens tough textures, and helps reduce pests and smells.
It’s ideal for batch prepping, managing excess food waste, and making scraps easier for worms to process. A great passive method for stabilising feeding and avoiding overloading your bin.
❄️ Step-By-Step Freezing Method
1. Collect Scraps
Step 1: Collect Scraps
- Use a countertop tub, caddy, or bowl
- Include veggie peels, fruit bits, coffee grounds, etc.
- Avoid oily, salty, or meat-based items
2. Portion into Containers/Reusable Bags
Step 2: Portion into containers or bags
- Use reusable tubs, silicone freezer bags, or old takeaway containers to portion scraps into manageable batches.
- Label and date each container for easy reference
3. Freeze For At Least 24-48 Hours
Step 3: Freeze for at least 24–48 hours
- This ruptures cell walls and softens texture
- Optional: flatten scraps for faster thawing
4. Defrost Before Feeding
Step 4: Defrost before feeding
- Let scraps thaw fully to avoid chilling the bin
- Mix into bedding or layer thinly to prevent soggy spots
💡 Tip: Freeze & Thaw in Batches
If your food scrap supply fluctuates, freezing in batches is a smart way to manage feeding. Store excess scraps during high-yield weeks, then thaw and feed gradually when supplies are low.
This keeps your worm bin consistent and prevents overfeeding or waste.
Why it Works
Freezing causes ice crystals to form inside the cells of food, rupturing the cell walls.
- Speeds Up Microbial Activity: Moderate—cell walls rupture, aiding breakdown
- Easier Digestion for Worms: Easier—softened scraps
- Reduces Odours and Pests: Yes—kills larvae, slows decay smells
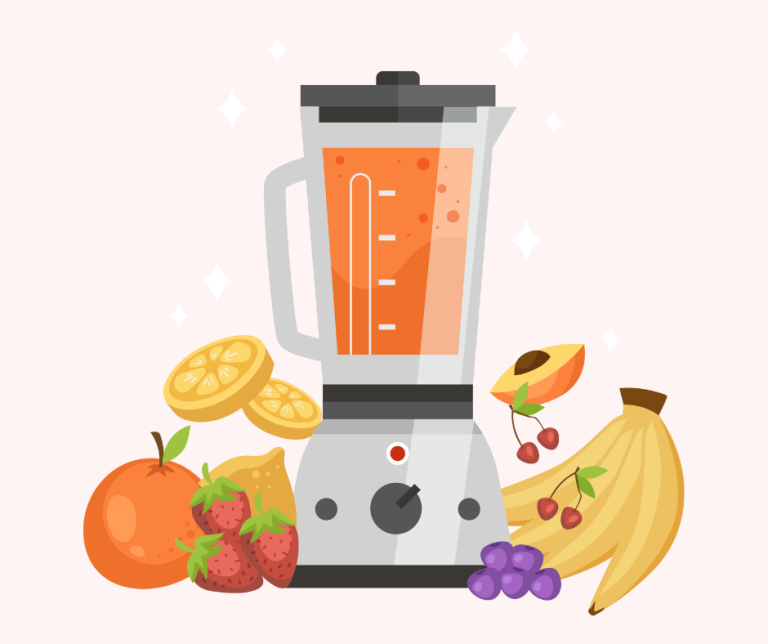
🌀 Blending Scraps: Smooth Feeding for Happy Worms
Blending food scraps breaks them down into a soft, uniform mix that’s easy for worms to digest and ideal for layering into bedding.
It’s especially useful for small indoor bins, fast feeding, or when you want to avoid clumps and smells.
🌀 Step-By-Step Blending Method
Step 1: Collect Scraps
Step 1: Collect scraps
- Use veggie peels, fruit bits, coffee grounds, etc.
- Avoid meat, dairy, oils, or salty foods
Step 2: (Optional) Add water
Step 2: Add water (optional)
- A splash helps the blender process fibrous scraps
- Don’t overdo it—aim for a thick smoothie texture
Step 3: Blend until Smooth
Step 3: Blend until smooth
- Use a standard blender or food processor
- Pulse tough items like carrot ends or broccoli stalks
Step 4: Store or Feed
Step 4: Store or feed
- Use airtight tubs if storing for later
- Feed in thin layers to avoid soggy spots
Why it Works
Blending physically breaks down the structure.
💡 Tip: Blend with A Splash of Water
Blend with a bit of water to create a slurry that’s easy to mix into compost.
- Speeds Up Microbial Activity: High—creates slurry that microbes love
- Easier Digestion for Worms: Very easy—smooth texture
- Reduces Odours and Pests: Yes—less surface smell, fewer clumps
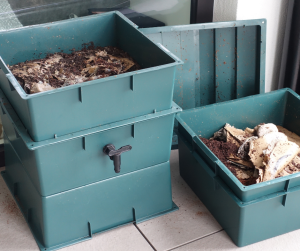
🧪 Fermenting Scraps with Bokashi: A Microbial Head Start
Bokashi is a fermentation method that uses beneficial microbes to pre-treat food waste. Unlike traditional composting, it works anaerobically (without oxygen) and preserves nutrients while softening scraps. The result is acidic, pre-digested waste that breaks down quickly once added to soil—or, with care, to worm bins. It’s ideal for handling meat, dairy, and cooked foods that worms normally avoid, and it helps reduce smells and pests during storage.Bokashi Waste: What Worms Can and Can’t Handle
✅ Worm-Safe After Bokashi
These items become much more digestible after fermentation:
- Fruit and veg scraps
- Cooked grains and pasta
- Coffee grounds and tea bags
- Small amounts of dairy or meat (if well-fermented and introduced gradually)
- Eggshells (crushed)
- Bread and baked goods
⚠️ Still Risky or Best Avoided
Even post-Bokashi, these can cause bin issues:
- Large amounts of fat, oil, or grease
- Highly salty foods or processed meats
- Spicy foods (e.g. chilli, curry)
- Bones, pits, or hard shells
- Mouldy or rotten waste (Bokashi preserves, not decomposes)
🪱 How to Feed Bokashi Waste to Worms
You can’t just add freshly fermented Bokashi scraps straight into your worm bin, as they’re too acidic and can harm your worms. The method below will mellow the scraps to make them worm safe.
🧪 Step-By-Step Fermenting Method
Step 1: Finish fermentation
Step 1: Finish Fermentation
- Let Bokashi waste ferment for at least 2 weeks in the sealed bucket
- Ensure it smells sour but not rotten—like pickled food
Step 2: Air Out the Waste
Step 2: Air out the waste
- Transfer to a tub or tray and leave uncovered for 3-7 days
- This reduces acidity and allows gases to escape
Step 3: Check pH and Texture
Step 3: Check pH and texture
- Ideal pH: 5.5–7 (use test strips if needed)
- Texture should be soft, not slimy or mouldy
Step 4: Prepare the Worm Bin
Step 4: Prepare the worm bin
- Add extra bedding (shredded paper, coir, cardboard)
- Sprinkle in crushed eggshells or garden lime to buffer acidity
Step 5: Feed in Small Amounts
Step 5: Feed in small amounts
- Bury a handful of Bokashi waste in bedding
- Avoid surface feeding or large dumps
Step 6: Monitor bin health
Step 6: Monitor bin health
- Watch for worm activity, bin smell, and moisture levels
- If worms retreat or bin smells sour, pause and rebalance
💡 Tip for the Process
After draining the Bokashi liquid, let fermented scraps mellow for 3–7 days before adding to your worm bin. This helps stabilise acidity and ensures a smoother transition for your worms.
Why it Works
Bokashi fermentation softens food scraps and kickstarts microbial breakdown, making them easier and faster for worms to digest. It also introduces beneficial microbes that enrich bin ecology and expand the range of scraps your wormery can handle.

- Speeds Up Microbial Activity: Adds beneficial microbes to boost breakdown
- Easier Digestion for Worms: Softens scraps for easier worm digestion
- Reduces Odours and Pests: Yes—less surface smell, fewer clumps
- Expands feed range (small amounts of meat/dairy)
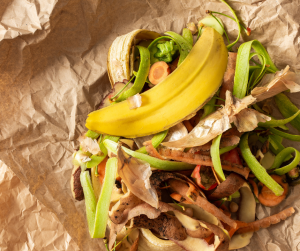
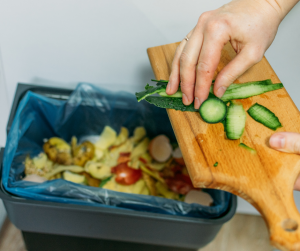
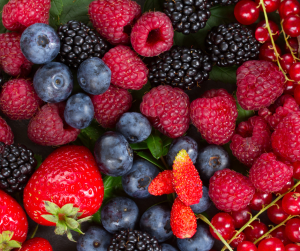
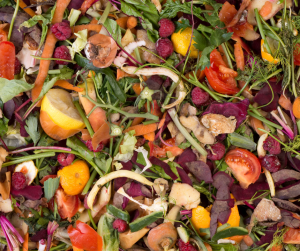
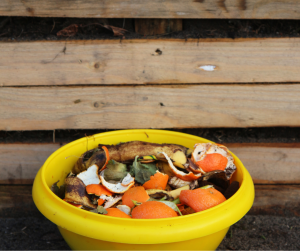
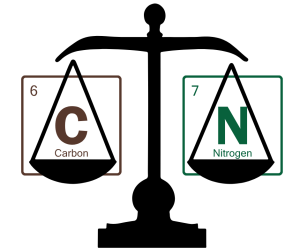
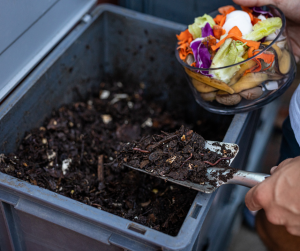
🥗 Diversify Inputs for Balanced Nutrition
Worms thrive on a mix of nitrogen-rich “greens” and carbon-rich “browns.” A balanced blend keeps your bin humming with microbial life, reduces odours, and supports healthy digestion.
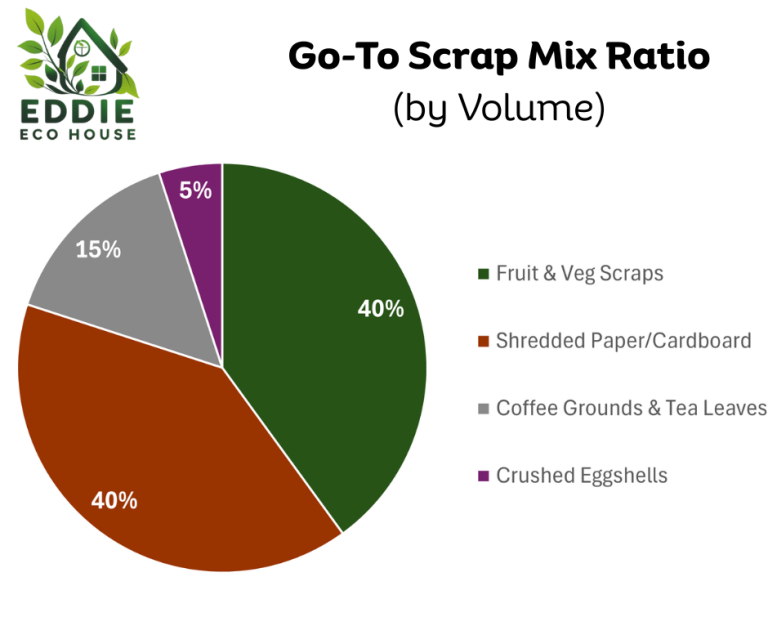
🥣 Ideal Go-To Food Scrap Mix
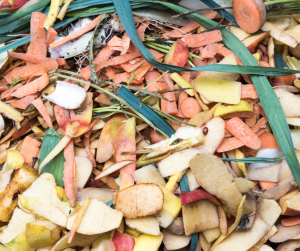
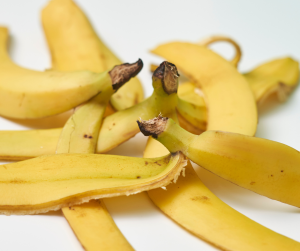
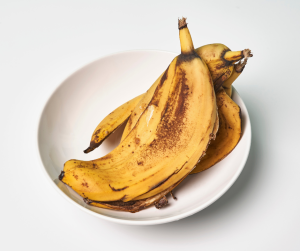
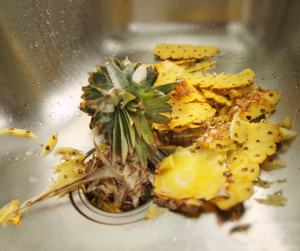
🍎 Fruit & 🥕 Veg Scraps
- Apple cores, banana peels, carrot tops, lettuce, cucumber skins—chopped small for faster breakdown
☕Coffee Grounds & 🍃 Tea Leaves
- Rich in nitrogen and moisture. Use dry and mix in well.
🥚Crushed Eggshells
- Provide calcium carbonate to buffer acidity and aid digestion as grit.
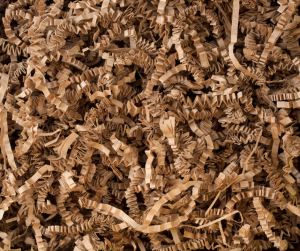
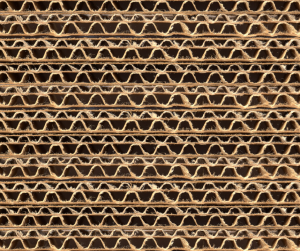
📄Shredded Paper/📦Cardboard
- Balances moisture and adds structure. Think newspaper strips or egg cartons
💡 Feeding Tips
- Adjust paper/cardboard if bin feels too wet
- Avoid clumps of coffee grounds—mix gently
- Eggshells are optional but highly beneficial
- Rotate feeding zones to keep worms active
Why it Works
Together, this ratio mimics a healthy compost ecosystem—moist but not soggy, rich but not overwhelming, and structured enough for oxygen flow. It’s modular, beginner-friendly, and ideal for UK wormeries year-round.
- Microbial Activation: Nitrogen-carbon ratio fuels microbial growth, jumpstarting breakdown of organic matter.
- Balance of greens and browns naturally manages moisture levels, airflow and structure.
- Diverse diet keeps worms healthy by providing varied nutrients and boosting their digestion and reproduction.
- Healthy worms multiply faster and create richer, more nutrient-packed vermicast .
🍋 Tips to Avoid Acidic Overload
Too much acidity can stress your worms, slow decomposition, and sour your bin. These tips help you keep conditions balanced, buffered, and worm-safe
⚠️ Signs of Acid Stress in Your Worm Bin
- 🪱 Worms Trying to Escape: Crawling up sides or lid—often a sign of discomfort or pH imbalance.
- 🐌 Worms Sluggish or Clumped: Reduced movement or clustering away from food zones.
- 👃 Sour or Vinegary Smell: Indicates anaerobic conditions or acidic overload.
- 🧃 Excess Liquid or Leachate: Can concentrate acids—check moisture and bedding balance.
- 🧫 White Fungal Growth or Slime: Often appears when acidity spikes and airflow drops.
- 🥣 Undigested Food Piling Up: Slows decomposition and signals microbial imbalance.

Acid Risk Warning: Which Foods to Restrict
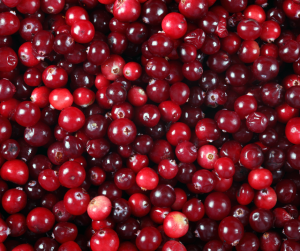
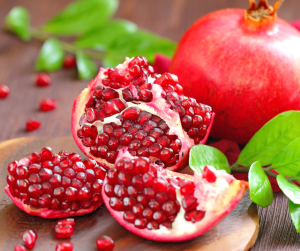
- 🍊 Citrus Peels & Juices: Highly acidic and slow to break down—use sparingly or pre-compost.
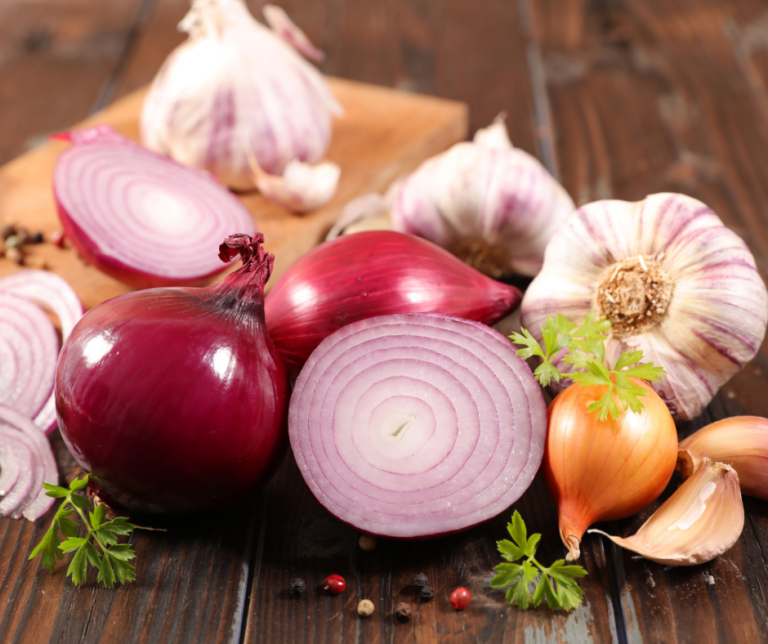
- 🧅 Onions & Garlic: Strong compounds and acidity can irritate worms—limit or mellow first.
- 🥣 Fresh Bokashi Waste: Too acidic straight from the bucket—rest 3–7 days before feeding.
- ☕ Wet Coffee Grounds: Dense and acidic when clumped—dry and mix with bedding.
- 🍞 Processed Foods & Sauces: Often contain vinegar, salt, or preservatives—check labels or avoid.
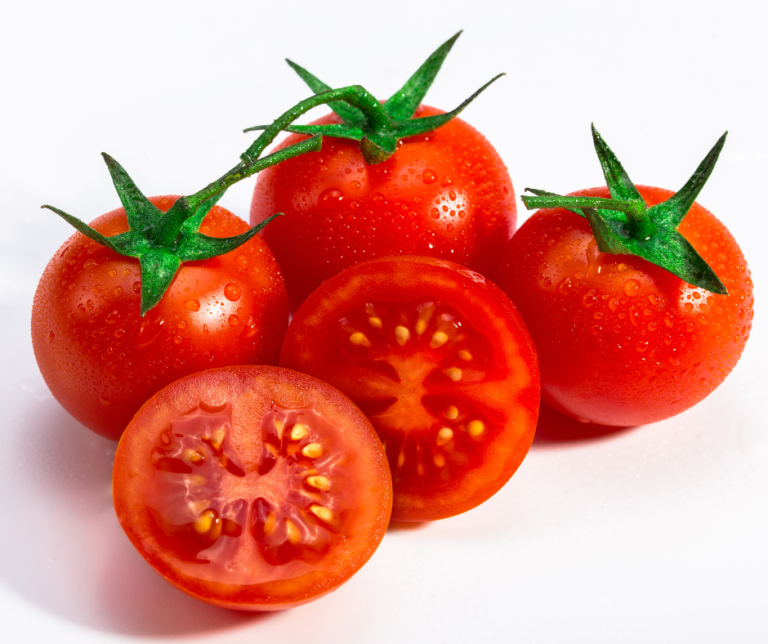
- 🍅 Tomato Scraps: Acidic and juicy—use in moderation and balance with dry bedding.
Keeping Acidity in Check
- 🥚 Add Crushed Eggshells: Buffers acidity and supports worm digestion.
- 📄 Balance with Carbon-Rich Bedding: Use shredded paper or cardboard to offset wet, acidic scraps.
- 🔄 Rotate Feeding Zones: Prevents acidic hotspots and gives worms time to adjust.
- 💧 Monitor Moisture Levels: Excess liquid can concentrate acids—add dry bedding as needed.
- 🧂 Avoid Overfeeding: Too much food at once can overwhelm microbes and lead to sour conditions.
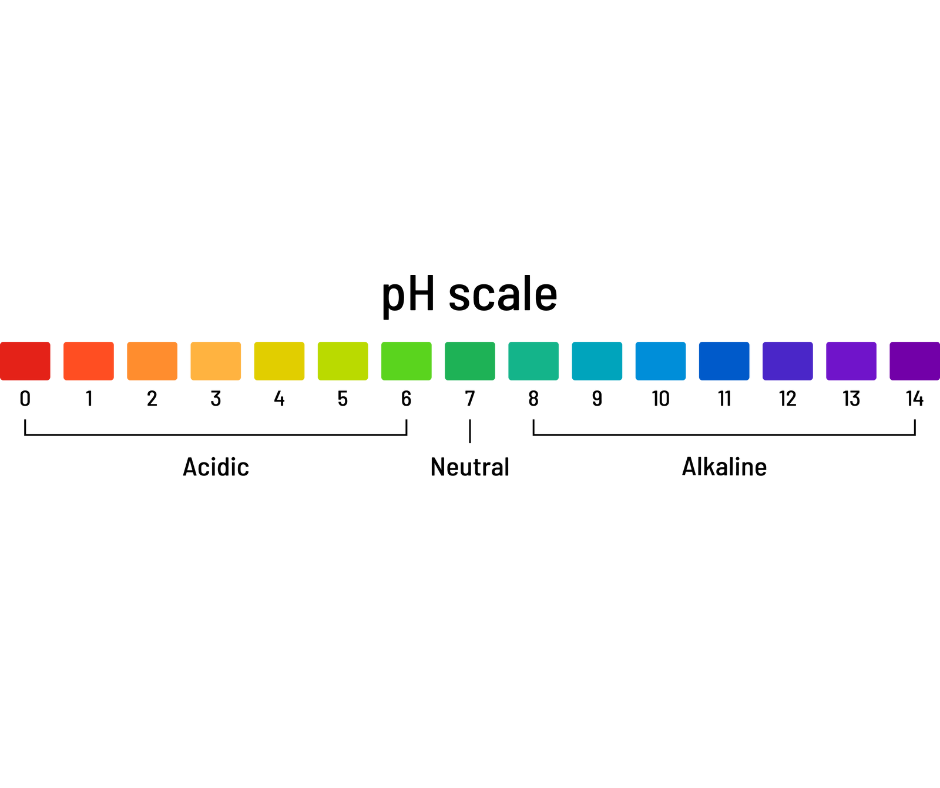
🧪 Concerned about pH?
You might want to measure it using pH strips or a pH meter, which are easy to buy and simple to use for monitoring your bin’s acidity. Recommended tools and accessories were included in Section 8: Optional Extras.
🌟 Additional Tips for Vermicomposting Success
🍽️ Feeding Fundamentals
To keep your wormery thriving, a few simple habits make a huge difference. Chopping scraps small, rotating feeding zones, balancing greens and browns, and avoiding overfeeding all help maintain airflow, moisture balance, and a healthy worm environment.
Here’s why they matter:
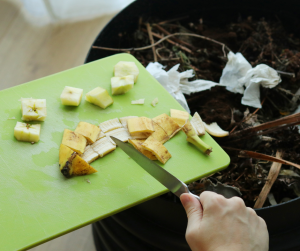
🔪 Chop scraps small
- Speeds up decomposition by increasing surface area for worms and microbes.
- Makes scraps easier for worms to digest efficiently.
- Prevents compacted, soggy pockets that cause unpleasant smells.

🔁 Rotate Feeding Zones
- Encourages worms to move and process scraps evenly.
- Prevents sour spots and anaerobic buildup in one area.
- Distributes moisture and microbial activity across the bin.
⚖️Balance greens and browns
- Greens provide nitrogen and moisture (fruit, veg scraps, coffee grounds).
- Browns supply carbon and structure (shredded cardboard, dry leaves, paper).
- A good mix prevents odours and creates a comfortable bedding for worms.
🚫 Avoid Overfeeding
- It’s tempting to add lots of scraps early on, but moderation in key.
- Adding too much food can lead to foul odors and worm stress.
- Feed small amounts regularly, especially in cooler months when worms digest slower.
- Remove uneaten scraps if they build up to maintain a healthy environment.
❄️ Insulate in Winter
Composting worms are sensitive to cold temperatures common in UK winters. Insulating your wormery helps maintain a stable, warm environment, keeping your worms active and composting steadily throughout the season.
🧤🧣 Insulation Methods
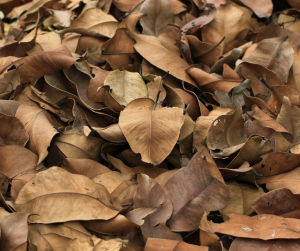
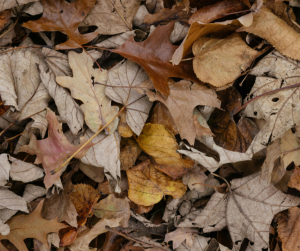
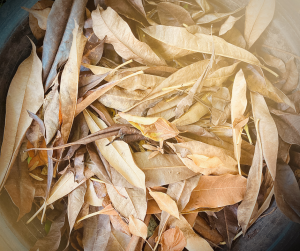
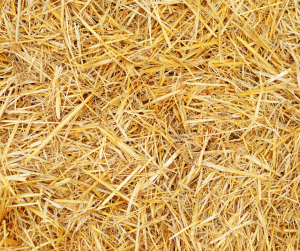
- Use natural materials like straw, dry leaves, or mulch around your wormery to trap heat.
- Wrapping the bin with bubble wrap, fleece, or garden frost cloths provides added protection.
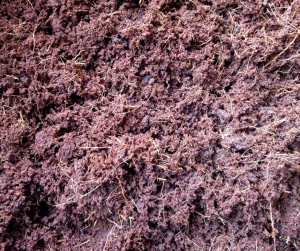
- Inside, add extra bedding—shredded cardboard or coir—to retain warmth and moisture.

📍 Ideal Placement
- Position your wormery in a sheltered spot, such as against a south-facing wall or under eaves, to reduce wind chill.
- Avoid waterlogged areas, as excess moisture combined with cold can harm worms.
⭐Benefits of Winter Insulation
By insulating, you extend your wormery’s active period, ensuring a steady supply of nutrient-rich compost and protecting your worm population from winter stress.

🛠️ Need Help Solving a Bin Issue?
If your worm bin isn’t performing as expected—whether it’s smells, pests, or sluggish worms—don’t worry. Head to Section 10: Troubleshooting for clear, beginner-friendly fixes and prevention tips
