Optional Extras in Vermicomposting
Section 8 of the Vermicomposting: Complete Guide
L.J.
Environmental Advocate


Contents
🧩 Optional Extras in Vermicomposting
While not essential, these extras can help fine-tune your worm bin, boost productivity, and make maintenance easier for beginners and pros alike.
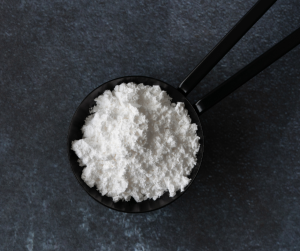
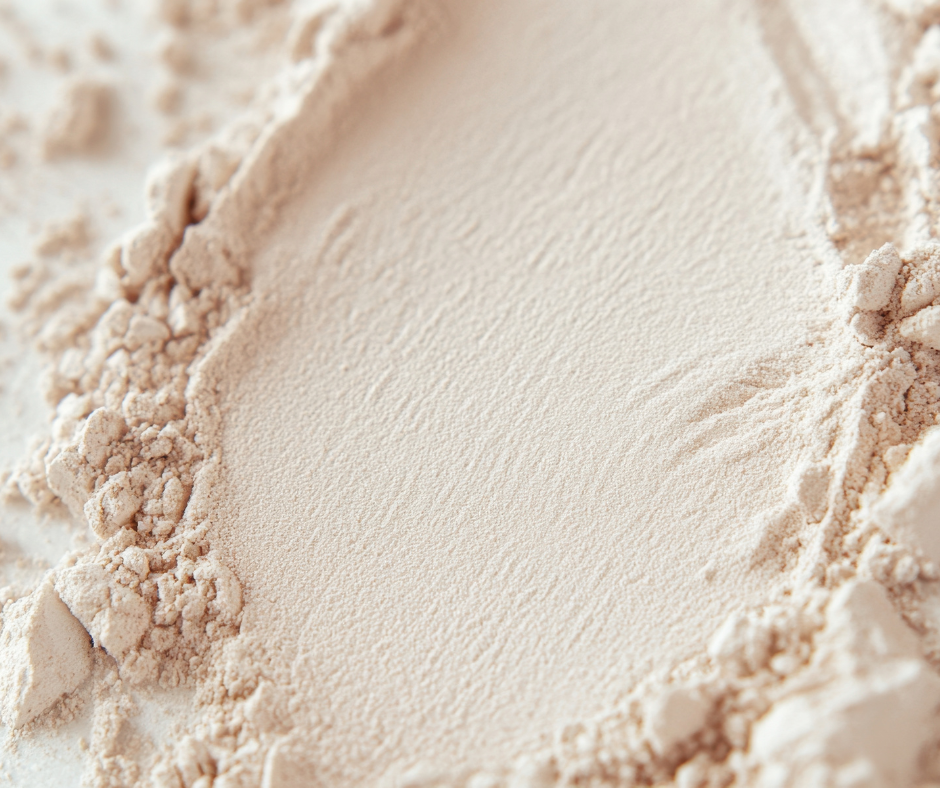
Lime Additives
In Vemicomposting, Lime typically refers to agricultural lime—a powdered form of calcium carbonate (CaCO₃).
⚠️ Avoid Hydrated Lime
Never use hydrated lime (calcium hydroxide) in your worm bin.
It’s highly alkaline and can burn or kill worms, disrupt microbial balance, and damage castings.
Stick to agricultural lime (calcium carbonate) if you need to balance pH safely.
What Does Lime Do?
Lime can be used to balance pH levels and reduce acidity in the worm bin.
✅ Benefits of using Lime:
- Neutralises acidity from food scraps like citrus, tomatoes, or fermented materials
- Helps maintain a worm-friendly pH (around 6.5–7.5)
- Can reduce odours and improve microbial activity
- Supports healthy worm reproduction and casting production
🧂 How Much Lime to Use?
- Use sparingly- a light sprinkle every few weeks is enough.
- Monitor pH: use pH strips or a meter to avoid overcorrecting.
- Watch your worms- if they’re trying to escape, it may signal pH imbalance
✅ You might need lime if:
- Your bin smells sour or vinegary
- Worms are sluggish or trying to escape
- You’re adding acidic materials regularly
- pH dips below 6.5 (if you test it)
❌ You don’t need lime if:
- Your bin smells earthy and fresh
- Worms are active and reproducing
- You’re feeding a balanced mix of scraps
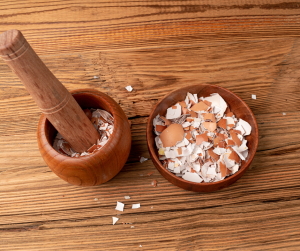
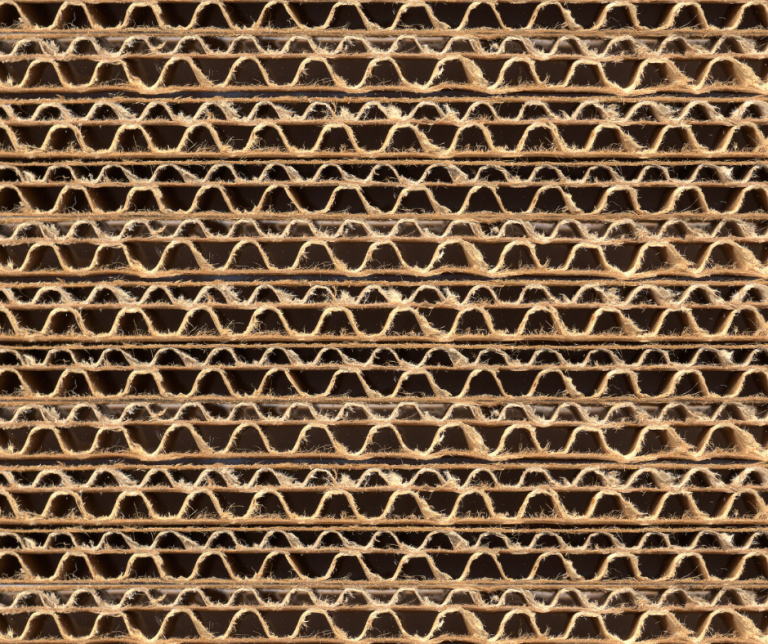
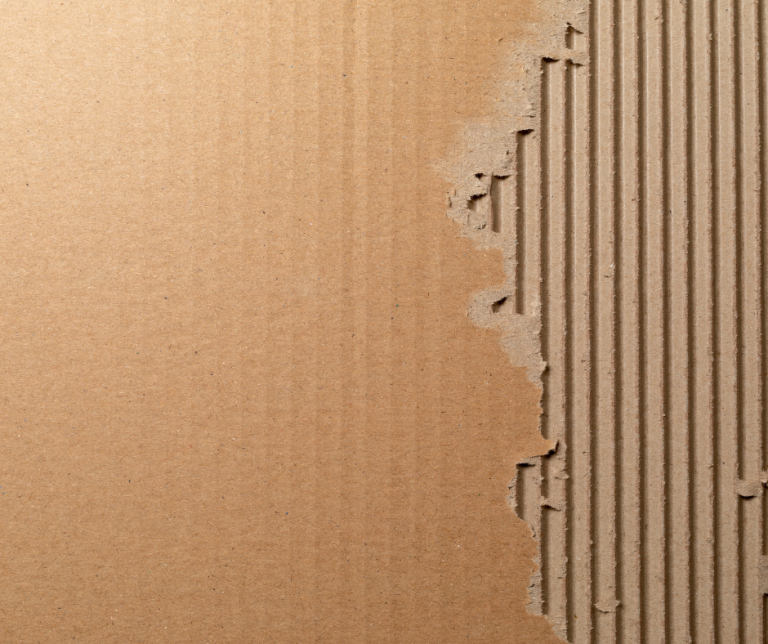
- You’re using cardboard, paper, or crushed eggshells (which help buffer pH naturally)
🧂 Do You Need Lime in Vermicomposting?
No— lime is entirely optional. Use it only if your worm bin becomes too acidic and natural methods like adding crushed eggshells, cardboard, or balancing your scraps aren’t enough to manage the pH.
🧂 Lime Alternatives
While lime can help balance pH, there are gentler, worm-friendly options that often do the trick just as well—without risking overcorrection:
- Crushed eggshells — provide a slow-release source of calcium to gently buffer acidity
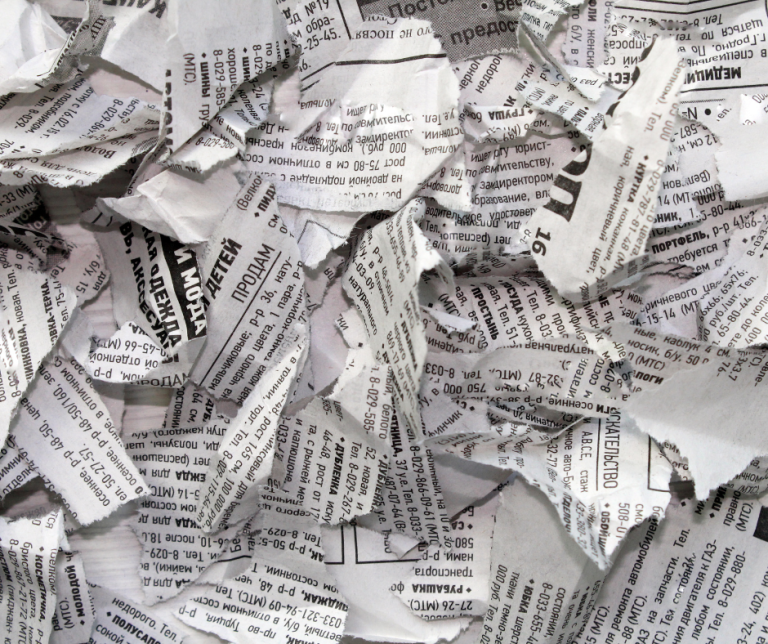
- Cardboard and paper bedding — naturally absorb excess acidity and maintain balance
- Biochar (pre-charged) — helps stabilise pH and boosts beneficial microbial life
- Balanced feeding — avoid overloading your bin with acidic scraps like citrus, tomatoes, or fermented foods
These natural methods support a thriving worm bin and keep your castings healthy. Use lime sparingly, only if signs of acidity persist.


🛒 If You Want to Add Lime—Recommended UK Suppliers
If your bin needs a pH boost and natural methods aren’t enough, here are some trusted sources for agricultural lime (calcium carbonate):
Recommended Suppliers
- 🛒 Supplier: Vitax Ltd
- Granular Garden Lime 3kg
- Price Range: ~£ 5-10
- Powdered Garden Lime 20kg
- Price Range: ~£ 22
- 🛒 Supplier: WormBox
- RegulaWorm, acidity regulator for your worm compost container
- Price Range: ~£15-20
- 🛒 Supplier: Wiggly Wigglers
- Anti-Acid Lime Mix Neutraliser pH Balancer
- Price Range: ~£13-18
- 🛒 Supplier: Yorkshire Worms
- Calcium Carbonate Acid Regulator, 500g-2.5kg
- Price Range: ~£10-21
- Calcium Carbonate Acid Regulator, 500g-2.5kg
⚠️ Always choose agricultural lime, not hydrated lime, and use sparingly. For smaller bins, crushed eggshells may be all you need.
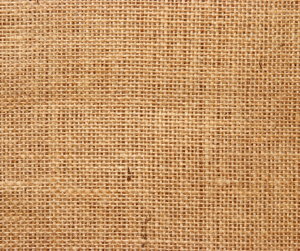
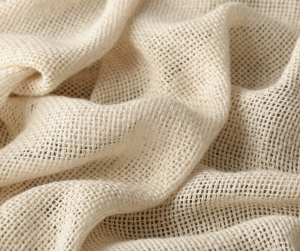
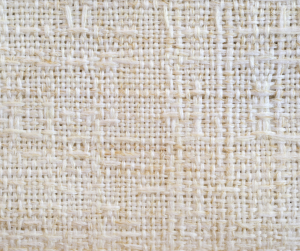
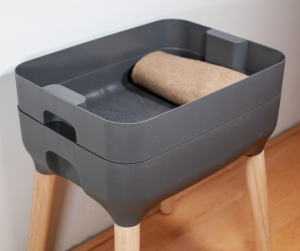
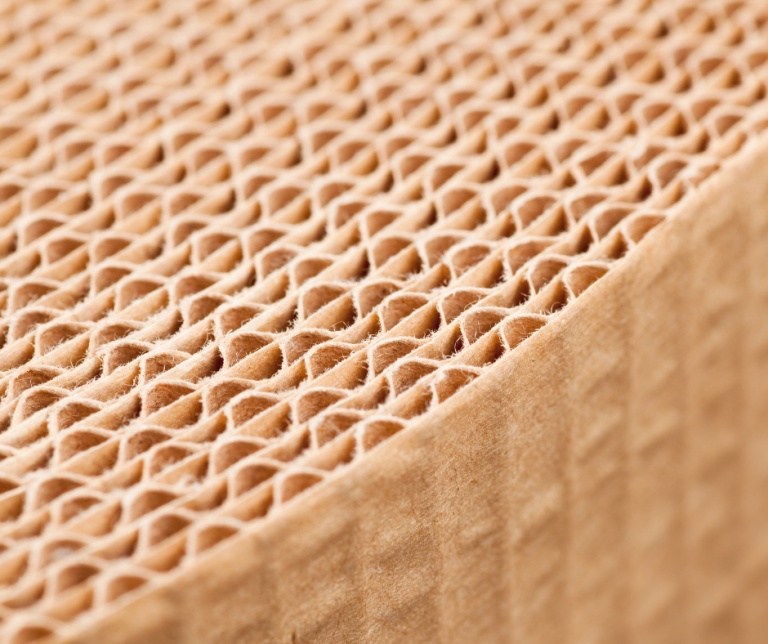
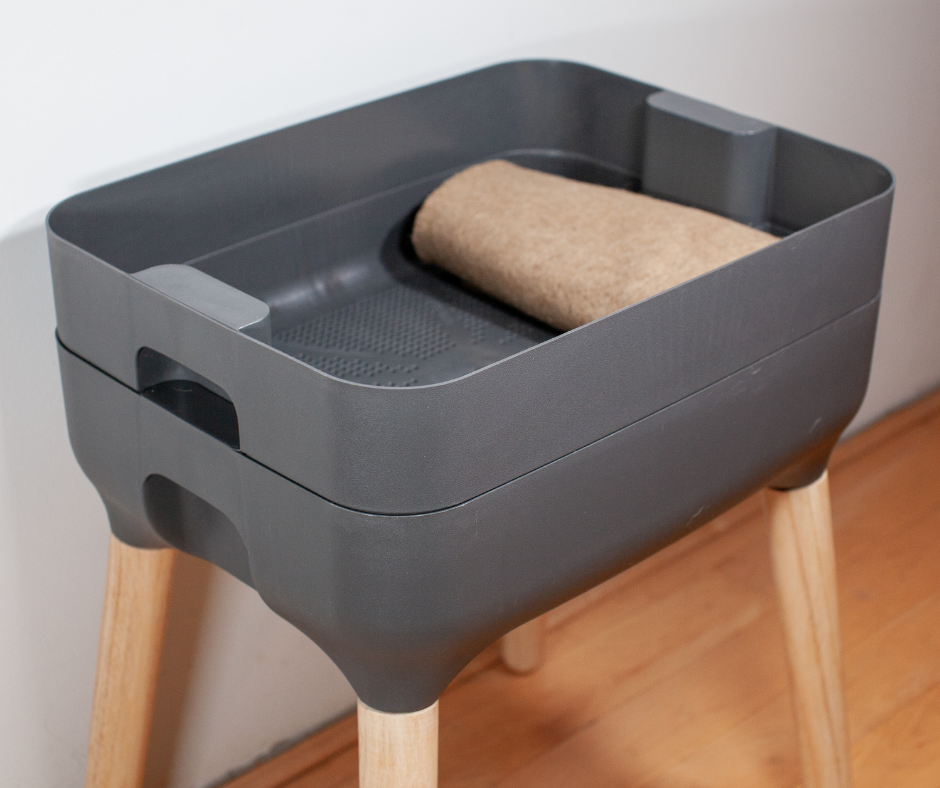
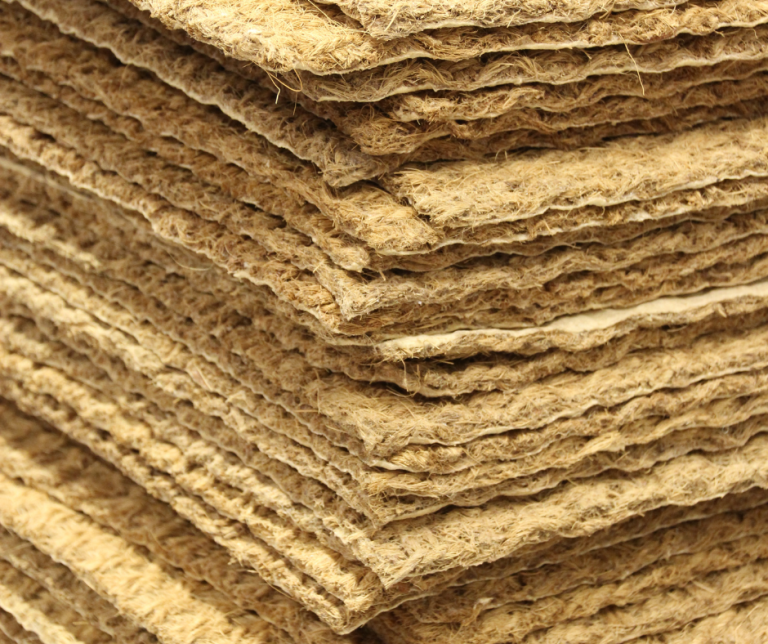
🪵 Moisture Mats for Vermicomposting
A moisture mat, also known as a worm blanket, is a breathable cover placed directly over the bedding and scraps. It helps regulate humidity, reduce odours, and keep your worms comfortable and active.
This simple layer supports a healthy, balanced bin environment by retaining moisture evenly and preventing surface drying or crusting.
🛒 Purpose-Made or ♻️ Upcycled
You can use purpose-made moisture mats or get creative with upcycled materials. Good choices include:
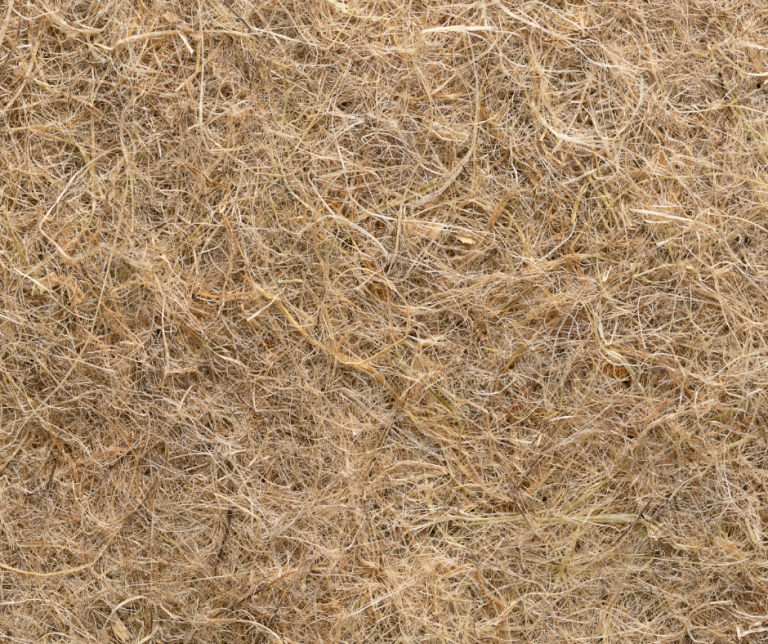
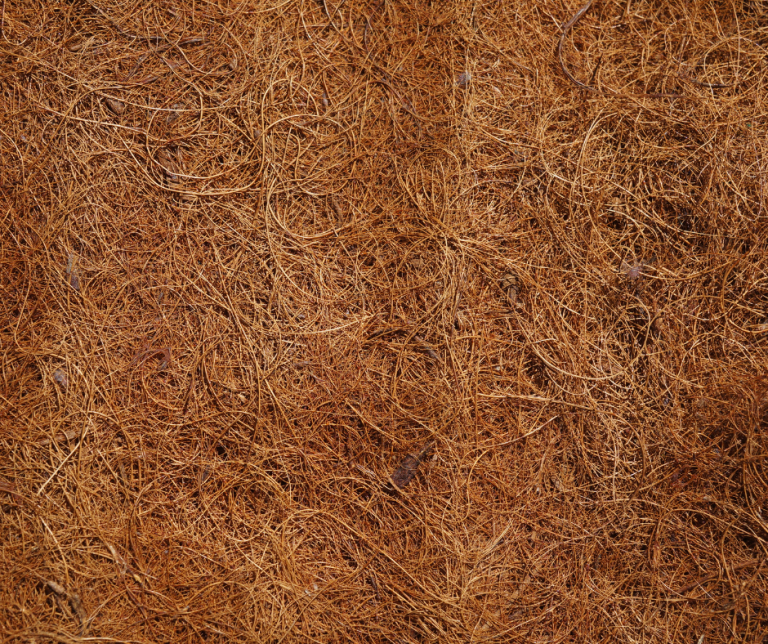
- Coconut coir mats — breathable and moisture-retentive
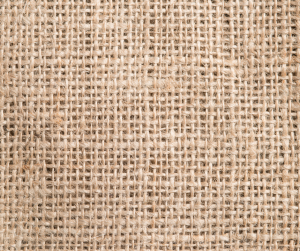
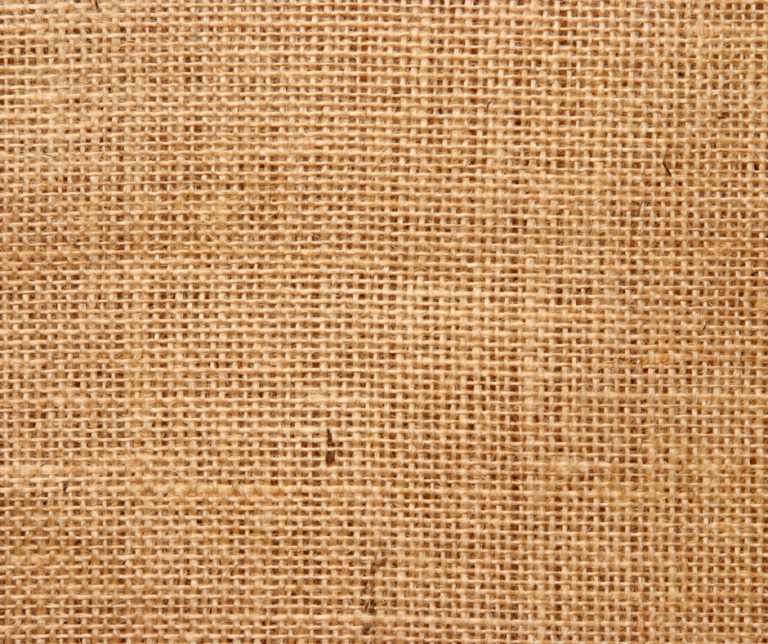
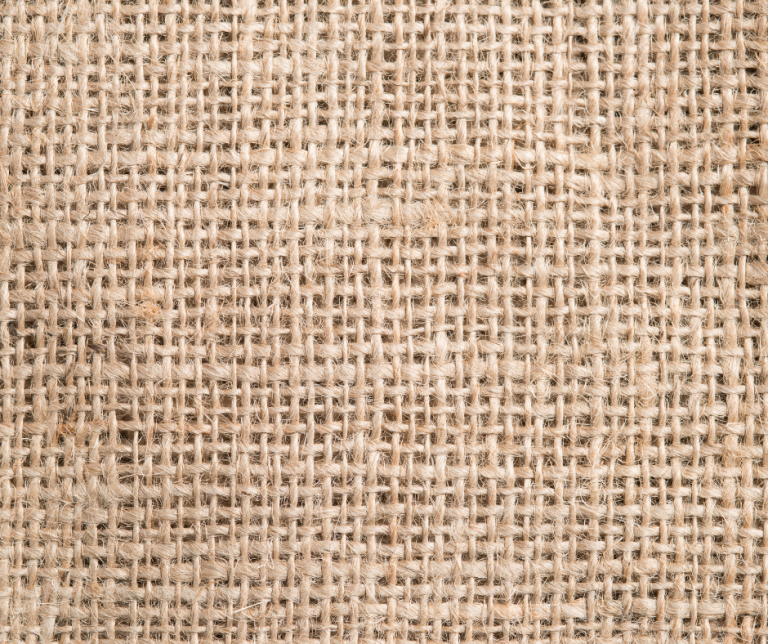
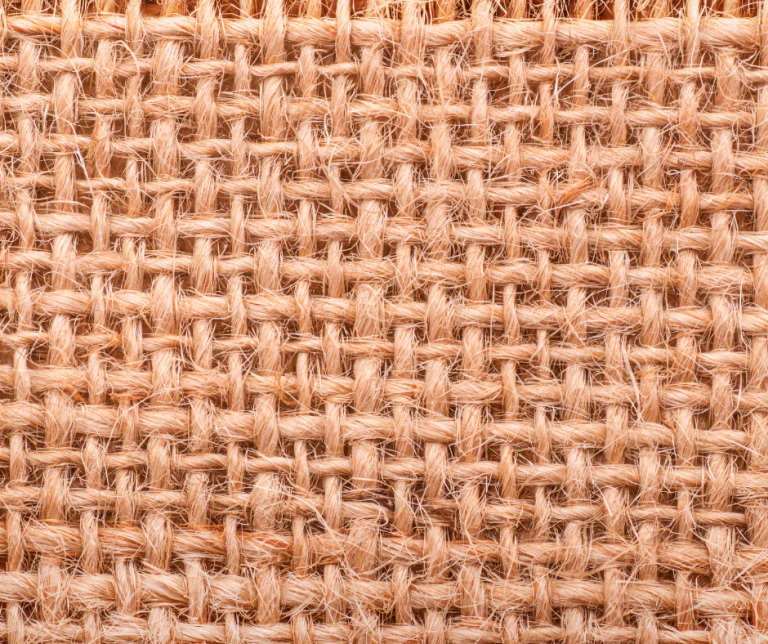
- Jute fabric — natural and durable
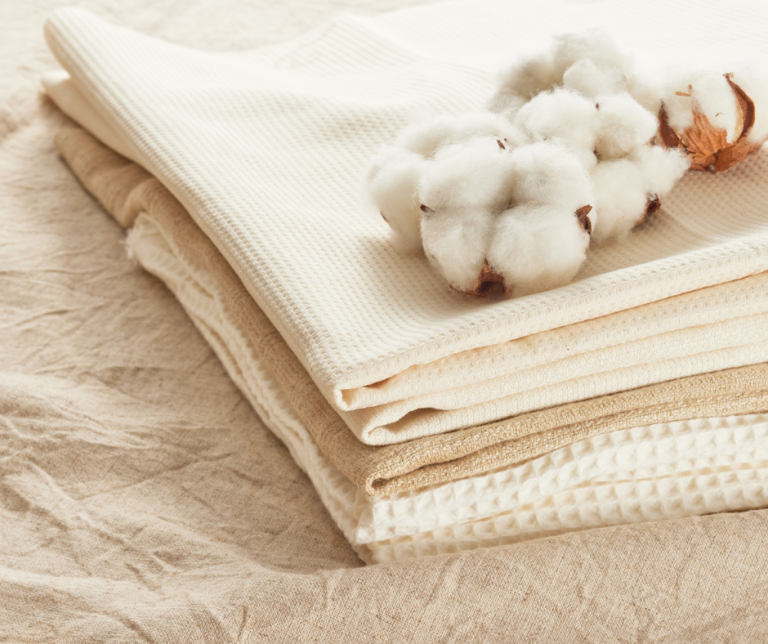
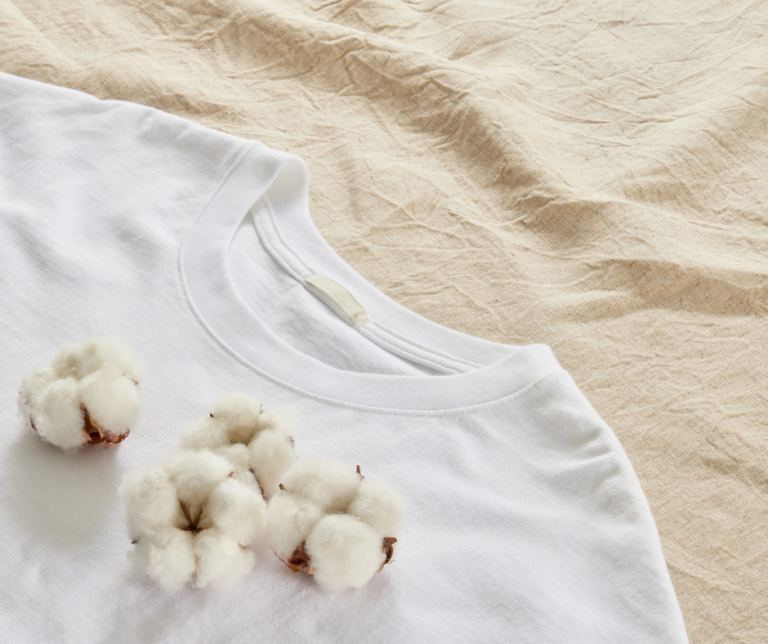
- Upcycled cotton cloths — soft and reusable
Just be sure to avoid synthetic or chemically treated materials, which could harm your worms or disrupt the composting process.

✅ Benefits:
- Retains moisture evenly across the bin
- Prevents dry patches and surface crusting
- Blocks light and deters fruit flies
- Encourages worms to feed near the surface
📏 How to Use:
- Lay the mat flat over the bedding—no need to tuck or bury
- Mist lightly if the bin feels dry
- Replace or rinse as needed (every few weeks)
Recommended Suppliers:
Purpose-Made Moisture Mats
- 🛒 Supplier: Wiggly Wigglers
- Hemp Composting Pads Pack of 4 also available in 2 and 6.
- Price Range: ~ £12-21
- 🛒 Supplier: Haofy Store
- Jute Worm Blanket
- Price Range: ~ £10-15
- 🛒 Supplier: Amazon UK
- Worm Blanket Jute Fibre
- Price Range: ~ £16
- 🛒 Supplier: mumisuto
- Hemp Mat, 60 x 60cm
- Price Range: ~£20-24
Material:
🛒 Supplier: Amazon UK- CRS Fur Fabrics Store
- Natural Hessian Fabric Material
Price Range: ~ £7 per m
🛒 Supplier: Amazon UK- Discount Fabrics Ltd Store
- Natural Muslin 100% Cotton Cheesecloth
Price Range: ~ £5 per m
🛒 Supplier: Wiggly Wigglers
- Hemp fibre Moisture Mats by the meter (1m/2m/5m)
Price Range: ~ £13-45
If you’re using a common wormery brand, you may find a compatible moisture mat for your system here.
Can O Worms (Circular)
- 🛒 Supplier: Wiggly Wigglers
- Mat for Can O Worms- Hemp Mat (Pack of 2), also 4/6 pack.
- Price Range: ~ £13 – 23
Urbalive (Oval)
- 🛒 Supplier: Wiggly Wigglers
- Urbalive Worm Composter Hemp Mat Fibre Blanket for Composting
- Price Range: ~£12 – 21
- 🛒 Supplier: Moutta
- Set of 10 Hemp Mats Urbalive 50 x 38 cm x 5 or x 10
- Price Range: ~£7-12
Tiger Wormeries (Square)
- 🛒 Supplier: Original Organics
- Coir Square Mat- Tiger Wormeries
- Price Range: ~£10
- Coir Square Mat Pack of 3- Tiger Wormeries
- Price Range: ~£18
The Original Wormery (Rectangular)
- 🛒 Supplier: Original Organics
- Coir Moisture Mat for The Original Wormeries.
- Price Range: ~£9
- Pack of 3 Coir Moisture Mat for The Original Wormeries.
- Price Range: ~£13
Indoor/Junior/Midi Wormeries (Round)
- 🛒 Supplier: Original Organics
- Coir mat for Midi and Indoor Stainless Steel Wormery
- Price Range: ~£ 7
- 🛒 Supplier: Original Organics
- Coir mat Junior Wormeries
- Price Range: ~£ 9
❓Are Moisture Mats a Requirement?
No-they’re optional, not essential. But, they’re a handy add-on for keeping your bin balanced—especially in dry rooms, heated homes, or during seasonal shifts.
Whether you use a purpose-made coir mat, upcycled cardboard, or a breathable fabric layer, they help retain humidity, reduce surface drying, and keep your worms comfortable. A simple tool for smoother composting, especially if you’re aiming for low-maintenance success.
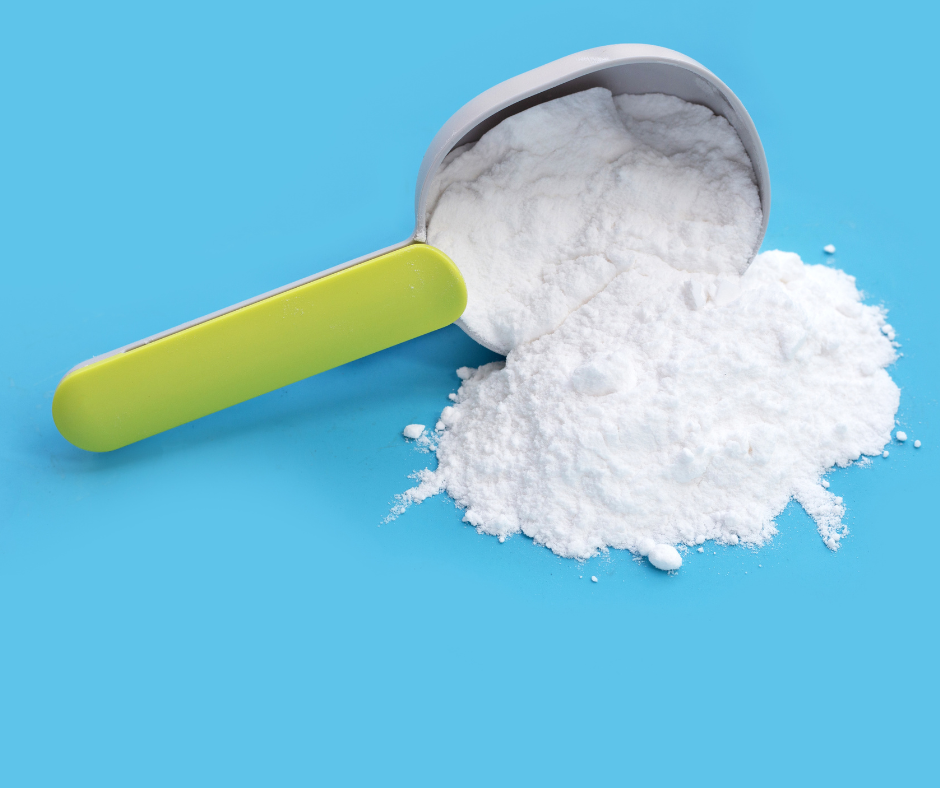
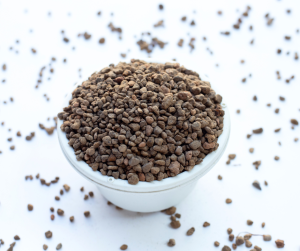
🍪 Worm Food or Treats
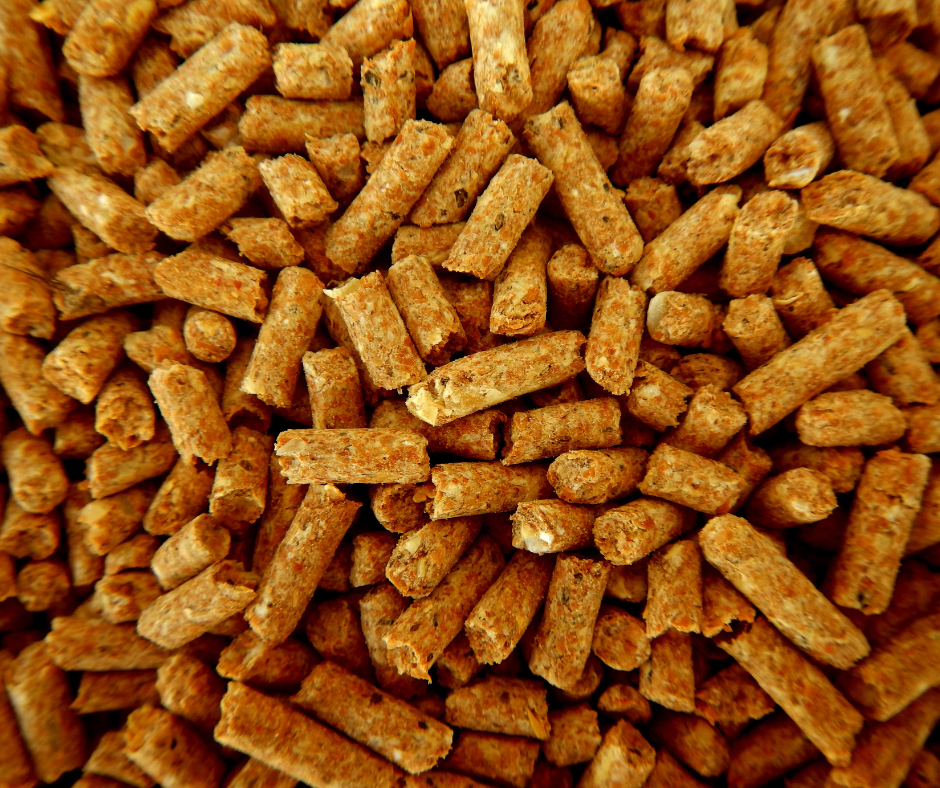
Some suppliers offer Worm Food or Treats as optional supplements designed to boost nutrition in your worm bin. These specially formulated blends provide balanced nutrients that help maintain worm health and support steady growth—especially useful when natural scraps are limited or during slower seasons.
Typical Ingredients
Typical Ingredients:
- Grains like maize, wheat, and soya
- Nutrient-rich additives to support worm development
- Sometimes natural binders or slow-release nutrients
When to Use
When to Use:
- To maintain worm populations when food waste is limited
- During colder months when decomposition slows
- For commercial or large-scale wormeries needing consistent feeding
How to Use
How to Use:
- Sprinkle a handful evenly over the top layer of moist bedding
- Moisten if the surface feels dry
- Reapply when fully consumed, avoiding overfeeding to prevent mould
Recommended Suppliers
- 🛒 Supplier: Wiggly Wigglers
- Worm Treat Pellets, 2kg (also 4kg)
- Price Range: ~£ 12-17
- 🛒 Supplier: CaplinTec
- Organic Worm Food- 500g
- Price Range: ~£ 10
- 🛒 Supplier: Original Organics
- Pelletised Worm Treats 1.5kg bag
- Price Range: ~£ 10
- 🛒 Supplier: Amazon UK
- Worm food, 1.8KG
- Price Range: ~£ 15
- 🛒 Supplier: Yorkshire Worms
- Worm Feed Pack 500g
- Price Range: ~£ 10
❓Is it a Necessity?
No-Worm Food/Treats aren’t essential, but it’s a useful supplement—especially for beginners, resets, or bins with limited food variety. If you’re curious, try it in small amounts and observe how your worms respond.
🪨🧂🌱 Optional Extras:
Rock Dust, Mineral Dust, Horticultural Grit, & Crushed Oyster Shells
These materials can be added to your worm bin to support digestion, balance pH, and enrich castings. They’re not essential- but they offer useful benefits when used correctly.
What do we mean by 'Grit'?
Grit consists of tiny, hard particles that worms store in their gizzard to help grind and break down food efficiently inside their digestive system.
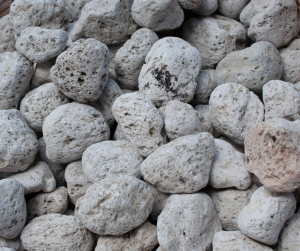
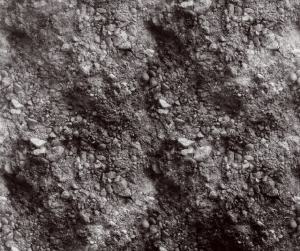
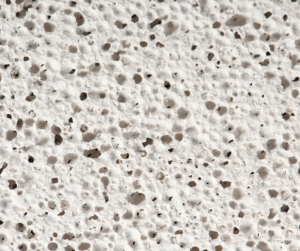
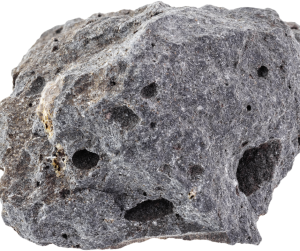
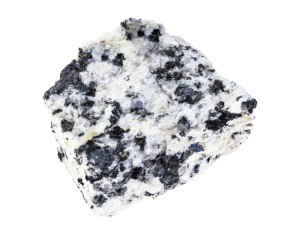
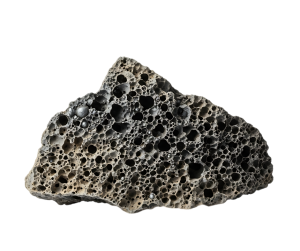
🪨 Rock Dust: Nature’s Mineral Booster for Your Worm Bin
Rock dust is finely ground volcanic or igneous rock, packed with essential trace minerals like calcium, magnesium, and iron.✅ Benefits of Rock Dust in Worm Bins
- 🥚 Acts as Grit to Aid Worm Digestion
- 🧃 Buffers Acidity
- 🌱 Improves Castings Quality
- 🪱 Supports Microbial Activity
- 🧺 Enhances Bin Resilience
When to Use
⌚When to Use Rock Dust
- Add it if your bin needs extra mineral support, especially during resets, periods of low activity, or when feeding acidic scraps.
- It’s best used sparingly and strategically—not as a routine additive.
- It pairs well with eggshells or mineral dust for a balanced grit and buffering mix.
How to Use
How to Use Rock Dust
- Occasionally, sprinkle 1–2 tbsp per feeding layer or 10L bedding.
- Best only to used during resets or acidic feeds.
- Use sparingly and only when needed- too much can dry out your bin or overwhelm your worms.
Recommended Suppliers
🛒 Supplier: Elixir
- Volcanic Rock Dust 500g Also available in bulk
Price Range: ~£ 6
🛒 Supplier: Wiggly Wigglers
- Volcanic Rock Dust Organic Fertiliser Soil Wormery 500g/1kg/2kg
Price Range: ~£ 9-16
🛒 Supplier: Gardening Naturally
- Volcanic Rock Dust 100% Natural Mineral 1kg
Price Range: ~£ 10 - Volcanic Rock Dust Minerals- 1kg/2.5kg/5kg/10kg
Price Range: ~£ 10-27
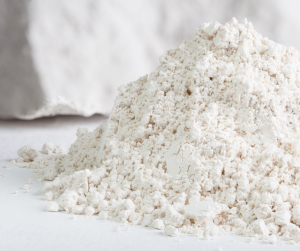
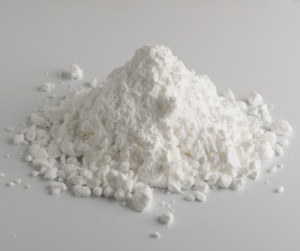
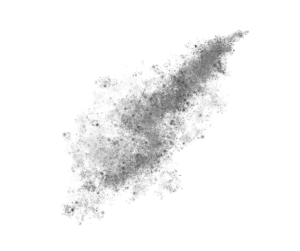
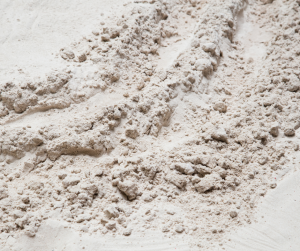
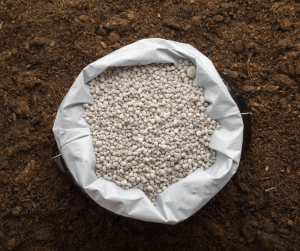
🧂 Mineral Dust
Mineral dust refers to finely ground powders made from natural or refined minerals—such as lime, gypsum, or volcanic blends.
✅ Benefits in Worm Bins
- 🧃 Buffers Acidity
- 🌱 Adds Trace Minerals
- 🪱 Supports Microbial Life
- 🧺 Improves Bin Resilience
- 🧴 Prepares Castings for Soil Use
When to Use
🧂 Mineral Dust: When to Use
- Use occasionally to buffer acidity and enrich castings
- Ideal during feeding of acidic scraps or bedding refreshes
- Add when worm activity slows or bin smells sour
- Pair with rock dust or eggshells for balanced mineral mix
How to Use
How to Use Mineral Dust
- Sprinkle 1–2 teaspoons per feeding layer or bedding refresh
- Use sparingly, not with every feed
- Ensure bedding is moist before application
- Combine with eggshells or rock dust for best effect
Recommended Suppliers
🛒 Supplier: Original Organics
- Mineral Worm Farm Conditioner 850g
Price Range: ~£ 9
🛒 Supplier: Elixir Gardens
- Dolomite Lime Range of sizes available
Price Range: ~£ 8-35
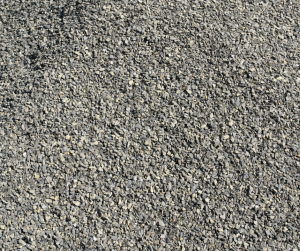
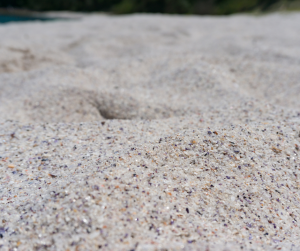
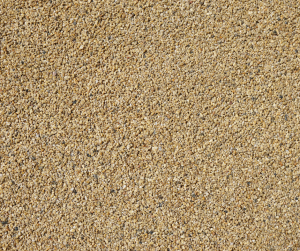
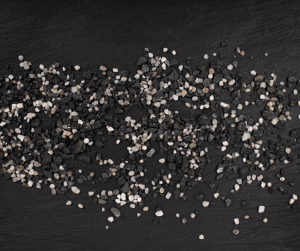
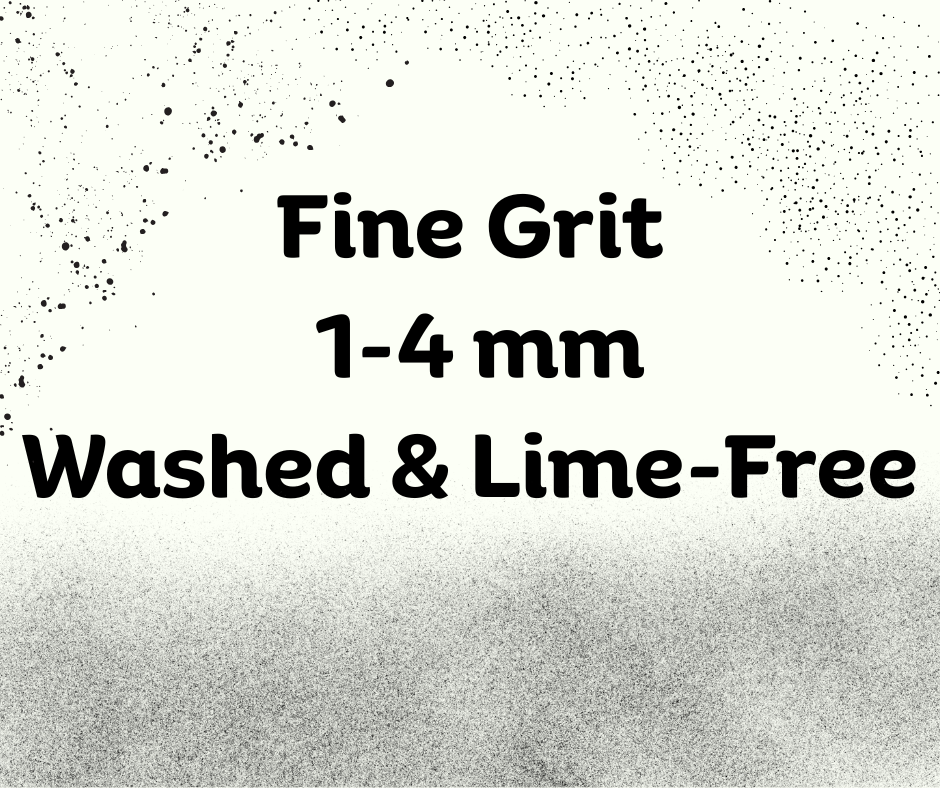
🌱 Horticultural Grit
Horticultural grit is a coarse, inert material made from crushed stone—typically silica or flint.
✅ Benefits in Worm Bins
- 🥚 Acts as Grit to Aid Worm Digestion
- 💨 Improves Bedding Texture
- 🚿 Enhances Drainage
- 🧺 Boosts Bin Resilience
- 🧱 Inert & Long-Lasting
When to Use
⌚ Horticultural Grit: When to Use
- Use to improve bedding texture and airflow
- Ideal during resets or when bedding feels soggy or compacted
- Add when worm digestion needs extra grit support
- Pair with eggshells or moist bedding for balance
How to Use
How to Use Horticultural Grit
• Mix a small handful into bedding or sprinkle with food layers
• Use as needed—not every feed
• Choose fine-grade (1–4 mm), washed, lime-free grit
• Avoid sharp or dusty types that may irritate worms
Recommended Suppliers
🛒 Supplier: Melcourt
- Melcourt Horticultural Potting Grit
Price Range: ~£ 6
🛒 Supplier: Vitax
- 4kg Horticultural Potting Grit
Price Range: ~£ 8-10
🛒 Supplier: Muddy Hands Store
- 7kg Horticultural Potting Grit
Price Range: ~£ 12
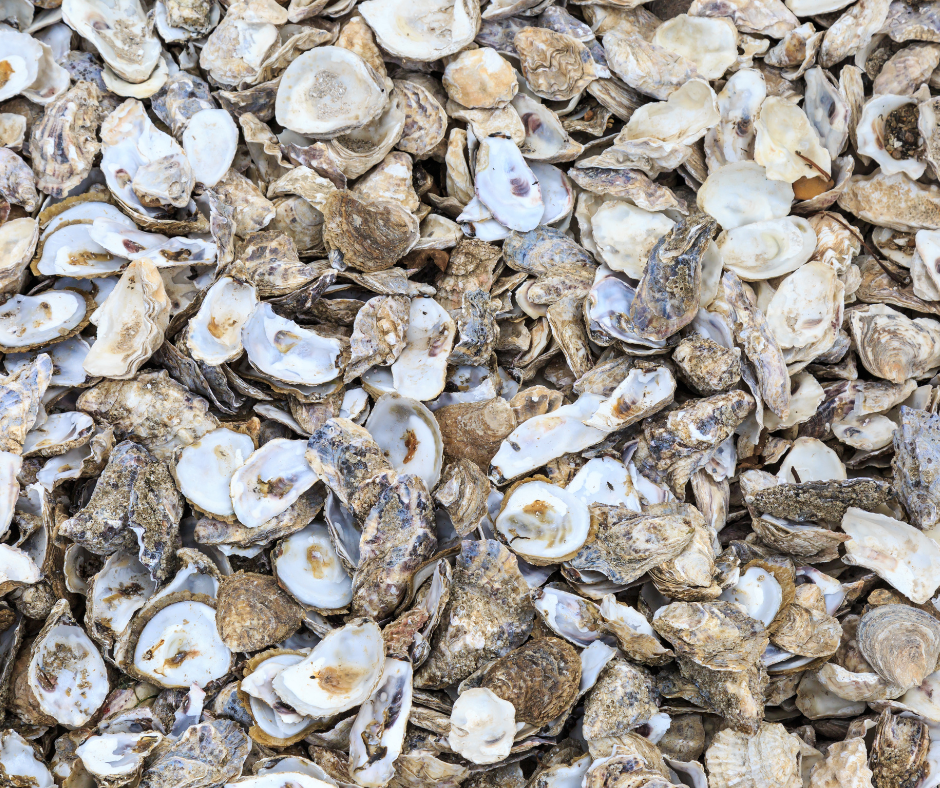
🐚 Crushed Oyster Shells
Crushed oyster shells are a slow-release source of calcium carbonate, offering both digestive grit and gentle pH buffering in worm bins.
✅ Benefits in Worm Bins
- 🥚 Acts as Grit to Aid Worm Digestion
- 🧃 Buffers Acidity
- 🌱 Mineral Enrichment
- 🧺 Long-Lasting
When to Use
⌚Crushed Oyster Shells: When to Use
- Use to buffer acidity and support worm digestion
- Ideal during resets or when feeding fermented or citrus scraps
- Add when castings need calcium enrichment or bin resilience
- Pair with eggshells or mineral dust for balanced mineral support
How to Use
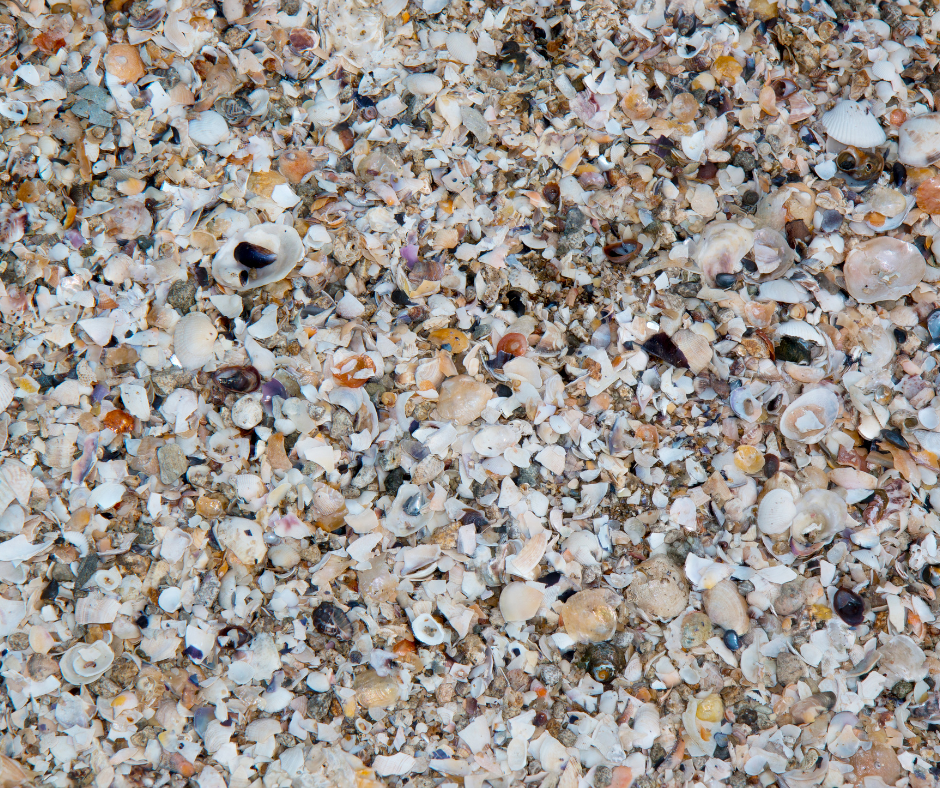
How to Use Crushed Oyster Shells
- Crush finely or use poultry-grade oyster shell grit
- Sprinkle 1–2 tablespoons per feeding layer or bedding refresh
- Use occasionally—not with every feed
- Combine with eggshells or rock dust for long-term bufferin
Recommended Suppliers
🛒 Supplier: Maltby’s Store
- 750g Fine Oystershell Bird Grit
Price Range: ~£ 6 - 1kg Fine Oystershell Bird Grit
Price Range: ~£ 9
🛒 Supplier: AB Tools
- AB Tools 2PK 600g Bird Crushed Oyster Shell
Price Range: ~£ 15
🛒 Supplier: Henry Bell
- Budgie Grit OYSTER SHELL
Price Range: ~£ 7
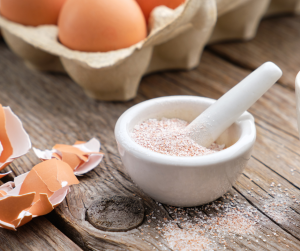
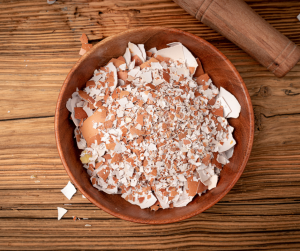
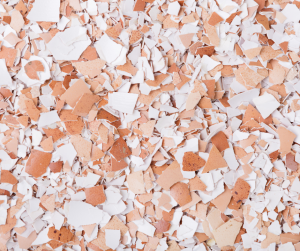
🥚Crushed Eggshells
Eggshells are a free, natural source of calcium carbonate that support worm digestion and help buffer acidity in your bin. When dried and crushed, they act as gentle grit and slow-release mineral enrichment—ideal for balancing soft, acidic food scraps.
✅ Benefits in Worm Bins
- 🥚 Acts as Grit to Aid Worm Digestion
- 🧃 Buffers Acidity
- 🌱 Adds Calcium to Castings
- 🧺 Improves Bin Resilience
- 🆓 Free & Upcycled


When to Use
⌚Crushed Eggshells: When to Use
- Use regularly to support digestion and buffer acidity
- Ideal when feeding soft, wet, or acidic scraps
- Add during resets or when castings need calcium enrichment
- Pair with oyster shells or rock dust for balanced mineral support
How to Use
🥚 How to Use Crushed Eggshells
- Rinse, dry, and crush finely before use
- Sprinkle with food scraps or mix into bedding
- Use 1–2 tablespoons per feeding layer
- Combine with other grit sources for best effect- great with oyster shell or rock dust for balance.
❓ Are Rock Dust, Mineral Dust, Shells & Grit Needed in Your Worm Bin?
These extras are not essential for worm survival but can significantly boost your bin’s health and output when used thoughtfully.Adding crushed eggshells is a simple, free, and sustainable way to provide gentle grit and calcium carbonate to your worm bin. They help with digestion, buffer acidity, and enrich your castings naturally.
However, if you don’t have access to eggshells or prefer to keep things vegan, you can substitute with alternative grit sources such as horticultural grit, crushed granite, or other plant-based mineral options to support your worms’ grinding process without animal products.

🧰 Optional Extra Equipment for Worm Bin Monitoring
While you don’t need fancy tools to run a healthy worm bin, a few optional extras can make monitoring easier and more precise. If you’re curious about moisture levels, pH balance, or seasonal temperature shifts, these tools can help you spot issues early and fine-tune your setup with confidence. Ideal for troubleshooting, teaching, or simply levelling up your vermicomposting game.
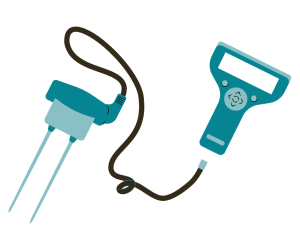
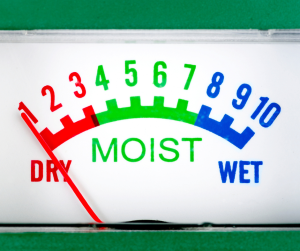
💧 Using a Moisture Meter in Vermicomposting
A moisture meter helps you check if your worm bin is too wet, too dry, or just right—without guesswork or messy hands.
Why Monitor Using a Moisture Meter
✅ Why Use a Moisture Meter:
- Ensures optimal moisture (like a wrung-out sponge)
- Prevents anaerobic conditions and bad smells
- Helps avoid dry zones that slow decomposition
- Useful for beginners and classroom setups
Ideal Moisture Range
💧 Ideal Moisture Range
Look for readings in the 40–60% range
How to Use Moisture Meter
📏 How to Use:
- Insert the probe into different areas of the bin
- Adjust by adding water (if dry) or bedding (if wet)
- Clean the probe after use to prevent corrosion
Recommended Moisture Meter Options
🛒 Supplier: Antonki
- 2 Pack Plant Water Meter, Soil Moisture Tester Hygrometer Sensor
Price Range: ~£ 9
🛒 Supplier: Yizerel
- 2 Packs Soil Moisture Meter, Hygrometer Sensor
Price Range: ~£ 10

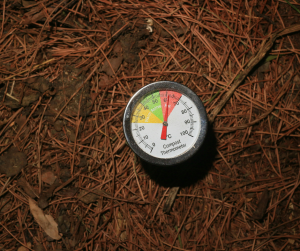
🌡️ Temperature Monitoring in Vermicomposting
Worms thrive in moderate temperatures—too hot or too cold can slow decomposition or harm your colony.
Why Monitor Temperature
✅ Why Monitor Temperature:
- Ensures worms stay active and healthy
- Helps prevent overheating in summer or freezing in winter
- Useful for outdoor bins, Bokashi integrations, or school setups
- Supports seasonal adjustments to feeding and bedding
Ideal Temperature Range
📏 Ideal Temperature Range:
- 10–25°C (50–77°F) is the sweet spot
- Below 10°C: worms slow down
- Above 30°C: risk of stress or die-of
How to Monitor Temperature
🧪 How to Monitor:
- Use a soil thermometer or a multi-function meter with a temperature probe
- Check different zones—especially near fresh scraps or bedding
- Adjust by insulating, relocating, or tweaking airflo
Recommended Thermometers
🛒 Supplier: Stronrive
- Garden Soil Temperature Thermometer
Price Range: ~£ 2-3 - Soil Thermometer Gardeners Pocket 150 mm
Price Range: ~£ 7
🛒 Supplier: Woodside
- Woodside Compost Thermometer
Price Range: ~£ 10
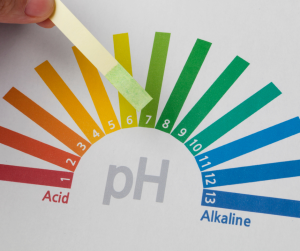
🟢 pH Monitoring in Vermicomposting
Worms and microbes thrive in a slightly acidic to neutral environment.
If pH drifts too far, it can cause:
- Worm stress or die-off
- Slower decomposition
- Smelly, sour bins
- Poor-quality castings
Why Monitor pH
✅ Why Monitor pH
- Monitoring pH helps you catch issues early and adjust with safe, worm-friendly methods.
Ideal pH Range
📏 Ideal pH Range
- 6.5 to 7.5 is the sweet spot
- Below 6.0: too acidic—risk of worm escape or inactivity
- Above 8.0: too alkaline—can harm microbes and castings
How to Monitor pH
🧪 How to Monitor pH
- Use a soil pH meter (standalone or part of a 4-in-1 tool)
- Insert the probe into moist bedding or near fresh scraps
- Take readings from multiple zones for accuracy
- Clean the probe after use to prevent corrosion
For occasional checks, pH test strips or liquid soil kits also work well.
Recommended pH Testing Items
🛒 Supplier: Lansonee
🛒 Supplier: Boltsafe
- Soil pH Test Strips 3–9 (100 Strips)
Price Range: ~£ 8-10
🛒 Supplier: Original Organics
- Soil pH Meter
Price Range: ~£13

Beginner-Friendly Monitoring Tools for Wormeries
If you want a single, easy-to-use device to measure pH, moisture, and temperature, soil meters are a great choice. Below, we’ve included two practical options: one battery-operated and one rechargeable, both ideal for beginners and small worm bins.
Recommened Item
🛒 Supplier: Yamron (battery operated) 🔋
- 4-in-1 Soil Moisture Meter
Measures: Temperature / Soil Moisture / pH / Sunlight Intensity
💷 Price Range: ~£20
🔧 Simple interface, ideal for beginners and small wormeries
🛒 Supplier: Loxiia (rechargable)🔌
- 4-in-1 Moisture Meter for Plants
Measures: pH / Moisture / Light / Temperature
🌀 Features: 180° Flex Neck for easy reading
💷 Price Range: ~£20
🔋 Rechargeable and portable
🔗 Handy Bundles Featuring Multiple Optional Extras
To make it easier and more cost-effective, we’ve gathered some bundles that combine two or more of the helpful accessories and tools mentioned throughout this guide.
Recommended Suppliers
 Supplier: Wiggly Wigglers
- Value Pack- 4kg worm treat, 4kg lime, 1kg rockdust & 4x moisture mats.
Price Range: ~£ 35-40 - Wormery Consumables Value Pack – 4kg Lime Mix & 4kg Worm Treat
Price Range: ~£25-30 - Full Starter Kit: Composter, Worms, Bedding, Worm Food, Lime and Moisture Mat
Price Range: ~£ 180-200
Supplier: Original Organics- Worms, Bedding & Lime
Price Range: ~£ 20
Supplier: Wormcity
- Wormery STARTER Kit – 500g Composting Worms, Worm Food, & Coir Bedding
Price Range: ~£ 30
Supplier: Yorkshire Worms
- STARTER Kit – 500g Composting Worms, Worm Food, & Coir Bedding
Price Range: ~£ 30

🌟 Ready to Boost Your Worm Bin?
If you’re looking to get the best results with your worm composting, these top tips will guide you toward a thriving, balanced system. For detailed advice on keeping your wormery happy and productive, see Section 9: Top Tips for Success.