D.J.
Environmental Advocate
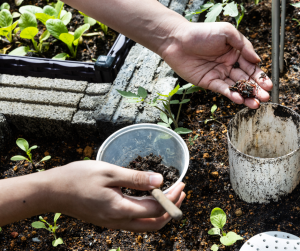
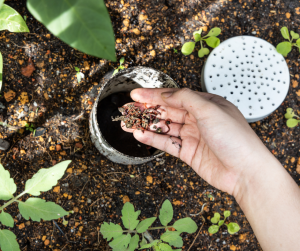
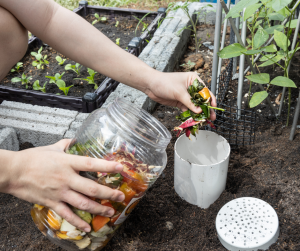
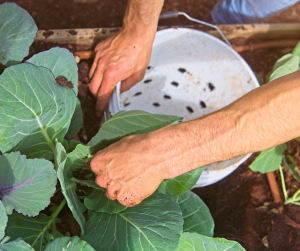
🌱 Installing an In-Ground Composter: Getting Started
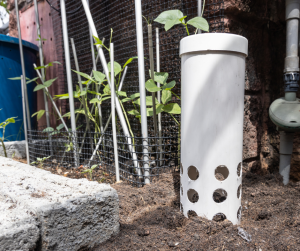
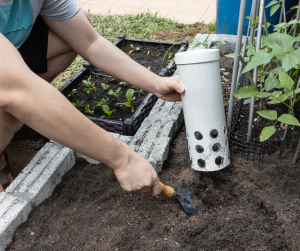
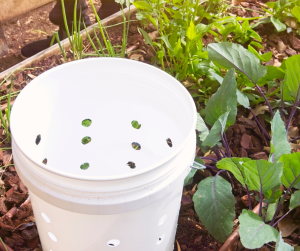
In-ground composters are a brilliant low-maintenance option for small gardens, raised beds, and even container setups. They allow food scraps to break down directly in the soil, feeding nearby plants while keeping pests and smells at bay. Installation is simple and requires minimal tools—perfect for beginners, schools, or anyone looking to compost discreetly and efficiently.
Whether you’re using a DIY container or a purpose-built unit, this section will walk you through choosing a location, preparing the ground, and setting up your composter for success.
Affiliate Note: Some links may earn a small commission — at no extra cost to you. I only recommend UK suppliers I trust.
🛒 What’s Included in a Ready-Made In-Ground Vermicomposter Kit
If you’ve purchased a commercial worm tower or in-ground vermicomposter, most kits arrive with the essentials for quick setup and long-term use. While designs vary slightly, here’s what’s typically included:
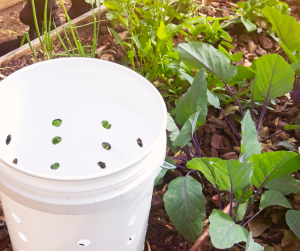
- 🔲 Vented Lid – Keeps pests out while allowing airflow
- 🕳️ Pre-Drilled Ventilation Holes – Supports aerobic decomposition
- 📄 Setup Instructions – Covers installation, bedding, and maintenance basic


🌿 Quick Installation Steps
- Choose a Location
Pick a spot near garden beds or fruit trees with partial shade and good drainage. - Dig the Hole
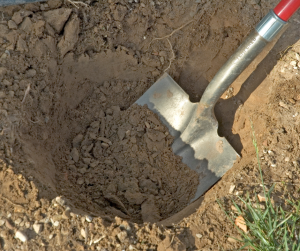
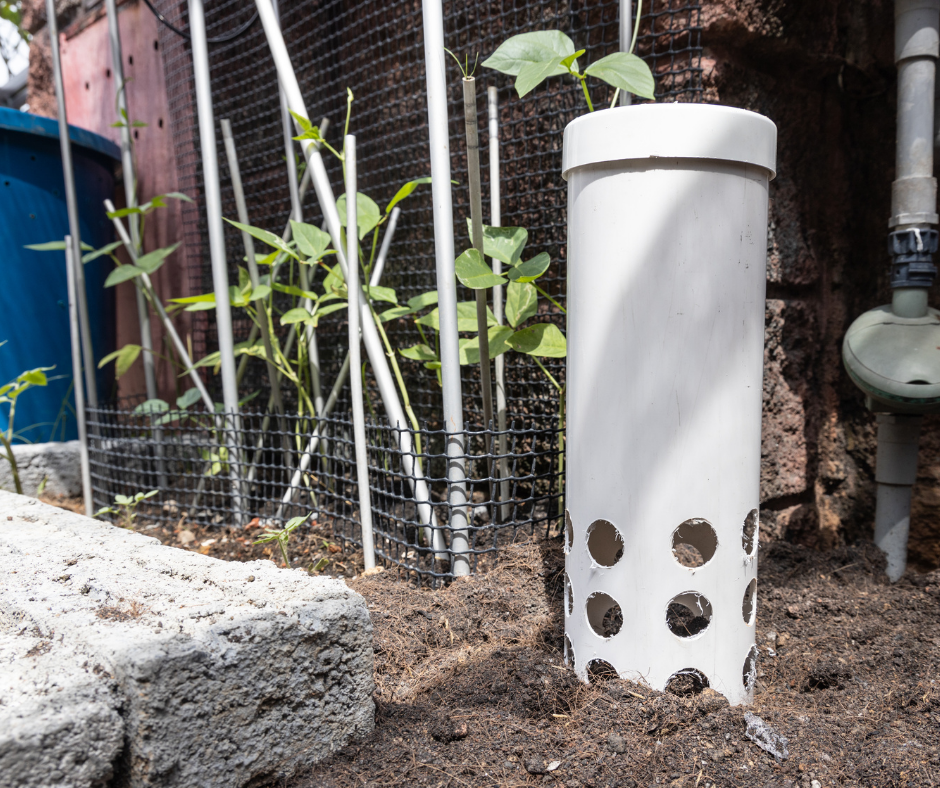
Dig deep enough to bury the tower up to its ventilation holes or marked line (usually two-thirds of its height). - Place and Backfill
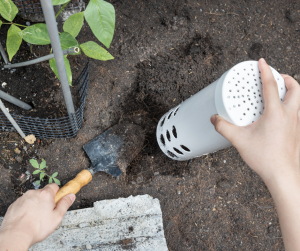
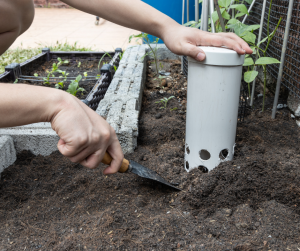
Insert the tower and backfill soil firmly around it. Ensure the lid sits flush with the surface. - Secure the Lid
Close the lid to keep pests out while allowing airflow. Some lids twist-lock or snap shut.
Recommended Suppliers
Below is a list of options you may wish to explore.
📍 Ideal Placement for Your In-Ground Composter
🪱 Worm Comfort Essentials: Shade, Drainage & Airflow
Creating a comfortable environment for your worms means paying attention to shade, moisture, and airflow
- Partial shade is best: Direct sunlight can overheat and dry out your worms, so choose a spot with some shade during the day.
- Well-drained ground: Avoid low spots where water pools—excess moisture can drown worms and slow composting.
- Allow space for aeration: Don’t wedge it between solid structures; airflow around the unit supports aerobic breakdown.

🚶♀️ Accessibility & Safety First
Placing your composter where it’s easy to reach and safe to use makes regular care simple and stress-free. Thoughtful location choices help keep everyone comfortable and protect your setup from accidental damage.

- Close to kitchen or garden: Convenience encourages regular use and easy access for adding scraps or monitoring.
- Accessible year-round: Choose a spot that’s easy to reach in winter or wet weather—avoid areas that get boggy or icy.
- Stable footing: If children or beginners will be using it, ensure the area around the composter is level and safe to stand on.
- Avoid heavy traffic zones: Keep it away from paths or play areas to prevent disturbance or accidental damage.
🌿 Plant & Wildlife Considerations
Thinking about what’s around your composter helps maximise its benefits and avoid common problems. Placing it near hungry plants can boost growth, while staying clear of tree roots prevents damage. Being mindful of local wildlife activity lets you take simple steps to protect your composter from curious visitors.
- Consider plant proximity: Placing it near hungry feeders (like courgettes or tomatoes) allows them to benefit from nutrient-rich leachate
- Check local wildlife activity: If foxes or badgers are common, avoid placing it near fences or burrows—secure lids and deep installation help too.
- Keep away from tree roots: Roots may invade and disrupt the composter, competing for nutrients or causing blockages.

Preparing the Ground
Before installing your in-ground composter, take a few minutes to prep the site for stability and drainage:
⚠️ Problematic Ground Conditions
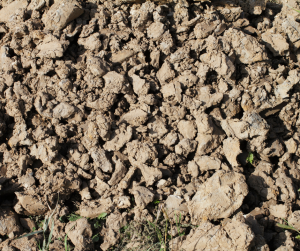
- Heavy clay soil: Poor drainage can cause waterlogging and suffocate worms.
- Compacted or stony ground: Difficult to dig and blocks airflow and leachate flow.
- Buried rubble or debris: Creates barriers and invites pests.
- Sloped or uneven surfaces: Lead to instability and misaligned lids.


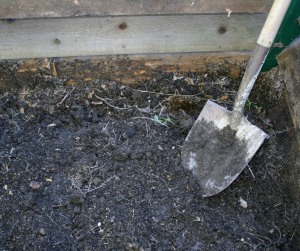
➡️ Prep Your Site
- Clear the area: Remove grass, weeds, mulch, and any debris.
- Level the surface: Create a flat, stable base for the tower.
- Remove or avoid roots and rubble to prevent installation issues and pest problems.
- Loosen compacted soil: Fork or dig to improve drainage and ease digging.
- Optional: Add a 1–2 cm gravel layer at the base to boost drainage in heavy soils.
⛏️ Digging & Installing Your In-Ground Worm Composter
🪱 Burying Depth: Partial vs Full
In-ground composters come in different designs—some are made to be partially buried, while others are intended to be fully buried. The depth affects airflow, drainage, insulation, and ease of access. Always check your product’s instructions or markings before installation to ensure you’re setting it up correctly for long-term success.
If your composter is meant to be partially buried, follow these steps:
- Dig a hole about two-thirds the height of the tower, usually 12–18 inches (30–45 cm) deep.
- Position the tower so the top rim sits flush with or slightly above the ground level.
- Backfill soil firmly around the base to stabilize the tower and close any gaps.
- Ensure the lid is easily accessible and properly aligned to allow airflow and prevent pests.
- This method balances worm comfort, ventilation, and ease of use.

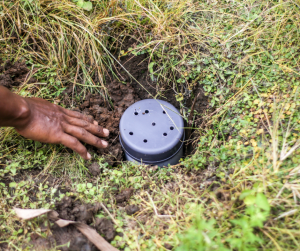
If your composter is designed to be fully buried, follow the instructions below:
- Dig a hole deep enough to accommodate the entire height of the tower, leaving only the lid exposed above ground.
- Place the tower upright in the hole, ensuring it sits securely and level.
- Backfill soil firmly around the sides to prevent gaps and keep the tower stable.
- Make sure the lid is flush with the ground surface to protect against pests and weather.
- Check drainage carefully—fully buried towers may need extra attention to avoid waterlogging.
🪱 Additional Worms or Natural Decomposition?
After installing your in-ground composter, you have two effective options for kickstarting the breakdown process:
➕🪱 Add Composting Worms
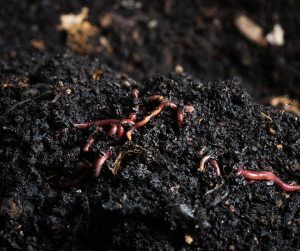
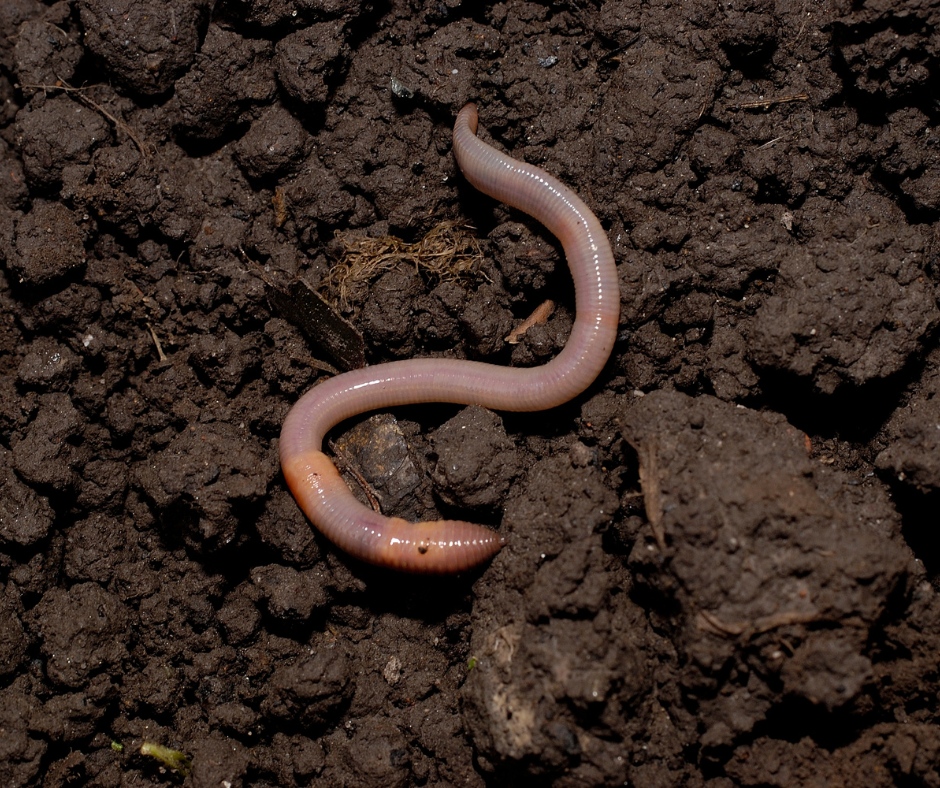
Introducing specialist composting worms can significantly speed up decomposition and enrich your garden soil. These surface-dwelling worms thrive in moist, organic environments where they actively digest food scraps, transforming waste into nutrient-rich compost.
✅ Using hardy worms like European nightcrawlers is ideal for faster results and a robust, nutrient-rich compost output.
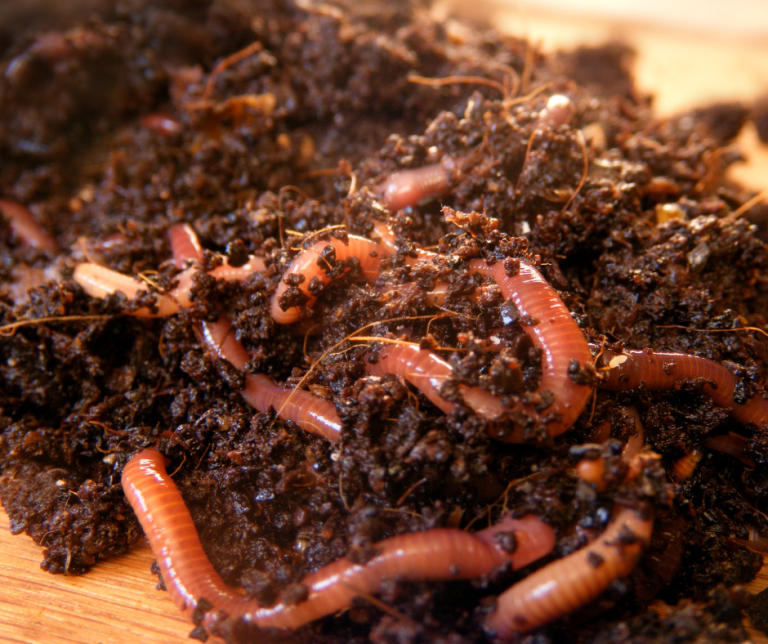
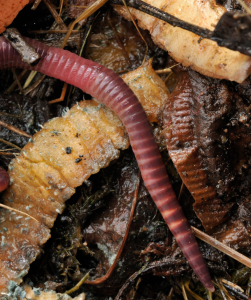
For outdoor systems in the UK, the recommended composting worms are European nightcrawlers (Eisenia hortensis, also known as Dendrobaena veneta). They’re more resilient to cooler and wetter UK weather than the commonly suggested Eisenia fetida (tiger worms). While Eisenia fetida is often recommended with vermicomposter purchases because it’s widely used in composting, it tends to be more sensitive to colder temperatures and may struggle outdoors in UK climates without additional insulation.
For more detailed guidance and information on UK-appropriate worms, check out Vermicomposting Guide: Section 4 – Vermicomposting Worms UK.
Let Nature Take its Course
If you prefer a low-maintenance approach, you can skip adding worms.
Native soil organisms—including common earthworms (Lumbricus terrestris), microbes, and insects—will gradually migrate into the composter and break down materials over time.
✅This method works best in healthy, active soil and may take longer to establish.
Both methods support soil health and sustainability—choose what suits your garden and maintenance style.
🪱 What to Add After Installation
Partially Buried Tower
- Moist bedding layer
- Composting worms (optional): Ideal for faster results. Eisenia hortensis is recommended for UK.
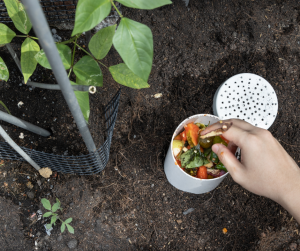
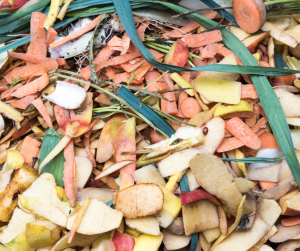
- Starter scraps: Begin with a small handful of soft fruit/veg peelings.
- Secure lid: Ensure it’s flush and pest-proof.
- Winter tip: Insulate with mulch or straw if using composting worms.
✅ Best for active composting and easy access.

Fully Buried Tower
- Moist bedding layer: consider adding more to buffer temperature swings.
- Composting worms (optional): Still possible, but airflow may be reduced—monitor moisture carefully.
- Starter scraps: Add gradually to avoid anaerobic buildup.
- Lid check: Ensure only the lid is exposed and fits snugly.
- Natural decomposition option: Fully buried towers are well-suited to passive breakdown via native soil organisms.
✅ Best for low-maintenance setups and soil enrichment over time.
🛏️ Moist Bedding Layer
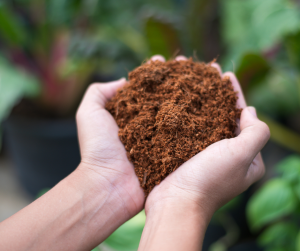
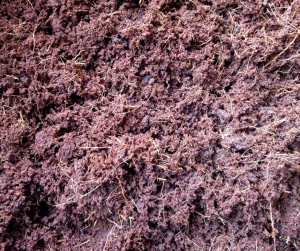
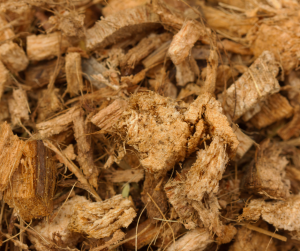
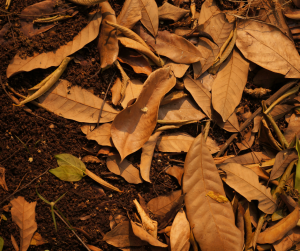
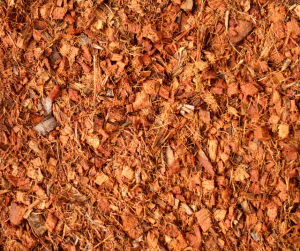
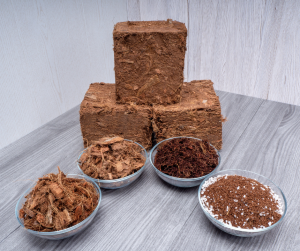
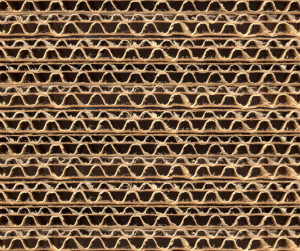
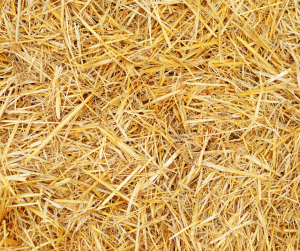
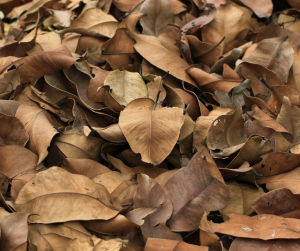
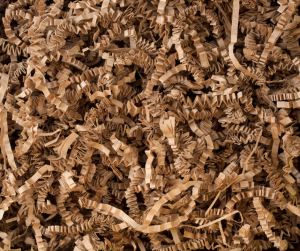
For a comfortable environment inside your worm tower, start by adding a moist bedding layer made from materials like shredded cardboard, coir, or aged leaves.
For detailed steps on preparing the perfect bedding, check out Section 6: Setting Up Your Vermicomposter.


















 What Foods To Add
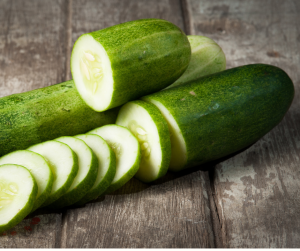
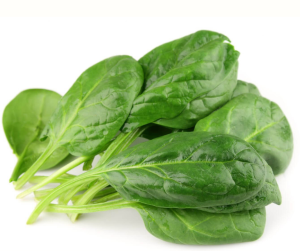
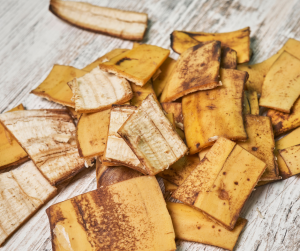
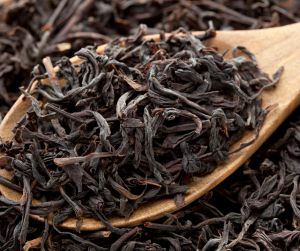
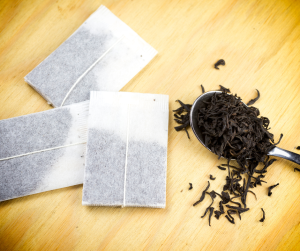
Once your bedding is prepared and your worms (or native decomposers) are in place, you can begin adding food scraps. Start small to avoid overload and monitor moisture levels.
For a full breakdown of what to feed your system—including safe scraps, quantities, and rotation tips—see Section 5: Feeding Your Vermicomposter.
🔄 Maintenance Basics
In-ground wormeries are a low-fuss way to compost food scraps, but a little seasonal care keeps them thriving. Regular feeding, moisture checks, and rotation help maintain healthy decomposition.
🍽️ Feeding frequency
Add small amounts weekly or biweekly depending on season and worm activity.
💧 Moisture check
Bedding should feel like a wrung-out sponge—neither soggy nor dry.
🔁 Rotation tip
Feed in different spots to encourage even breakdown and avoid hotspots.
🔍 Monitor activity
Look for signs of healthy decomposition—worm movement, earthy smell, and gradual scrap disappearance.

🐾 Pest Prevention
A brief reminder to help avoid common issues:
- Avoid meat, dairy, and oily foods to prevent smells and pests.
- Always cover fresh scraps with bedding or soil to deter flies.
- Secure the lid and check for gaps—especially in warmer months.
🌱 Harvesting from In-Ground Vermicomposters
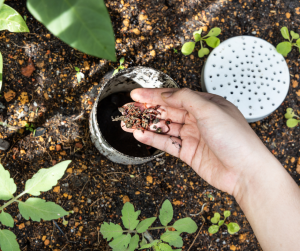
In-ground wormeries quietly build up rich castings below the surface. With minimal disruption, you can collect this nutrient-dense compost to feed your garden beds, pots, or seedlings. A few simple steps help you harvest while keeping your worms active and undisturbed.
🪱 How to Harvest Vermicast
- Pause feeding for at least 1 week to allow worms to finish processing scraps
- Lift the lid or cover and expose the surface to light — this encourages worms to move deeper
- Carefully lift the composter out of the ground
- Empty contents onto a tray or flat surface
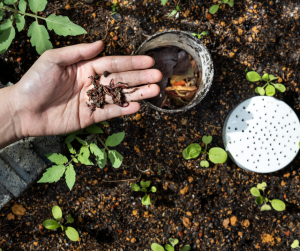
- Scrape off finished castings layer by layer, or use a fine sieve to separate them from worms, cocoons, and unfinished material
- Return any worms, cocoons, or unprocessed bits back into the composter
- Use castings to enrich soil or brew worm tea for liquid feed
- Top up the composter with fresh bedding to reset moisture and structure
For more details on harvesting and using vermicast, explore Section 7: Harvesting Vermicast.
🌱 Tips for Success
Getting the most out of your worm towers is all about smart habits and a little seasonal care. These simple tips will help keep your compost humming along smoothly, no matter the size of your garden or the time of year.
- Use multiple units to spread the load and accelerate composting across your space
- Rotate feeding zones inside each composter to avoid overload and keep worms active
- Insulate in winter with straw, mulch, or fleece to protect worms from frost and maintain activity

🌿 Final Note:
In-ground vermicomposters are a quiet powerhouse for sustainable gardening — simple to install, easy to maintain, and rich in long-term rewards. With thoughtful placement, seasonal care, and gentle harvesting, your worms will work year-round to transform scraps into soil-building gold. Whether you’re starting small or scaling across a larger garden, this system grows with you — naturally.

