

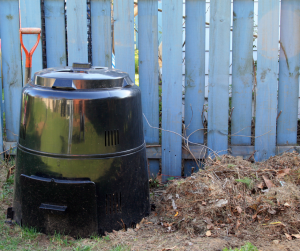
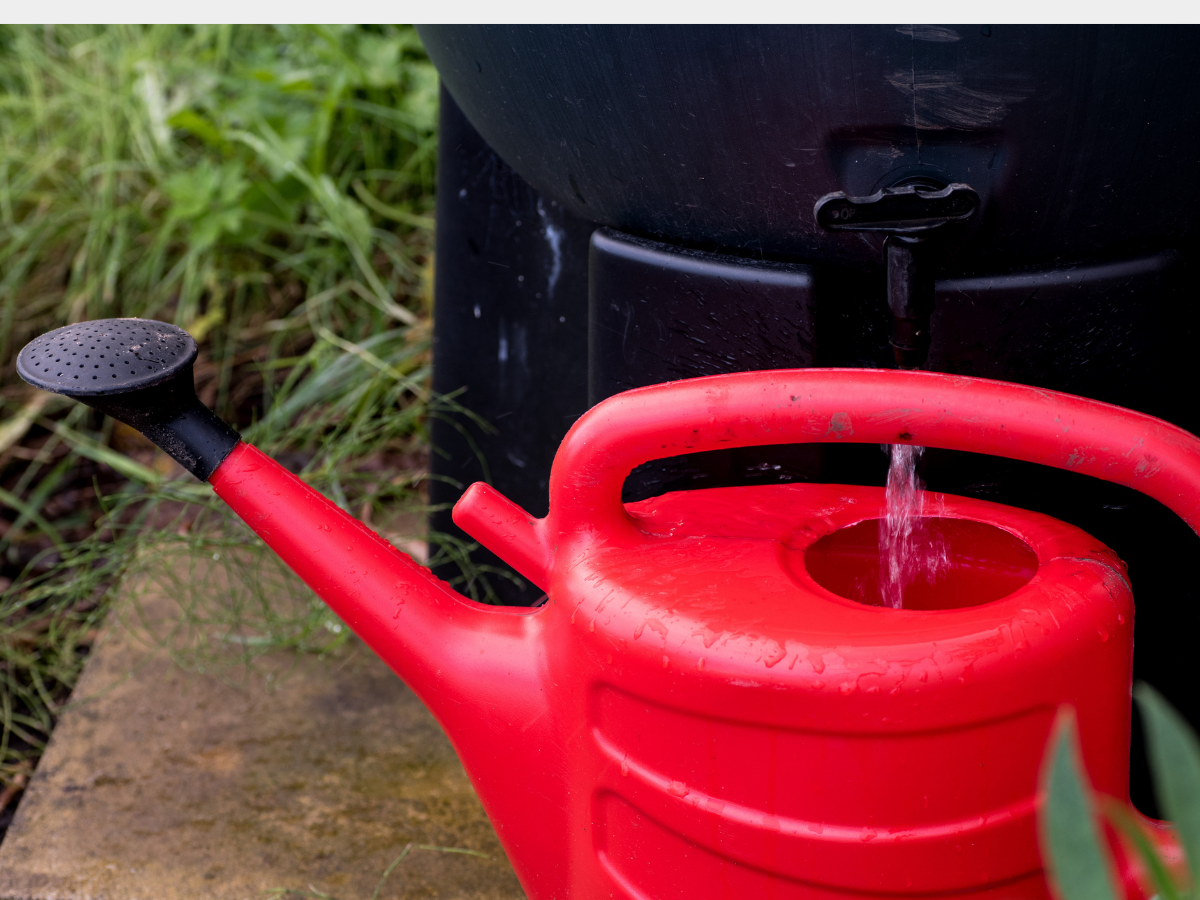
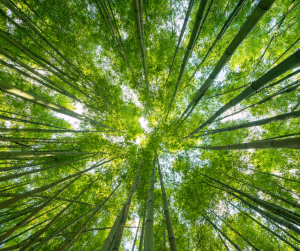
Step 1: Choose Location 📍
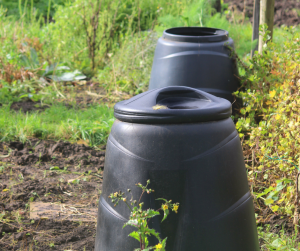
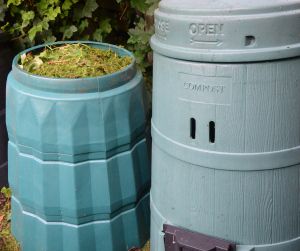
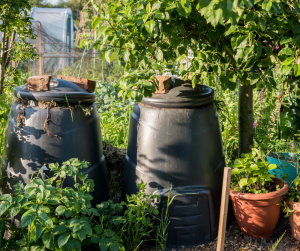
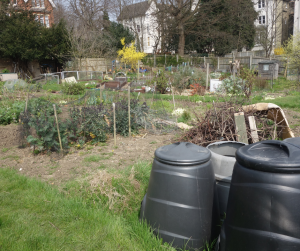

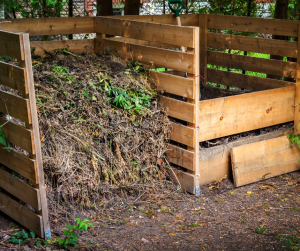
What Makes the Location Ideal
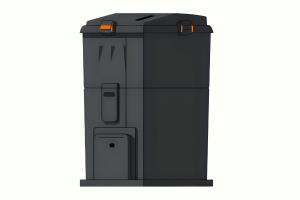
Recommended Suppliers


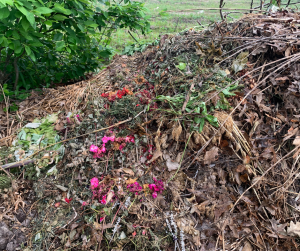
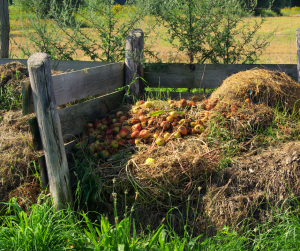
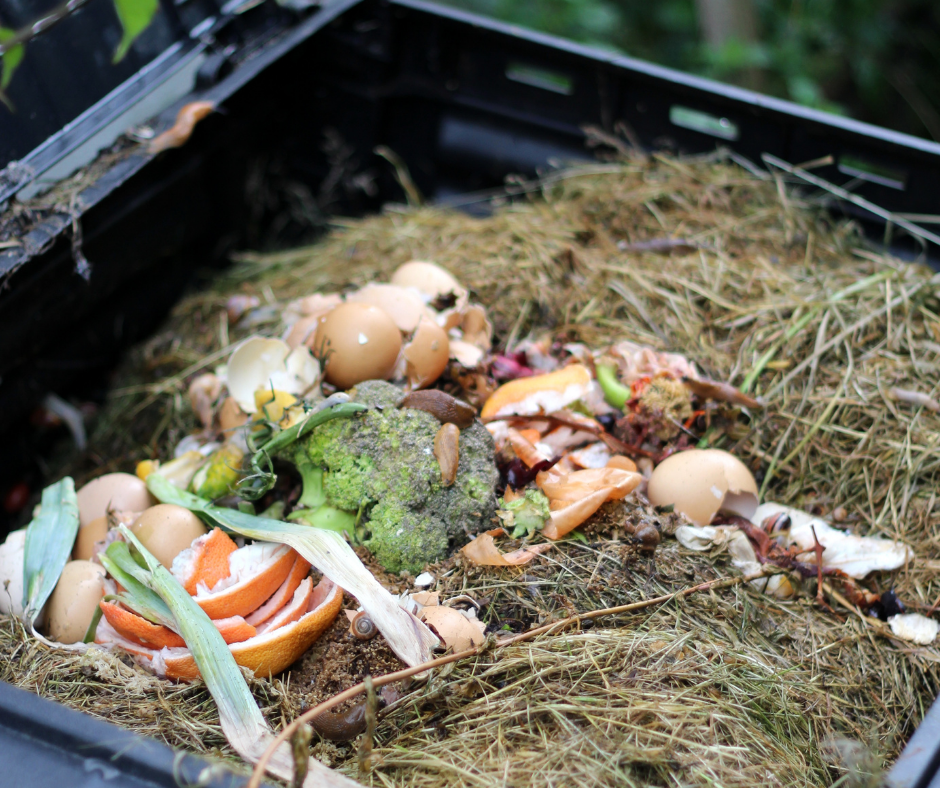
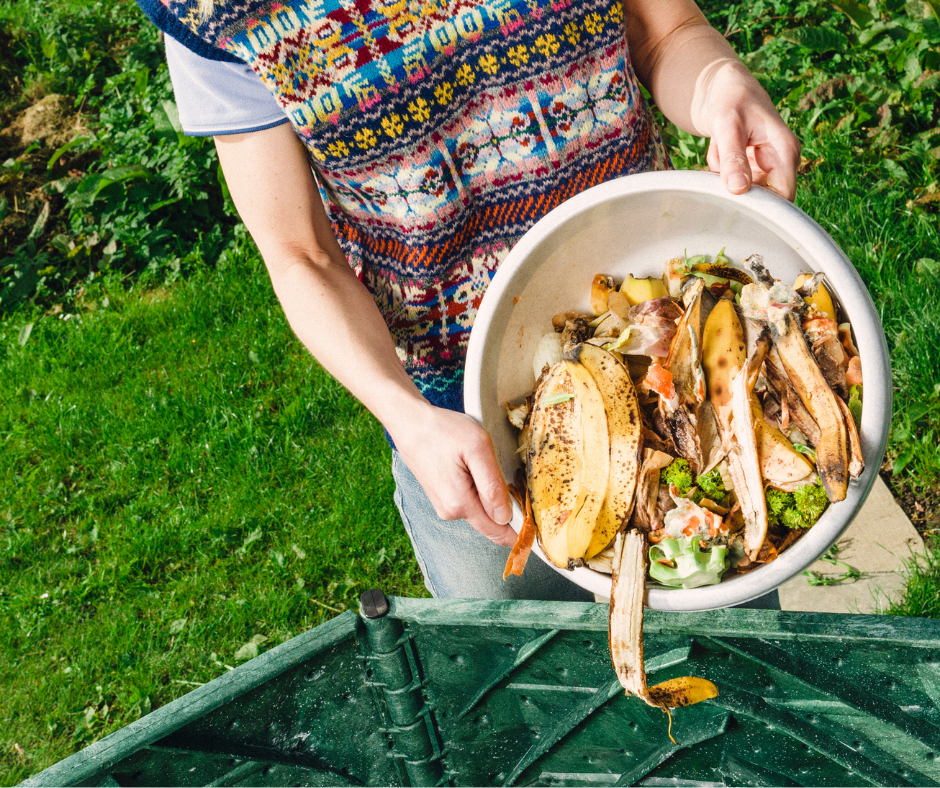
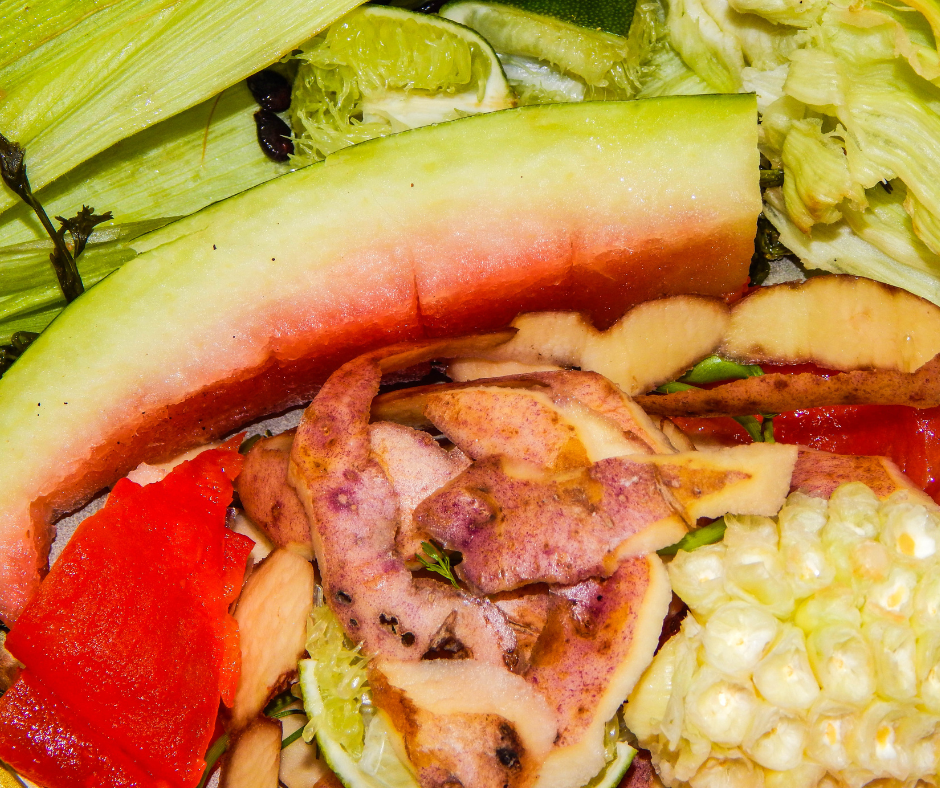
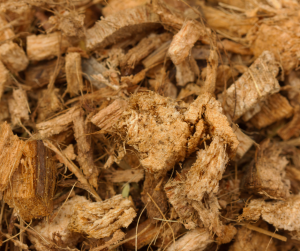
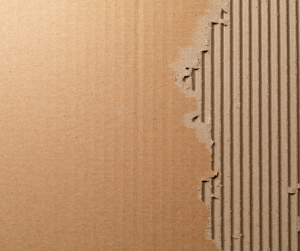
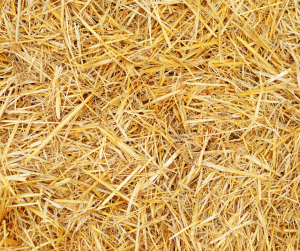
Step 2: Gather Materials 🌿🍌
 Greens (Nitrogen-rich)
- fruit & veg scraps
- grass clippings
- manure (herbivore only)
- coffee grounds & tea leaves
- Plant trimmings (green)
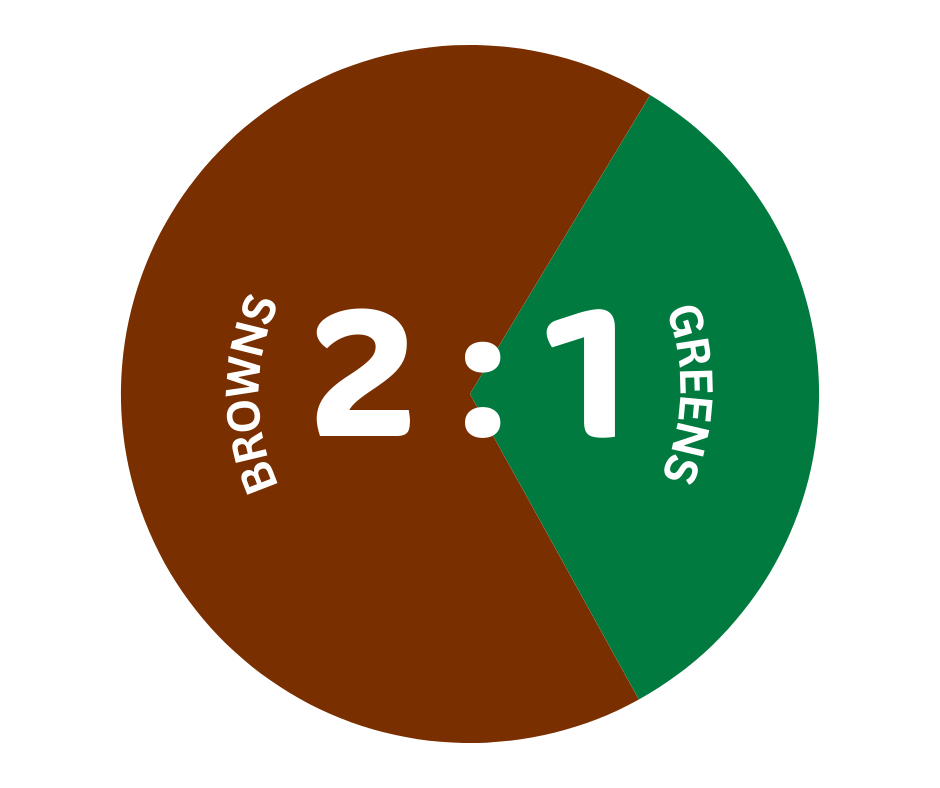
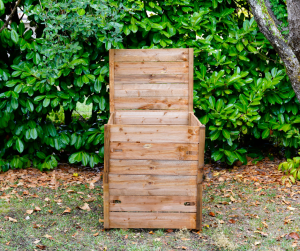
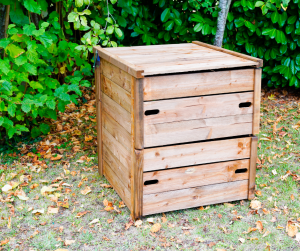
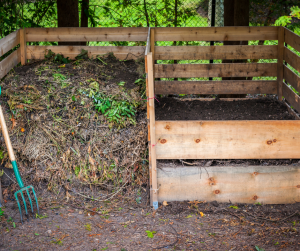
Step 3: Layer and Build 🧱
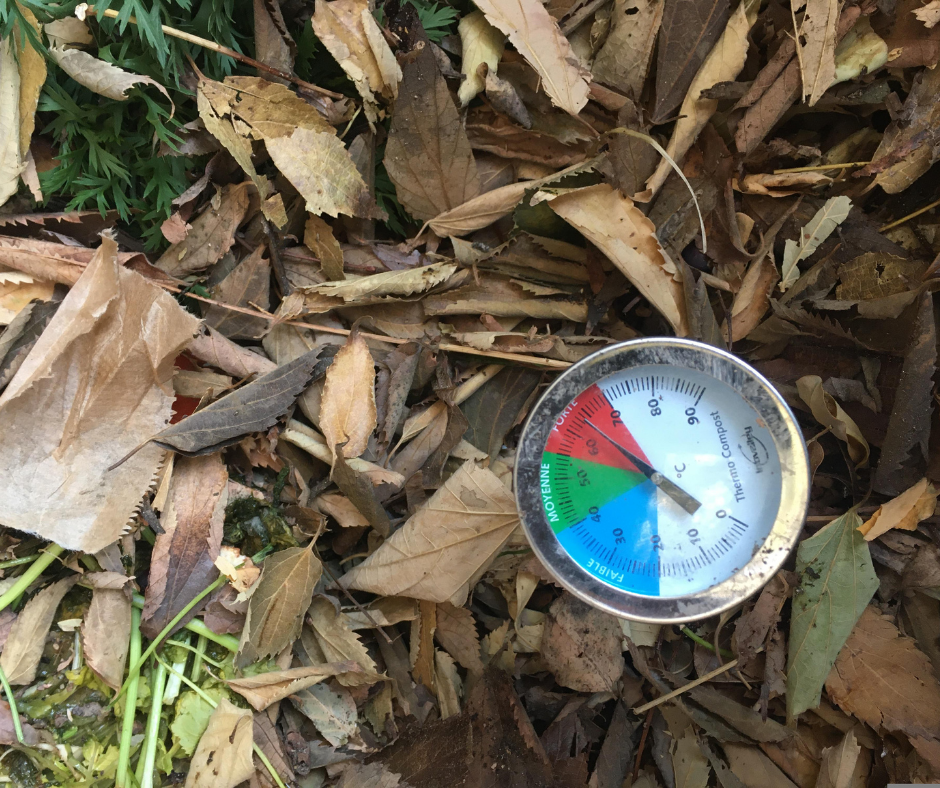
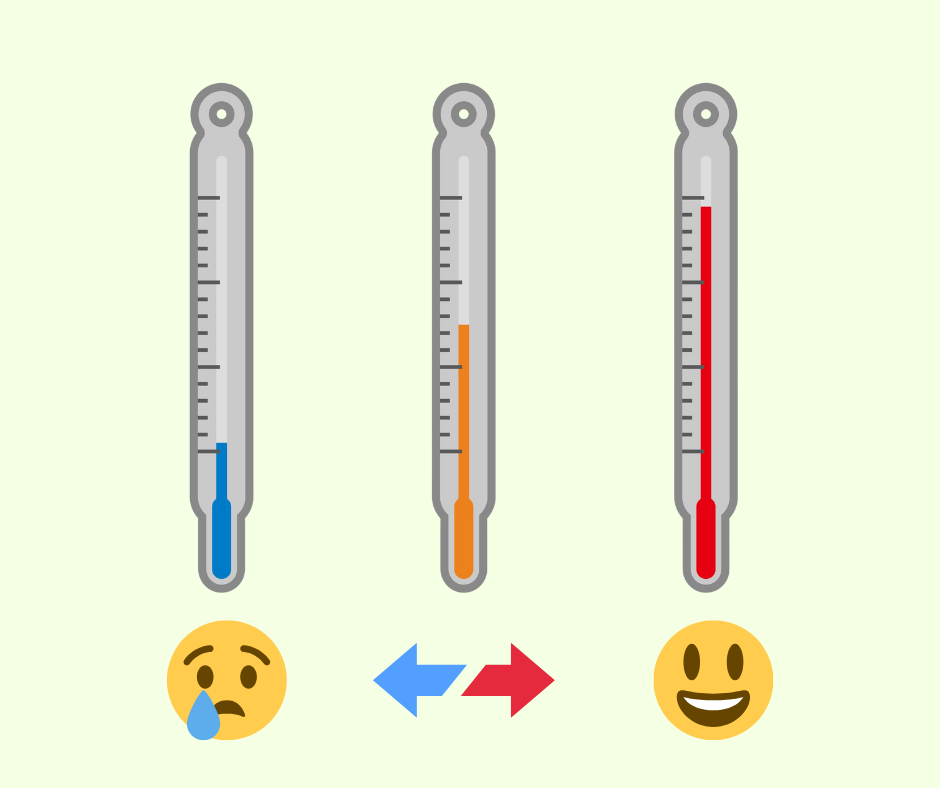
Step 4: Monitor Temperature 🌡️
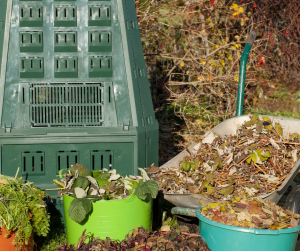
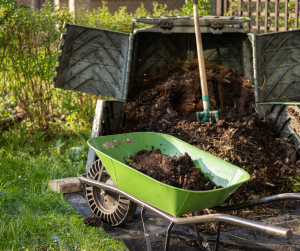
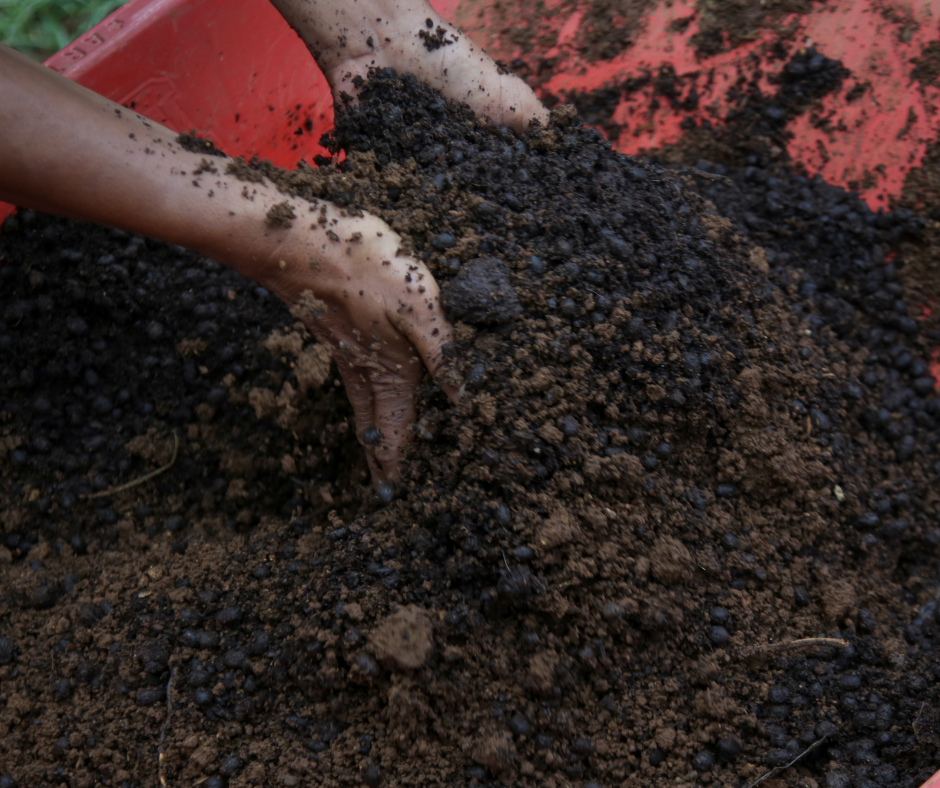
Step 5: Turn Regularly

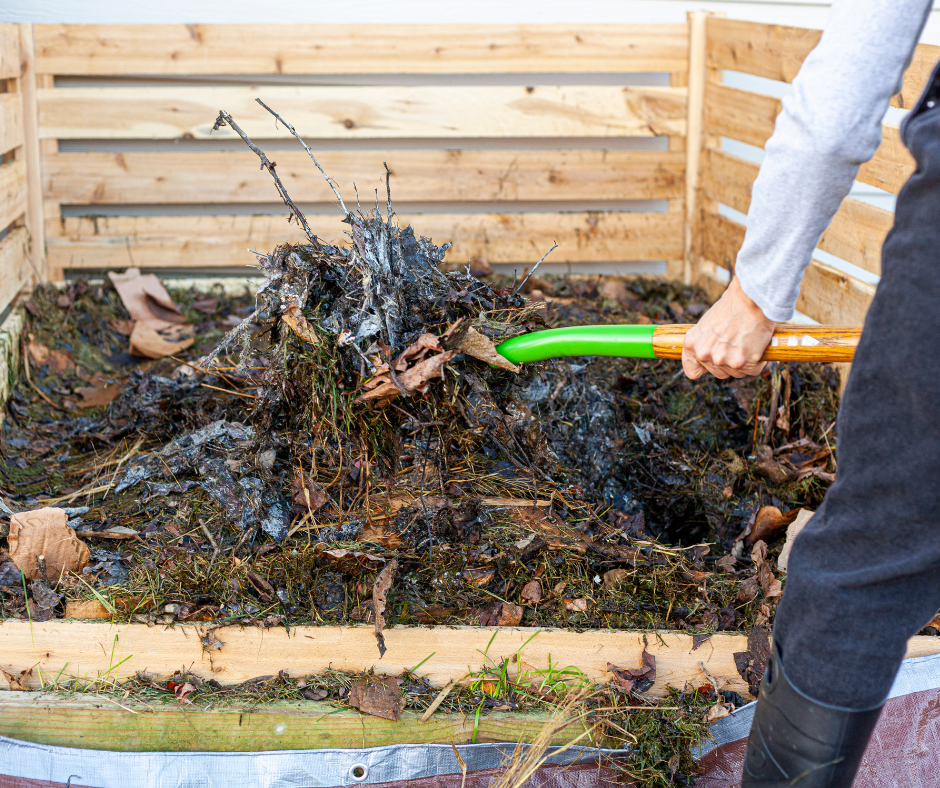
Recommended Supplier


Step 6: Watch for Signs 👀


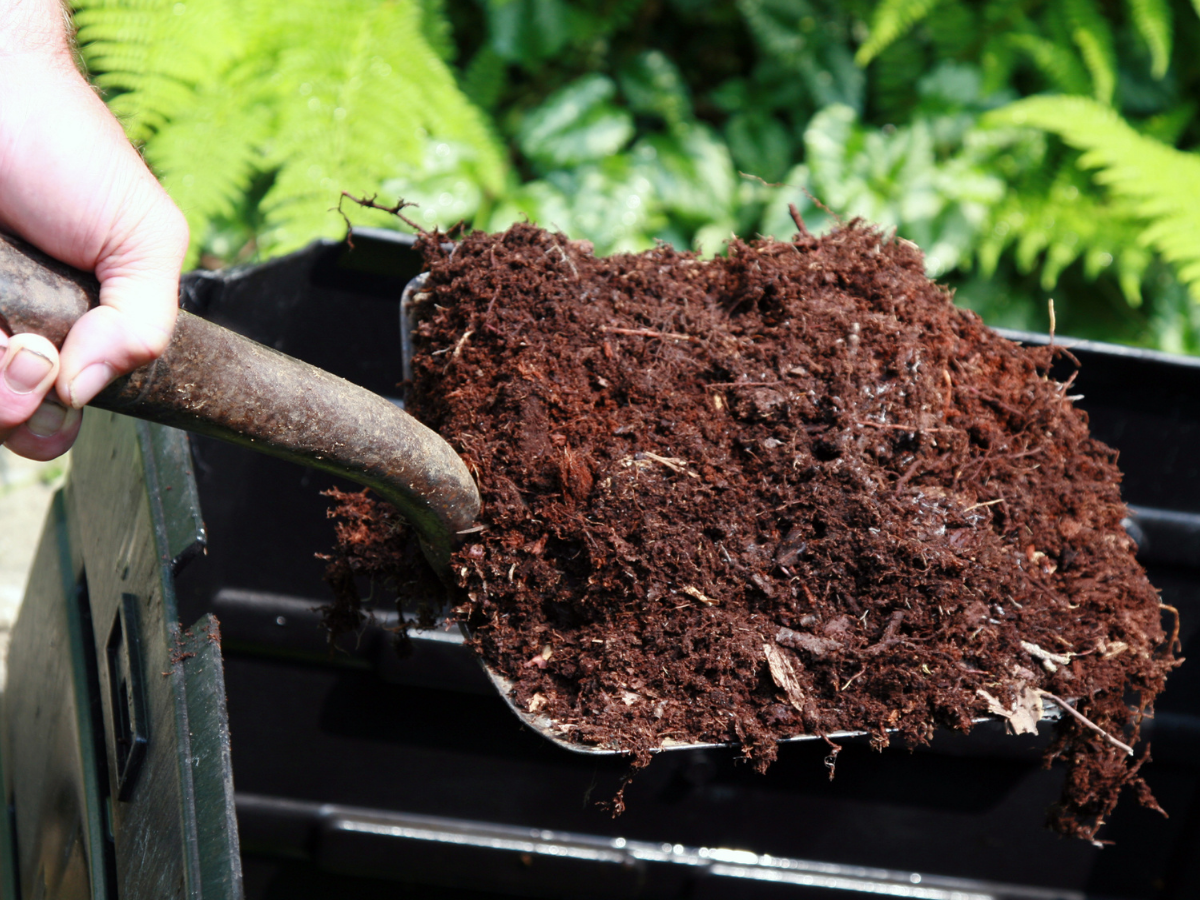
Step 7: Finish & Cure 😀


The product display was implemented using the affiliate-toolkit WordPress plugin.