
DIY Stackable Vermicomposter
Section 3 of the Vermicomposting: Complete Guide
L.J.
Environmental Advocate

Contents
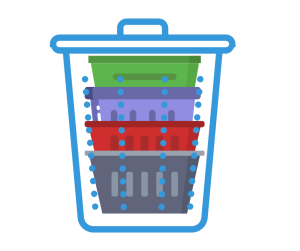
♻️ DIY Upcycled Vermicomposters
Low-cost, low-waste, and full of character—upcycled worm bins are a smart way to start composting without buying a kit. Whether you’re repurposing old storage tubs, buckets, or even polystyrene boxes, the goal is simple: create a breathable, moisture-balanced home where worms can thrive.
This guide lets you know what you can use and to build it.
What Do You Need?
To build a stackable worm bin, you’ll need:
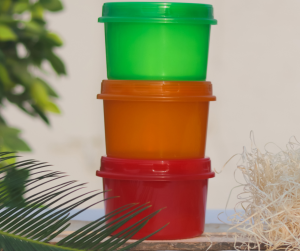
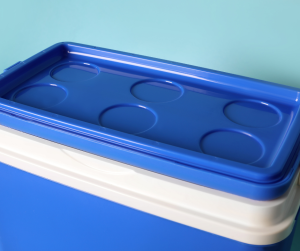
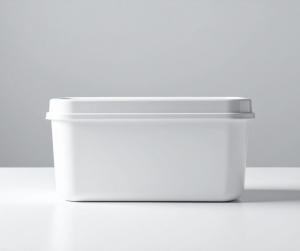
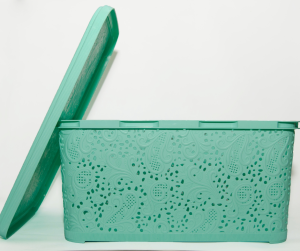
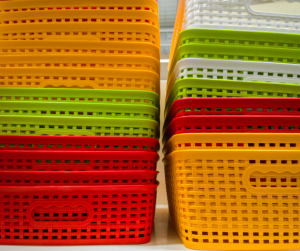
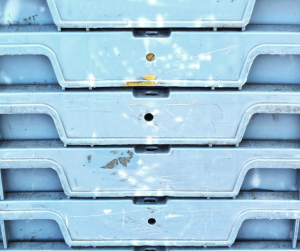
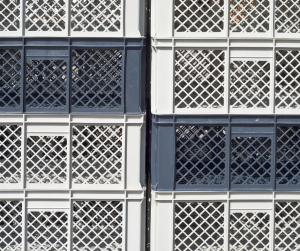
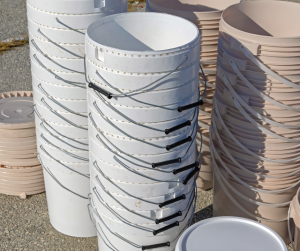
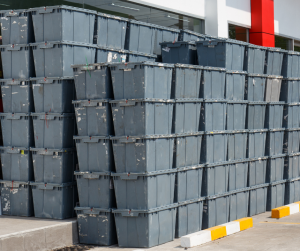
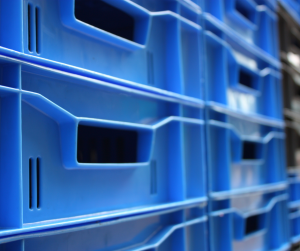
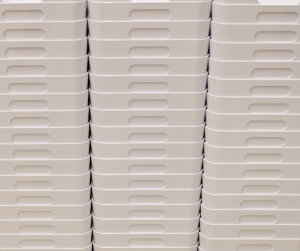
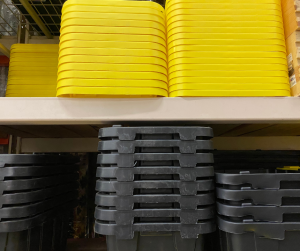
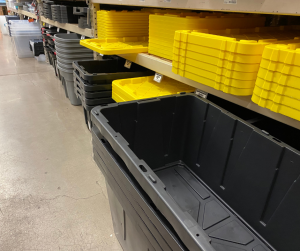
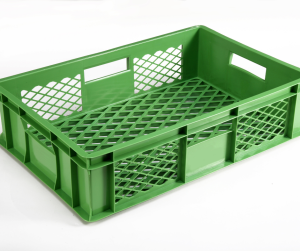
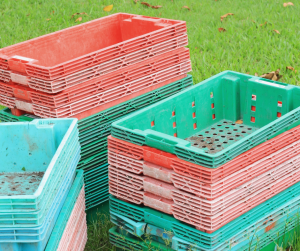
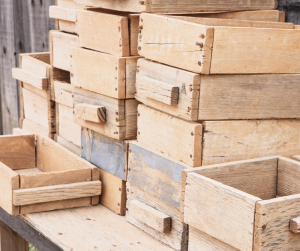
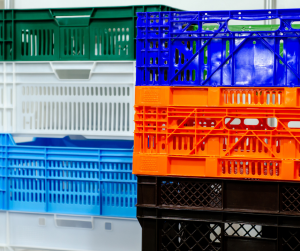
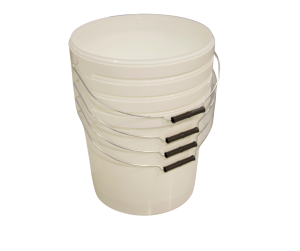
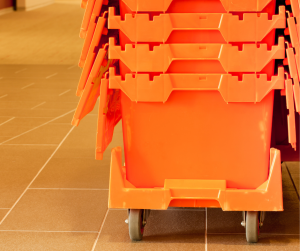
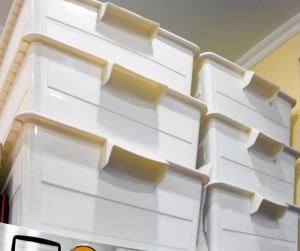
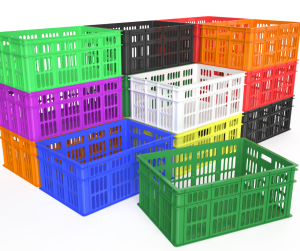
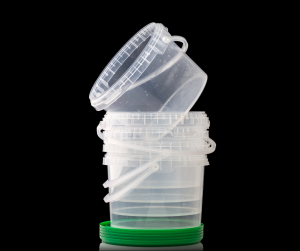
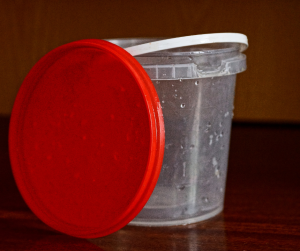
- Container: Food-grade plastic tubs, stackable crates, or polystyrene boxes
- Lid or cover: Maintains moisture, keeps pests out, and protects worms from light.
- Catch tray or Base Container: To collect the liquid (worm tea) from the bottom.
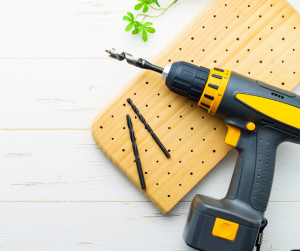
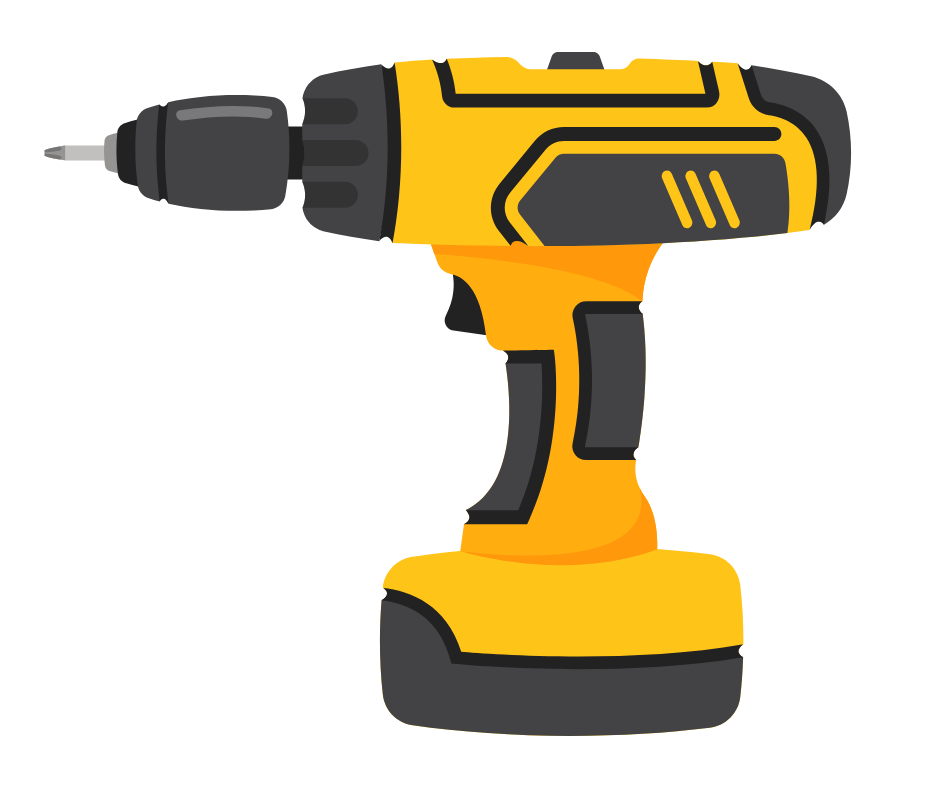
- Drill or Screwdriver: For adding ventilation and drainage holes.
🪱 Note: To get your bin fully operational, you’ll need to source suitable bedding and purchase composting worms.
If you haven’t already explored the Worms & Bedding part of Section 2, now’s the time—it’s packed with practical tips on what to choose and where to buy UK-sourced options that suit your setup.
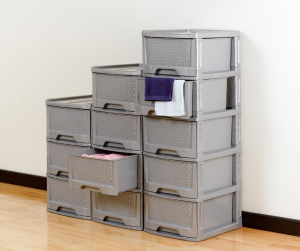
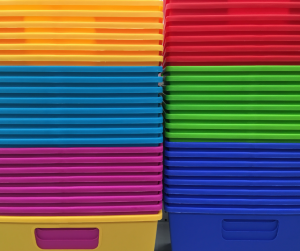
What Can Be Upcycled for Your DIY Worm Bin
Give everyday items a second life by turning them into composting heroes.
🔍 Ideal Properties to Look For:
- Opaque– not clear.
- Stackable? Look for items that nest or sit securely on top of each other.
- Sturdy material: Ideally materials that won’t crack when drilled.
- Flat base: Easier to drill for drainage and stack evenly.
- Got a lid? You will need a lid for the top container.
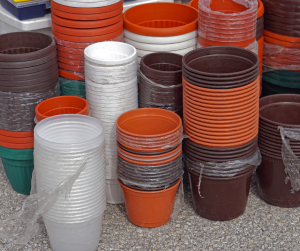
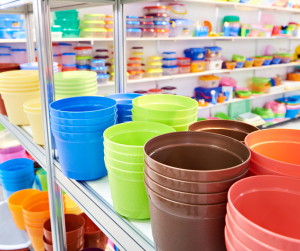

🙋Wondering What Can You Use?
Here are some examples to get you started…
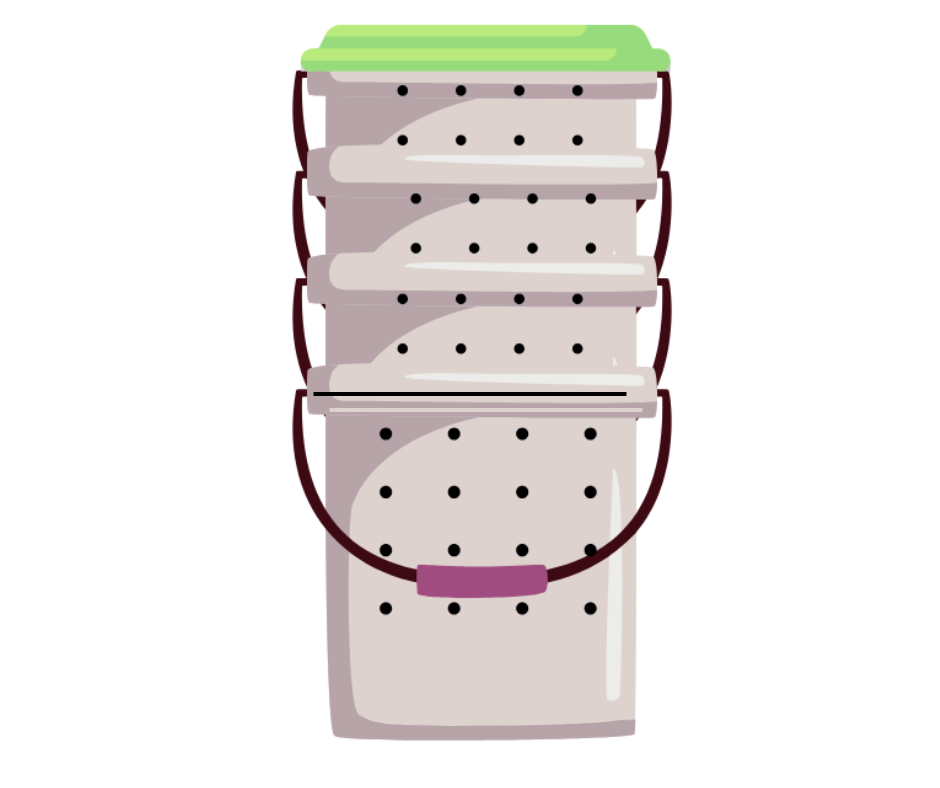
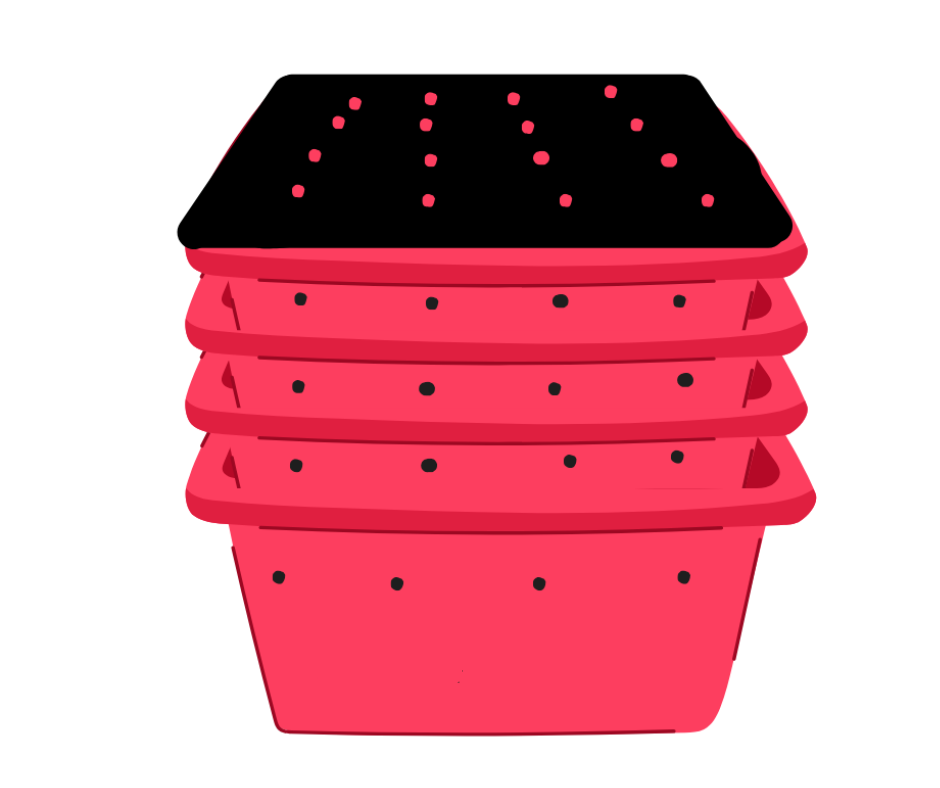
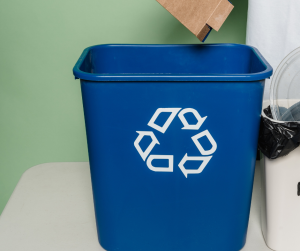
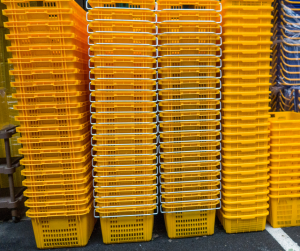
- Buckets
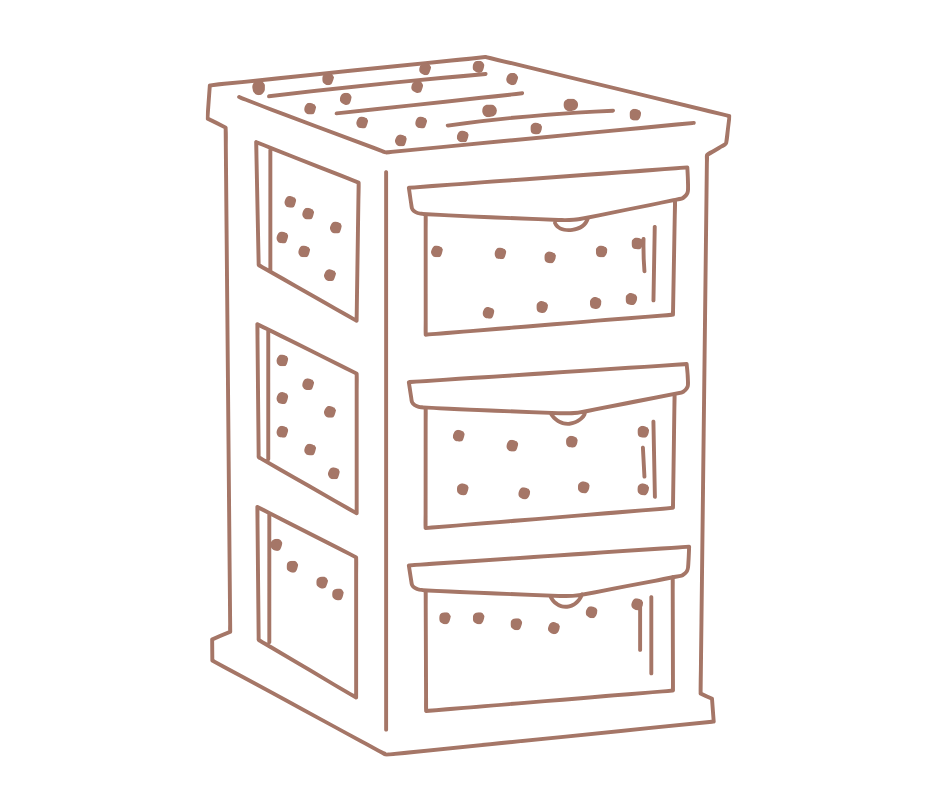
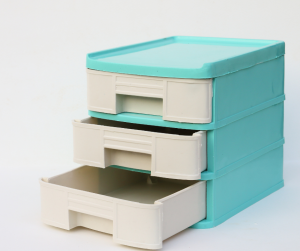
- Drawer units
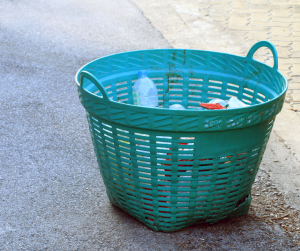
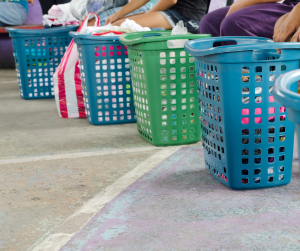
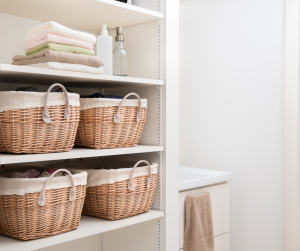
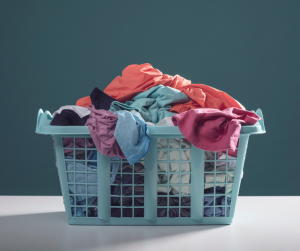
- Laundry baskets/hampers
- Old Bins
- Old plant pots
- Pet Litter Trays
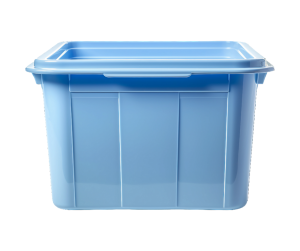
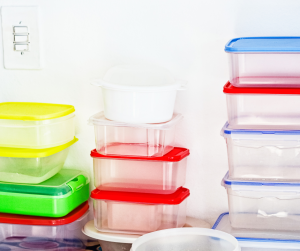
- Plastic Storage Boxes
- Stackable Food Tubs
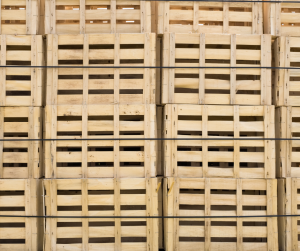
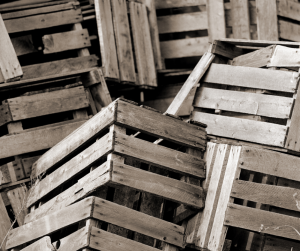
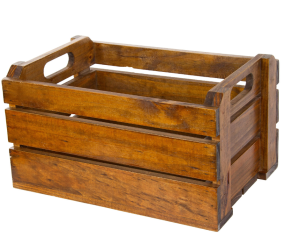
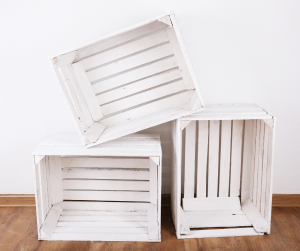
- Wooden crates
Ask friends, neighbours, or local businesses if they have anything you can repurpose.
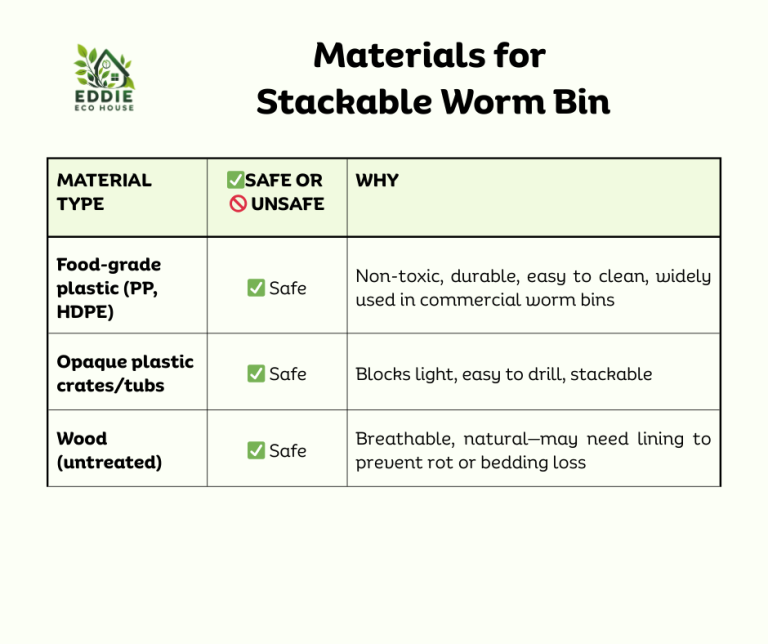
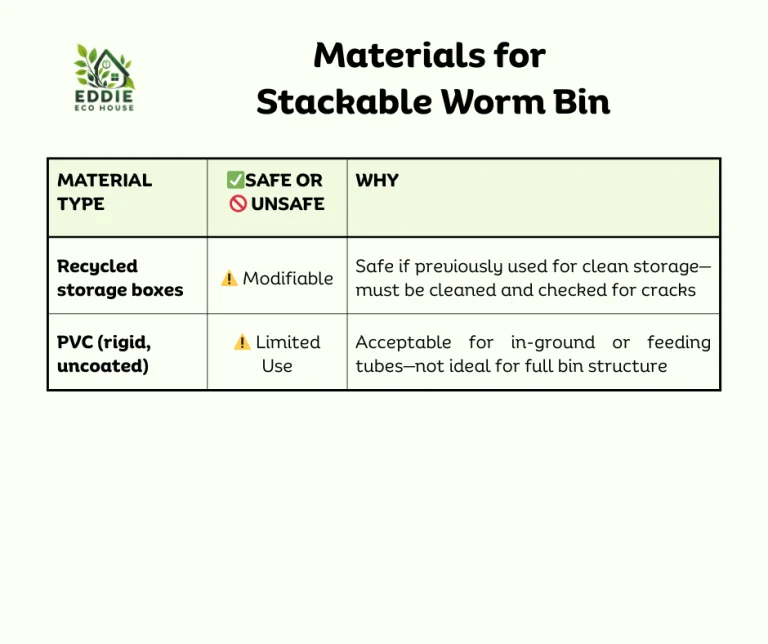
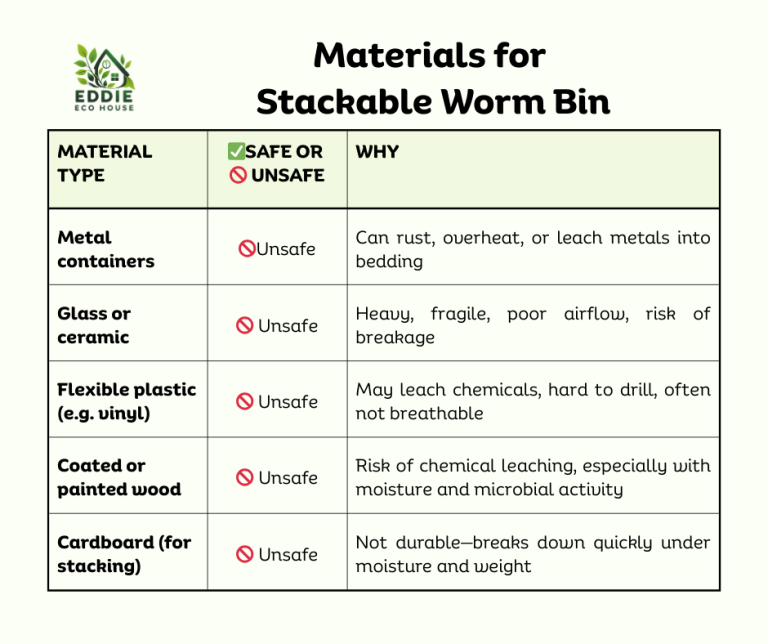
What Materials are Worm Safe?
Building your own worm bin is a brilliant way to upcycle containers and start composting on a budget—but not all materials are worm-safe. From the bin itself to the bedding and ventilation layers, choosing the right components helps maintain airflow, moisture balance, and a healthy worm habitat.
This section outlines which materials are safe to use, which ones to avoid, and how to adapt common household items for long-term success.
Think breathable, non-toxic, and moisture-friendly—and your worms will thank you.
♻️Use What You’ve Got
You don’t need fancy gear to start composting—just a bit of creativity. Buckets, tubs, crates—even broken-handled baskets—can all be transformed into worm bins with a few simple tweaks.
Less-than-ideal containers? No problem.
Even if your container doesn’t tick every box—like being opaque, breathable, or watertight—it can still become a worm-friendly home.
Clear tubs, open-weave laundry baskets, old crates… all can be adapted with a few simple tweaks:
- 🔧 Ventilation holes for airflow
- 💧 Drainage holes to prevent soggy bedding
- 🕶️ Light-blocking layers using fabric liners, nested bins, or covers
🪱 Worms aren’t fussy—they just need a dark, damp, breathable space. The rest is up to your imagination.
DIY Worm Bin Modifications
Whether you’re using buckets, crates, baskets, or tubs, most upcycled containers need a few simple adjustments to become worm-friendly.
Here’s what to consider:
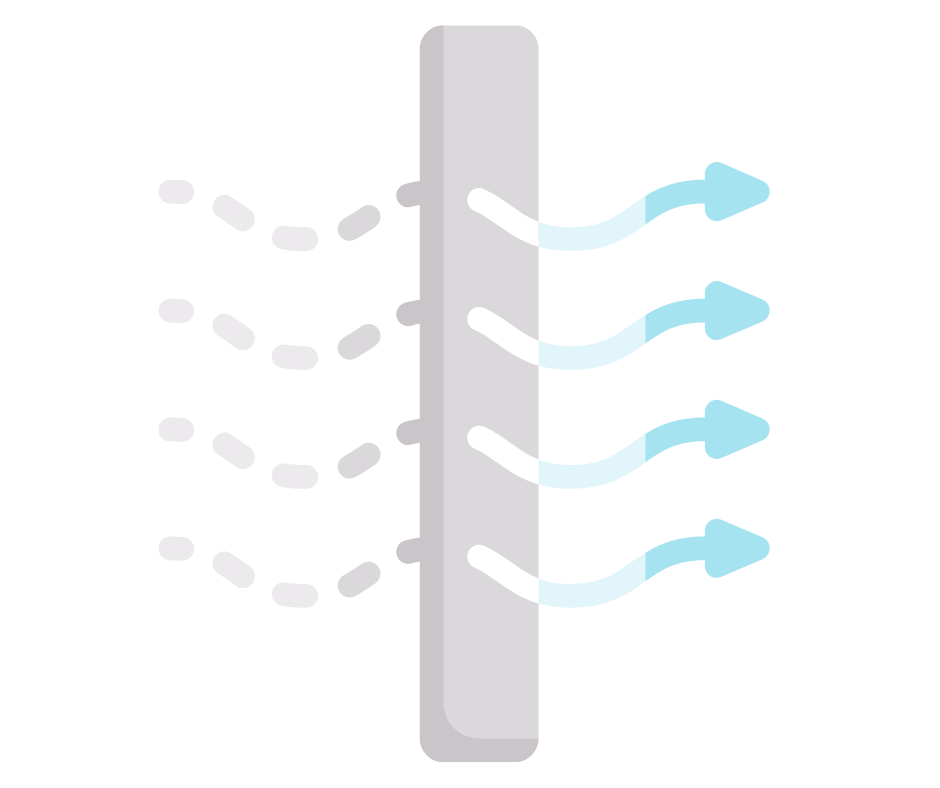
🌬️ Ventilation Holes: Let Your Bin Breathe
Good airflow is essential for a healthy worm bin. Without it, bedding can become soggy, smelly, and starved of oxygen—conditions that lead to unhappy worms and poor composting.
🔄 Side Ventilation
- Hole Size: 5–8 mm diameter
- Spacing: Evenly spaced around the bin sides—about every 5–10 cm
- Purpose: Allows adequate airflow to prevent anaerobic conditions and odour
🌬 Lid Ventilation
If your bin is already well-ventilated from the sides, lid holes are optional—but they’re a great backup for airflow, especially in cooler or damp conditions
Optional: Lid Ventilation
➕ Optional: Lid Ventilation
- Purpose:
- Reduces condensation buildup on the underside of the lid
- Helps regulate humidity levels inside the bin
- Spacing Tip:
- Space holes to avoid structural weakening—especially on thinner plastic lids
- Optional Add-on:
- Cover holes with fine mesh or breathable fabric to keep pests ou
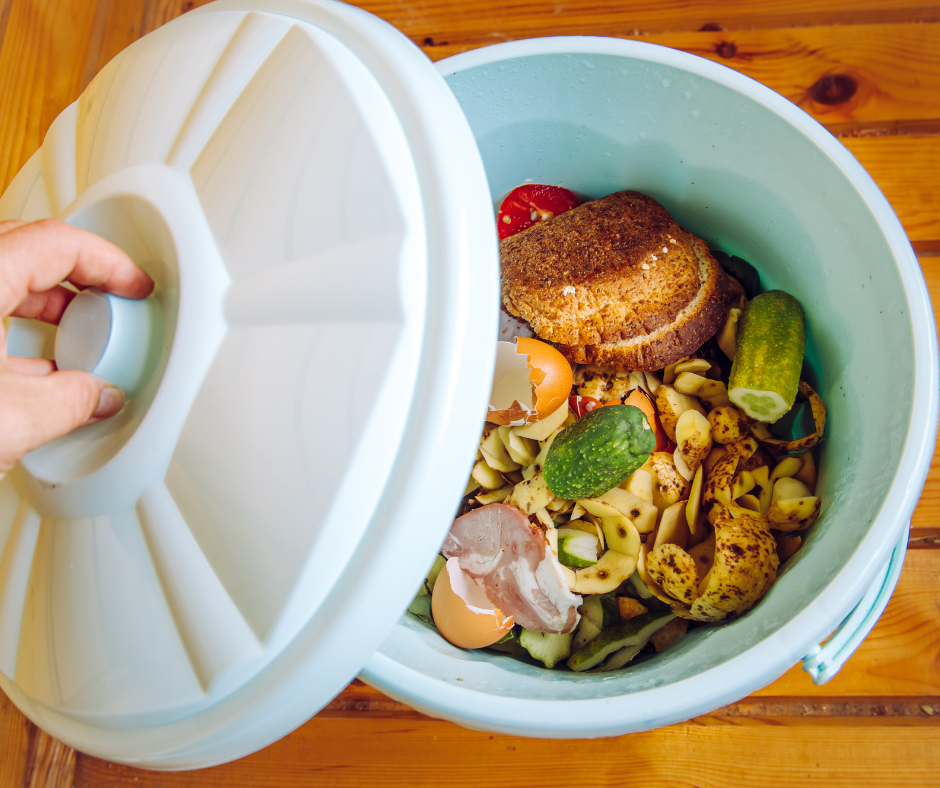
💧 Drainage: Keep Moisture in Check
Worms love a damp environment—but too much moisture can lead to soggy bedding, bad smells, and poor airflow. That’s where drainage comes in.
Adding holes at the base of your bin helps excess liquid escape, prevents anaerobic conditions, and keeps your composting system balanced.
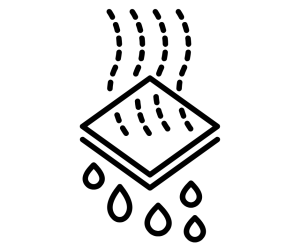
💦 Drainage holes
If placing the bin indoors or on a shelf, nest it inside a second container to catch leachate (worm tea) to act as a collector tray. Drainage holes should be added to the base on any ‘trays’ but not on the collector container.
- Size: 6-10 mm diameter.
- Spacing: 6-10 holes evenly spread across the base, depending on bin size.
- Purpose: Allows excess liquid to drain into the collector tray and prevents waterlogging.
Tips
- Use a drill bit suited to the container material (plastic/wood).
- If you're using soft plastic tubs, a heated screwdriver or nail can work well for melting holes.
- For rigid containers, a 6 mm drill bit is usually ideal—big enough for airflow, small enough to avoid bedding loss.
- Aim for 6–12 ventilation holes and 6–10 drainage holes depending on bin size. More is better than too few.
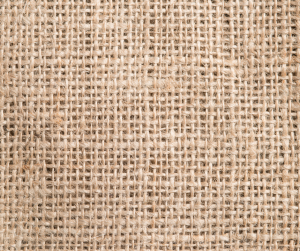
- If you're worried about worms escaping or bedding falling out, you can line the inside with breathable fabric like hessian or muslin.
🧽Cleaning & Preparing Your Bin
Before introducing your worms, it’s essential to clean and prep your container. This step helps prevent contamination, sharp edges, and toxic residues that could harm your worms or disrupt the composting process.
Step-by-Step Cleaning Guide
Step 1: Wash Thoroughly
Wash Thoroughly
- Use warm water and mild, unscented soap
- Scrub away any residue, stains, or leftover materials
- Rinse well to remove all soap traces
Step 2: Check for Previous Use
Check for Previous Use
- If the container held chemicals, pet waste, or oily foods, clean extra thoroughly
- Avoid containers with lingering smells or unknown residues
Step 3: Inspect for Sharp Edges
Inspect for Sharp Edges
- After drilling ventilation or drainage holes, sand down rough edges
- Check corners and rims for cracks or jagged plastic
Step 4: Toxicity Check
Toxicity Check
- Avoid bins made from PVC or containers with chemical coatings
- If unsure, line the interior with breathable, worm-safe fabric
Step 5: Dry & Air Out
Dry & Air Out
- Let the bin dry completely before adding bedding
- Airing it out helps remove any lingering odours
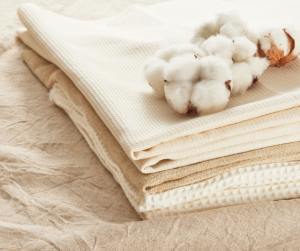
Lining Your Worm Bin
Upcycled containers like wicker baskets or crates often need lining to make them worm-safe.
A simple liner helps:
- ✅ Retain moisture without waterlogging
- ✅ Block light to protect worms
- ✅ Prevent bedding loss through gaps
- ✅ Keep worms safely contained
- ✅ Improve hygiene in porous or repurposed bins
From hessian sacks to old pillowcases, lining transforms everyday items into functional worm homes—without the cost of commercial bins.
🛠️ How to Line a Worm Bin
- Cut to size: Ensure full coverage of base and sides
- Secure edges: Use clips, string, or adhesive depending on bin type
- Check for gaps: Especially in corners and seams
- Layer if needed: Double up for extra moisture retention or light blocking
- Replace as needed: Natural liners will break down over time
🌑 Light Blocking in Worm Bins
Worms are photophobic, meaning they actively avoid light. Prolonged exposure can stress them out, cause excessive burrowing, or even drive them away from food scraps—disrupting the composting process.
That’s why light blocking is essential, especially in:
- ♻ Upcycled containers (e.g. buckets, crates, storage tubs)
- 🌬 Breathable bins with mesh, slats, or translucent walls
If your bin allows light in, here are simple ways to block it:
- 🧵 Line the inside with dark fabric, cardboard, or blackout material
- 🛡️ Shield the outside using opaque covers, wraps, or insulation
- 🧺 Nest the bin inside a larger, opaque container for full coverage
🧵 Lining the Inside of Your Worm Bin
Lining the inside of your worm bin is a simple way to create a darker, worm-friendly environment.
Use only breathable, untreated fabric on the inside of your bin.
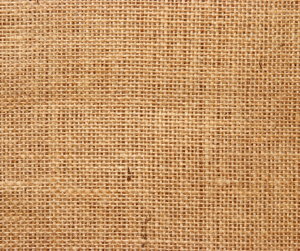
✅ Safe Lining Options:
- Hessian sacks: Thick weave blocks light and breathes well
- Coco coir mats: Dense and moisture-retentive
- Hemp mats: Soft, insulating, and compostable
- Cardboard sheets: Easy to layer and replace
🛡 Shield the Outside of Your Worm Bin
Shielding or covering the outside is a safe and effective way to keep your worms comfortable—without affecting airflow or bedding
✅ Shield/Cover Options Include
Shield
- Fabric: Use blackout cloth or dark cotton to wrap around the bin and secures with clips or staples. Or, Cover the worm bin with a large sheet to block light.
- Insulation Materials: Insulated foil bubble wrap, cardboard sheets, or recycled sheeting can be wrapped around the bin and secures with clips or ties.
- Dark paint: Paint the exterior with non-toxic matte paint (exterior grade)
♻️ Upcycled Options: Repurpose blackout curtains/curtain offsets, old towels or bedsheets.
External shielding is ideal for breathable bins, translucent tubs, or any setup where internal lining isn’t practical.
🧺 Nesting Worm Bins for Light Blocking
Nesting is a simple way to fix this—by placing one container inside another to create a light-blocking shell.
✅ Nesting Ideas
1. Laundry Crate Inside Opaque Storage Tub
1. Laundry Crate Inside Opaque Storage Tub
• Line the crate with hessian or hemp
• Nest inside a dark plastic tub with lid or flap
• Add risers or bricks underneath for airflow
2. Wicker Basket Inside Cardboard Box
2. Wicker Basket Inside Cardboard Box
• Line the basket with breathable fabric
• Nest inside a sturdy cardboard box with flaps closed
• Replace box as needed—great for seasonal setups
3. Mesh Bin Inside Wooden Chest or Cabinet
3. Mesh Bin Inside Wooden Chest or Cabinet
• Use a breathable liner (cotton, coir, hemp)
• Nest inside a repurposed furniture piece with a hinged lid
• Drill ventilation holes in the outer container if needed
4. Bucket Inside Bucket (Lightproof Outer)
4. Bucket Inside Bucket (Lightproof Outer)
• Inner bucket has drainage holes and liner
• Outer bucket is opaque and sealed—blocks light and catches runof
➕ Other Benefits of Nesting Worm Bins
- Adds insulation—especially useful in colder UK months
- Improves aesthetics—great for indoor or school setups
- Protects breathable bins like crates, baskets, or mesh tubs

🌑 Why Light Blocking Matters
- Protects worm behaviour: Keeps them active near the surface where composting happens
- Prevents escape: Worms may flee bins exposed to light
- Improves moisture retention: Light exposure can dry out bedding
- Reduces pest attraction: Light can draw fruit flies or other insects
Container with No Lid?
If your container doesn’t have a natural lid, you can easily make one using upcycled materials.
Why a Lid is Essential:
🌑 Blocks light to protect worms
💧 Retains moisture and prevents bedding from drying out
🦟 Keeps pests out—especially fruit flies
🌬️ Regulates airflow if vented or layered
🧼 Improves hygiene and keeps scraps contained
Pro Tip
For breathable bins like wicker or mesh crates, pair a fabric liner with a light-blocking lid to create a cozy, worm-safe microclimate. You can also add vent holes to solid lids and cover them with mesh to balance airflow and pest control.
🛠️ DIY Lid Options for Worm Bins
- 🧵 Fabric flap
Breathable and flexible; use blackout cloth, old towels, or cotton sheets
- 🪵 Wooden lid with hinges
Durable and light-blocking; repurpose cabinet doors or pallet wood
- 🧺 Opaque plastic lid
Moisture-retentive and pest-proof; reuse lids from storage tubs or crates
- 🧩 Double-layer lid
Combines solid top with breathable mesh underneath for airflow
- 🛠️ Ventilated lid
Drill holes in solid lids and cover with mesh to balance airflow and pest control
- 🧼 Removable tray lid
Use a shallow tray as a lid that doubles as a feeding or inspection surface
🪜Elevation for Airflow
Elevating your DIY worm bin boosts airflow underneath, helping prevent soggy bedding and encouraging a healthier composting environment.
Step-by-Step: Elevation
Choose a Base
Choose a base:
- 🧱 Use bricks, wooden block, plant pot riser, or an upturned crate.
- 📏 Ensure it’s sturdy and lifts the bin a minimum of 2-5 cm .
Drainage?
Check for Drainage
- If you have drainage holes on the base you should place a tray or container under to catch the liquid.
- If you have added a collector tray, you don’t need to worry about this.
Optional: Add mesh or slats
Optional: Add mesh or slats
- For extra airflow, place the bin on a mesh shelf or slatted surface (e.g. old oven rack or pallet)
Why Elevate your Worm Bin?
Elevation improves airflow under the bin, helping to regulate moisture and temperature.
Elevating your bin is especially helpful in damp UK climates or when using upcycled containers with limited ventilation.
From Container to Composting Success
You don’t need fancy gear or perfect conditions—just a breathable container, a few thoughtful tweaks, and a handful of hungry workers. The worms will do the work. You just make it possible.
🪱 Curious About Your Composting Crew?
In Section 4, we’ll meet the real heroes of the bin—worms! From choosing the right species to understanding their habits, this section covers everything you need to keep your wriggly workforce happy, healthy, and hard at work.
Affiliate disclosure: To keep this guide free and accessible, I use affiliate links where appropriate. If you make a purchase, I may earn a small commission—never influencing the price you pay. Every recommendation is based on hands-on experience or thorough research tailored to UK households.