


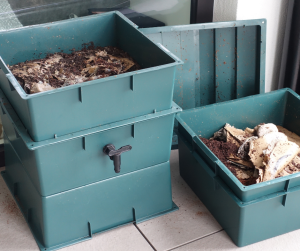
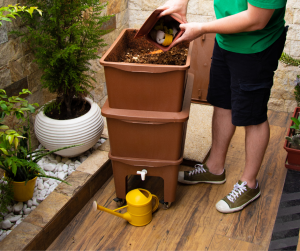

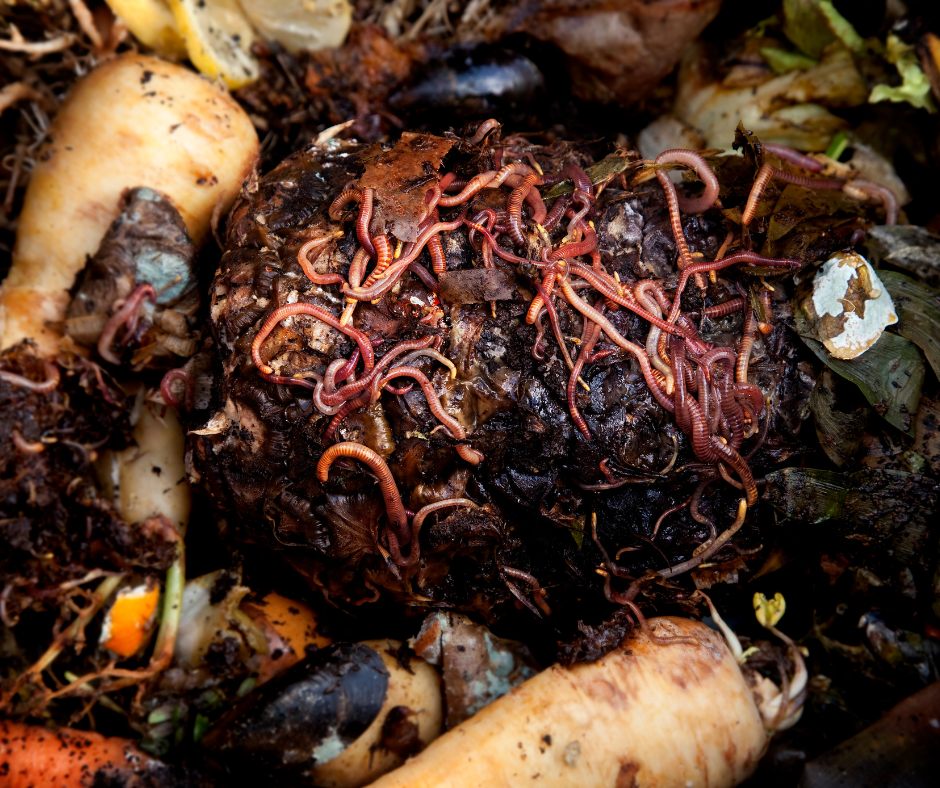
Worms Tangled in Clumps or Knots
🪢 Worms Tangled in Clumps or Knots
When worms gather in tight, tangled clusters, it’s often a sign that something in the bin environment is making them uncomfortable.
 Sign:
Sign:
Worms are balled up or knotted together in clumps
 Causes:
- Bedding too wet or compacted, reducing airflow
- Overcrowding forcing worms into tight spaces
- Anaerobic (oxygen-poor) zones forming in the bin
- Strong odours or spoiled food repelling worms from other areas
 Solution:
- Fluff bedding to improve airflow and oxygen levels
- Add dry browns (e.g. shredded cardboard) to absorb excess moisture
- Harvest castings if bedding is dense or compacted
- Reduce feeding amounts and remove any spoiled scraps
- Consider splitting the population if overcrowding persists
Worms Surfacing after Heavy Feeding
⬆️ Worms Surfacing After Heavy Feeding
If worms rise to the surface after a large feeding session, it’s often a sign that the bin environment has shifted and become uncomfortable.
Sign:
Worms moving to the surface soon after food is added
Causes:
- Rapid decomposition creating heat or anaerobic (oxygen-poor) zones
- Overfeeding leading to protein poisoning or sour bedding
- Compacted or soggy bedding reducing airflow
- Strong odours repelling worms from the feeding zone
Solution:
- Reduce feeding amounts and avoid piling food in one area
- Fluff bedding to improve airflow and oxygen levels
- Add dry browns to absorb excess moisture
- Remove spoiled or smelly scraps promptly
- Let bin settle before adding more food
Worms on Lids or in Corners
🧱 Worms on Lids and Walls
If worms are climbing the bin walls or gathering around the lid, it’s a clear sign they’re trying to escape uncomfortable conditions inside the bin.
Sign:
Worms crawling up bin walls or clustering around the lid
Causes:
- Excess moisture or soggy bedding creating anaerobic zones
- Strong odours from spoiled food or acidic bedding
- Poor airflow or low oxygen levels in the bedding
- Temperature extremes or sudden environmental changes
- Overcrowding or bedding imbalance
Solution:
- Add dry bedding to absorb moisture and fluff to improve airflow
- Remove spoiled or smelly food scraps promptly
- Check bin placement—avoid direct sun, cold drafts, or vibrations
- Harvest castings if bedding is dense or compacted
- Ensure lid allows for ventilation without letting worms escape
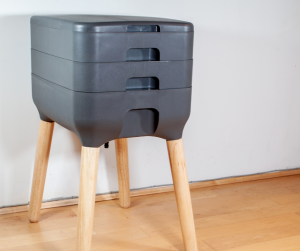
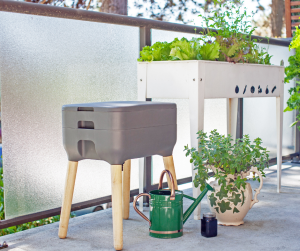
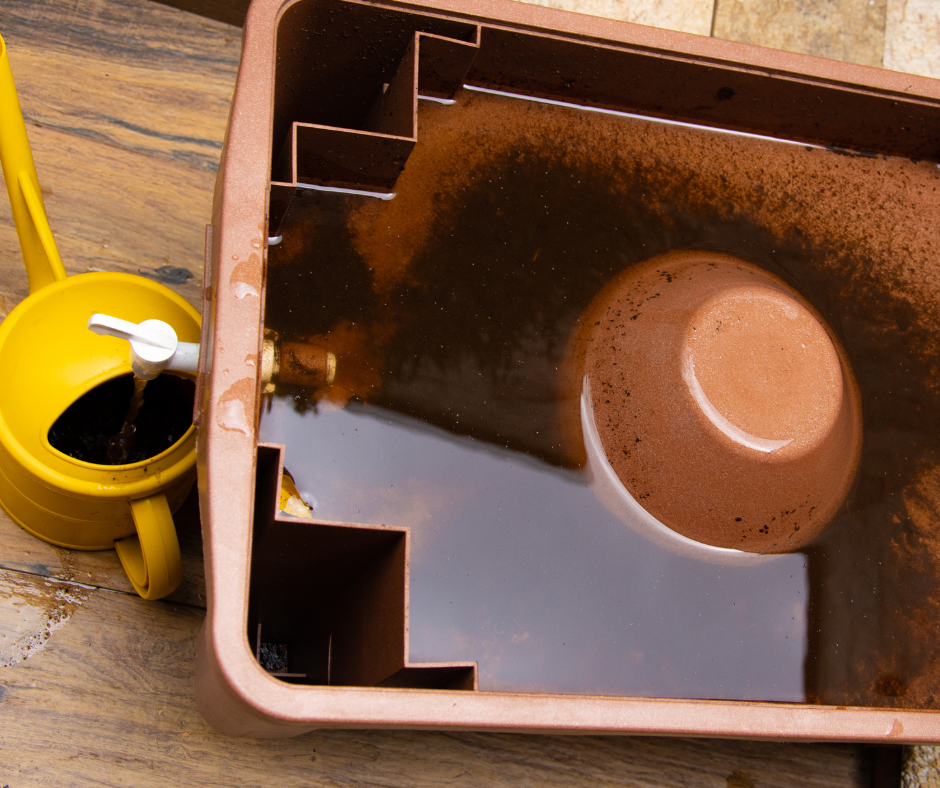
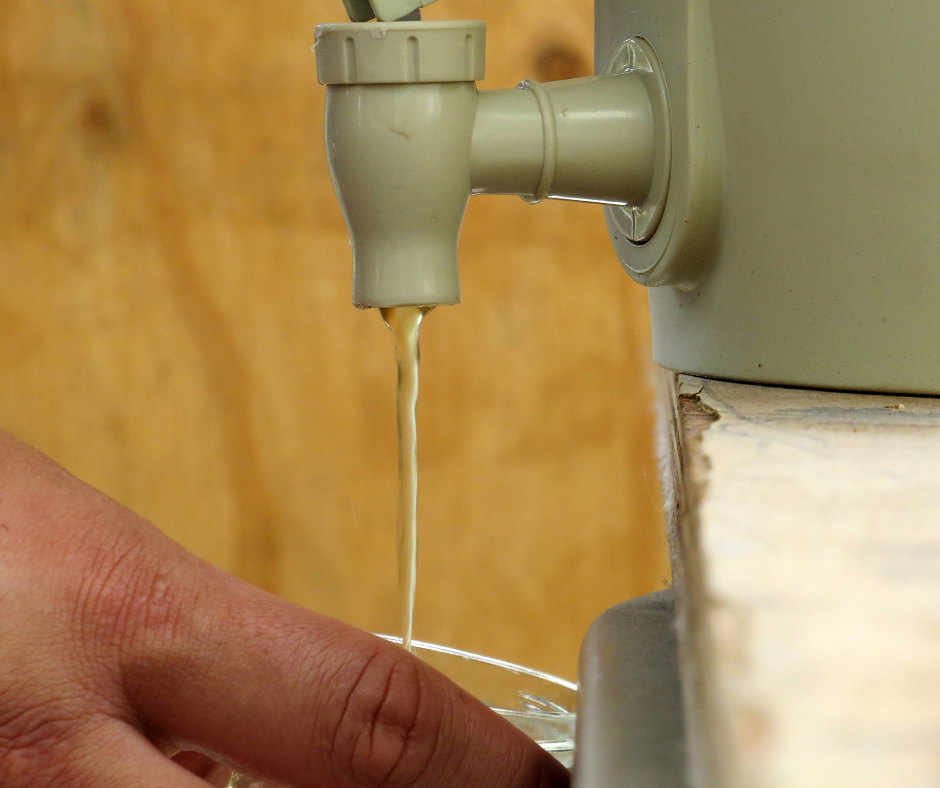
Leachate in Sump/Collector
Leachate vs Worm Tea

Worms Avoiding Food Zones
 Worms Avoiding Food Zones
If worms consistently steer clear of fresh scraps, it usually signals something is off with the food or bedding.
Sign:
Worms avoiding feeding zone
Causes:
- Acidity build-up from citrus, onions, or acidic foods
- Spoiled food creating unpleasant smells
- Foods worms dislike or cannot easily break down
Solution:
- Check and balance pH levels in the bin
- Rotate food types regularly to avoid build-up
- Remove spoiled or rotten scraps promptly to prevent odours
Worms Surfacing during Daylight
Restless Surface Movement at Night
Worms Outside the Bin or on the Floor
Increased Activity near Vents
Avoiding Food Zones
Worms Avoiding Food Zones
If worms consistently steer clear of fresh scraps, it usually signals something is off with the food or bedding.
Sign:
Worms avoiding feeding zone
Causes:
- Acidity build-up from citrus, onions, or acidic foods
- Spoiled food creating unpleasant smells
- Foods worms dislike or cannot easily break down
Solution:
- Check and balance pH levels in the bin
- Rotate food types regularly to avoid build-up
- Remove spoiled or rotten scraps promptly to prevent odours
Burrowing Deep & Staying Hidden
🕳️ Burrowing Deep and Staying Hidden
If worms are rarely seen near the surface and seem to stay buried, it’s usually a sign they’re responding to environmental stress or seasonal shifts.
Sign:
Worms remain deep in the bedding and avoid surface activity
Causes:
- Cold temperatures slowing metabolism and surface feeding
- Dry bedding prompting worms to seek moisture deeper down
- Overfeeding or anaerobic zones near the surface
- Strong light exposure or vibrations disturbing surface zones
- Natural behaviour during colder months or bin resets
Solution:
- Check bin temperature—ideal range is 15–25°C
- Lightly moisten bedding if it feels dry or crumbly
- Fluff bedding to improve airflow and reduce compaction
- Avoid overfeeding and remove any spoiled food
- Keep bin in a shaded, stable location away from disturbance
Clustering Tightly in One Area
🛑 Clustering in One Area
If worms are gathering in a single spot and avoiding the rest of the bin, it often signals that conditions elsewhere have become uncomfortable or unbalanced.
Sign:
Worms tightly grouped in one zone, avoiding other areas of the bin
Causes:
- Anaerobic or acidic zones forming in parts of the bedding
- Uneven moisture levels—too wet or too dry in certain areas
- Strong odours or spoiled food repelling worms from specific zones
- Poor airflow or compacted bedding in neglected areas
- Temperature imbalance within the bin
Solution:
- Fluff and mix bedding to restore airflow and even out conditions
- Remove spoiled or smelly food scraps from avoided zones
- Add dry bedding to absorb excess moisture or sprinkle water if too dry
- Check bin placement for temperature stability
- Rotate feeding locations to prevent build-up in one area
Clumping at Edges
⚠️ Clumping at Edges
When worms gather in tight groups around the bin’s edges, it often signals discomfort or imbalance in the core bedding area.
Sign:
Worms clustering around bin walls, corners, or under the lid
Causes:
- Anaerobic or compacted bedding driving worms away from the centre
- Excess moisture or strong odours repelling worms from food zones
- Poor airflow or low oxygen levels in the core bedding
- Overcrowding or temperature discomfort
Solution:
- Fluff bedding to improve airflow and oxygenation
- Add dry browns to absorb excess moisture
- Remove spoiled or smelly food scraps
- Harvest castings if bedding is dense or compacted
- Check bin placement for stable temperature and ventilation
Found Outside the Bin or on the Floor
On Lids & Walls
🧱 Worms on Lids and Walls
If worms are climbing the bin walls or gathering around the lid, it’s a clear sign they’re trying to escape uncomfortable conditions inside the bin.
Sign:
Worms crawling up bin walls or clustering around the lid
Causes:
- Excess moisture or soggy bedding creating anaerobic zones
- Strong odours from spoiled food or acidic bedding
- Poor airflow or low oxygen levels in the bedding
- Temperature extremes or sudden environmental changes
- Overcrowding or bedding imbalance
Solution:
- Add dry bedding to absorb moisture and fluff to improve airflow
- Remove spoiled or smelly food scraps promptly
- Check bin placement—avoid direct sun, cold drafts, or vibrations
- Harvest castings if bedding is dense or compacted
- Ensure lid allows for ventilation without letting worms escape
Increased Activity near Vents
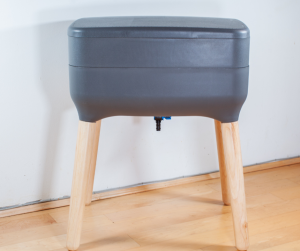
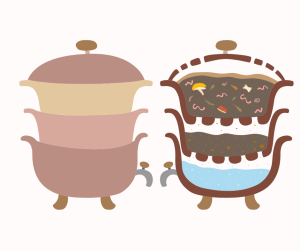
In Sump/Collector Tray
💧 Worms in Sump or Drainage Tray
If worms are found in the sump or collector tray, it usually means they’ve been driven downward by uncomfortable conditions in the main bedding area.
Sign:
Worms gathering in the sump or drainage tray beneath the bin
Causes:
- Excess moisture or soggy bedding pushing worms away from the surface
- Compacted bedding reducing airflow and oxygen levels
- Anaerobic zones forming due to poor drainage or overfeeding
- Lack of dry refuge or uneven bedding structure
Solution:
- Add dry bedding (e.g. shredded cardboard) to absorb excess moisture
- Fluff or turn bedding to improve airflow and oxygenation
- Drain leachate regularly to prevent waterlogging
- Harvest castings if bedding is dense or compacted
- Elevate bin slightly to improve drainage and airflow underneath
Mass Exodus
😲 Mass Exodus (Worms Escaping the Bin)
If multiple worms are found outside the bin, on the lid, or crawling on nearby surfaces, it’s a strong sign that something inside the bin is seriously off.
Sign:
Worms escaping in large numbers—found on the lid, bin walls, or surrounding area
Causes:
- Excess moisture or soggy bedding creating anaerobic conditions
- Strong odours from spoiled food or acidic bedding
- Temperature extremes (too hot or too cold)
- Poor airflow or compacted bedding
- Vibrations, bright light, or sudden environmental changes
Solution:
- Add dry bedding to absorb excess moisture and fluff to improve airflow
- Remove spoiled or smelly food scraps promptly
- Move bin to a stable, shaded location away from heat or cold
- Let bin settle after setup or reset before feeding
- Check for escape gaps and ensure the lid allows for ventilation
Restless Surface Movement at Night
Sluggish or Inactive Worms
Surfacing after Heavy Feeding
⬆️ Worms Surfacing After Heavy Feeding
If worms rise to the surface after a large feeding session, it’s often a sign that the bin environment has shifted and become uncomfortable.
Sign:
Worms moving to the surface soon after food is added
Causes:
- Rapid decomposition creating heat or anaerobic (oxygen-poor) zones
- Overfeeding leading to protein poisoning or sour bedding
- Compacted or soggy bedding reducing airflow
- Strong odours repelling worms from the feeding zone
Solution:
- Reduce feeding amounts and avoid piling food in one area
- Fluff bedding to improve airflow and oxygen levels
- Add dry browns to absorb excess moisture
- Remove spoiled or smelly scraps promptly
- Let bin settle before adding more food
Surfacing during Daylight
Tangled In Clumps or Knots
🪢 Worms Tangled in Clumps or Knots
When worms gather in tight, tangled clusters, it’s often a sign that something in the bin environment is making them uncomfortable.
Sign:
Worms are balled up or knotted together in clumps
Causes:
- Bedding too wet or compacted, reducing airflow
- Overcrowding forcing worms into tight spaces
- Anaerobic (oxygen-poor) zones forming in the bin
- Strong odours or spoiled food repelling worms from other areas
Solution:
- Fluff bedding to improve airflow and oxygen levels
- Add dry browns (e.g. shredded cardboard) to absorb excess moisture
- Harvest castings if bedding is dense or compacted
- Reduce feeding amounts and remove any spoiled scraps
- Consider splitting the population if overcrowding persists
Unusually Thin or Pale over time


