 What Is Vermicast?
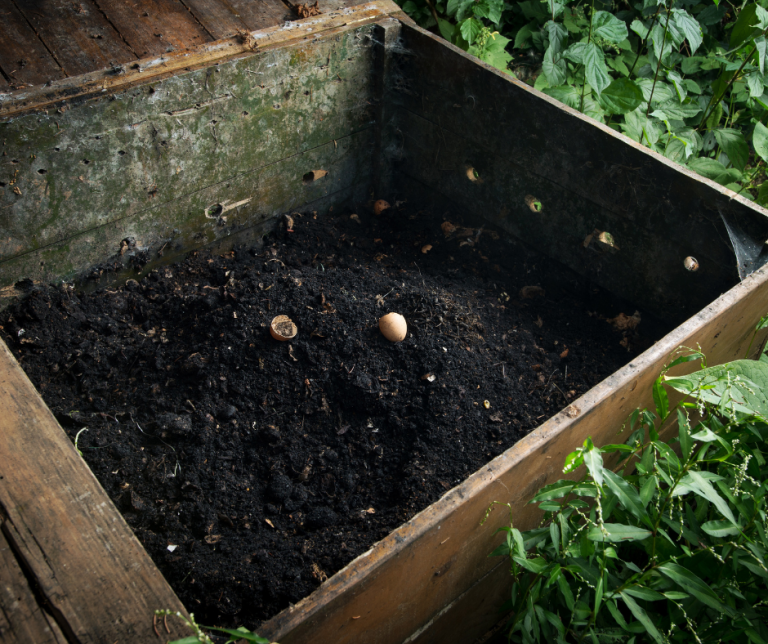
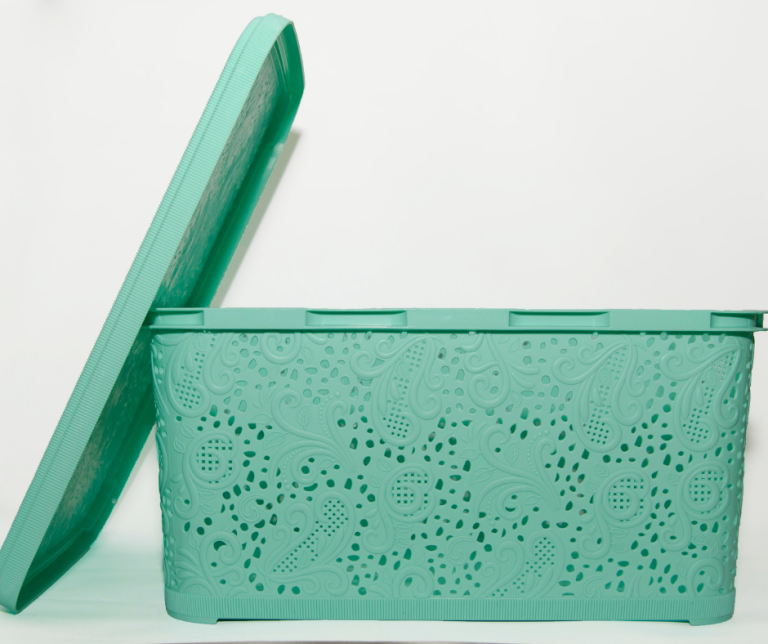
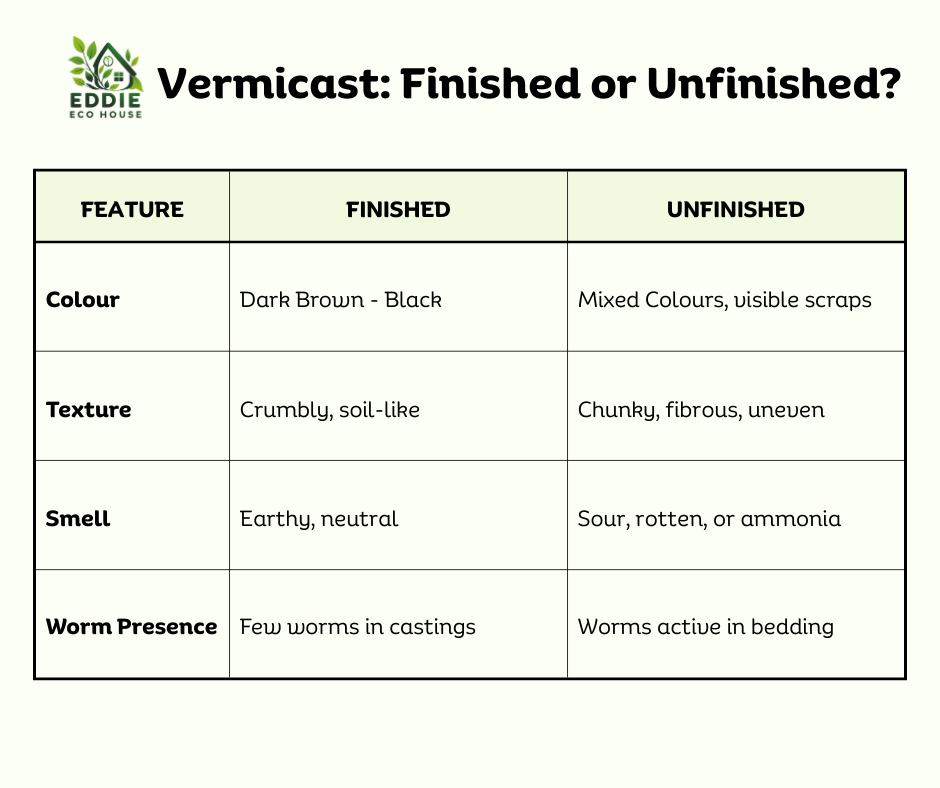
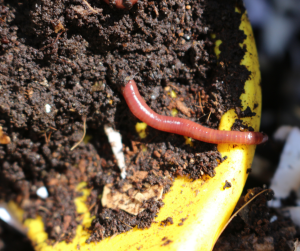
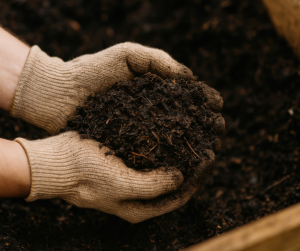
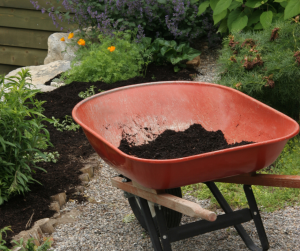
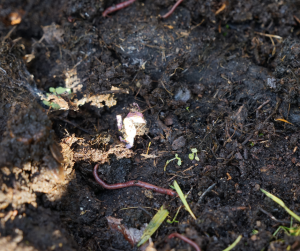
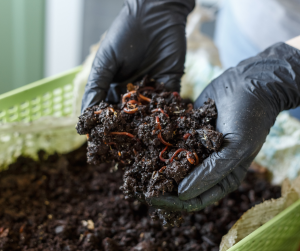
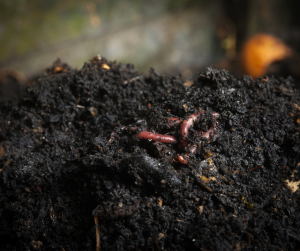
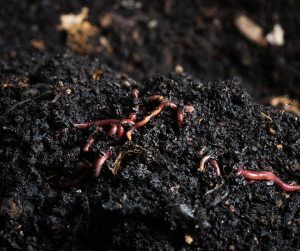
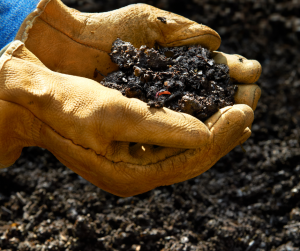
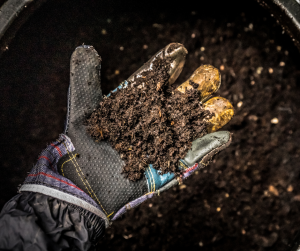
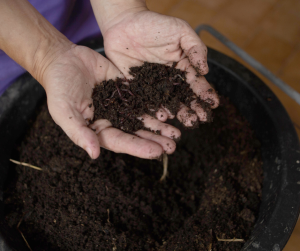
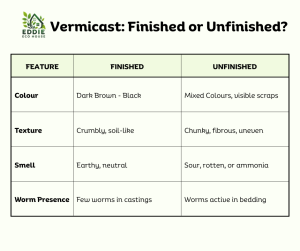
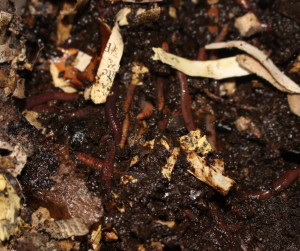
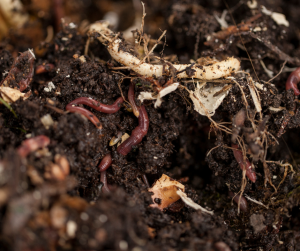
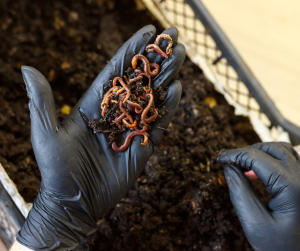
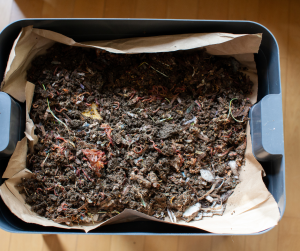
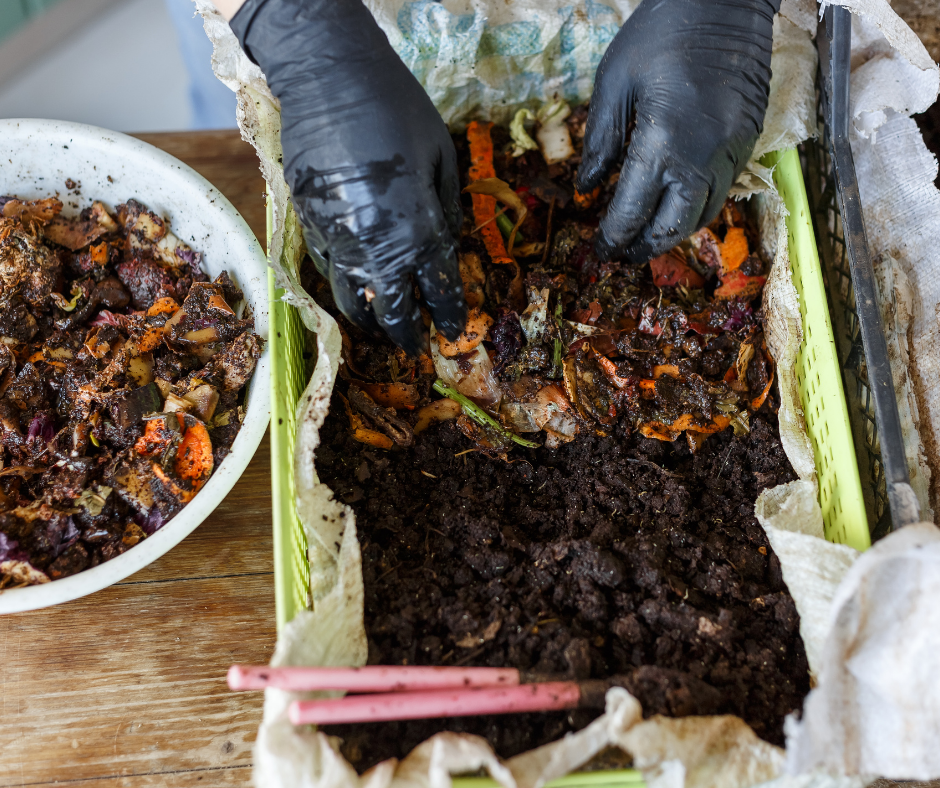
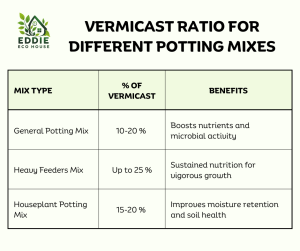
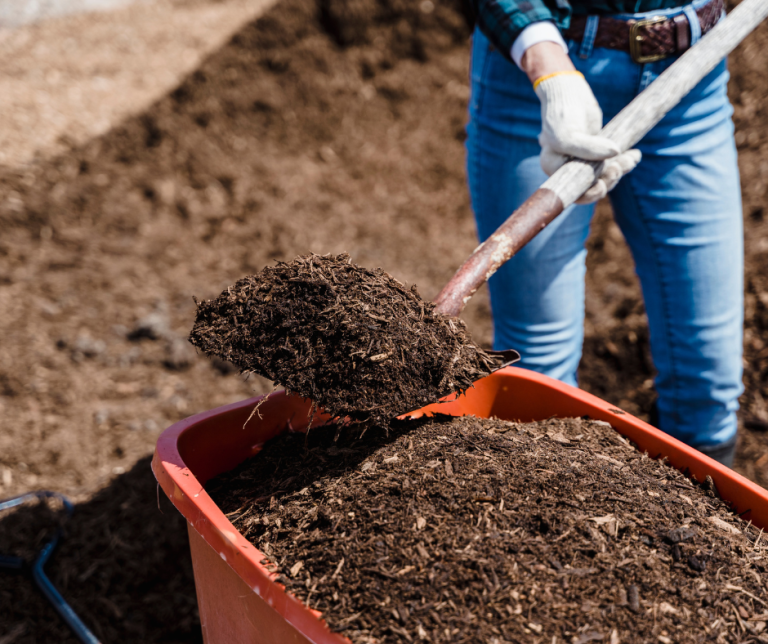
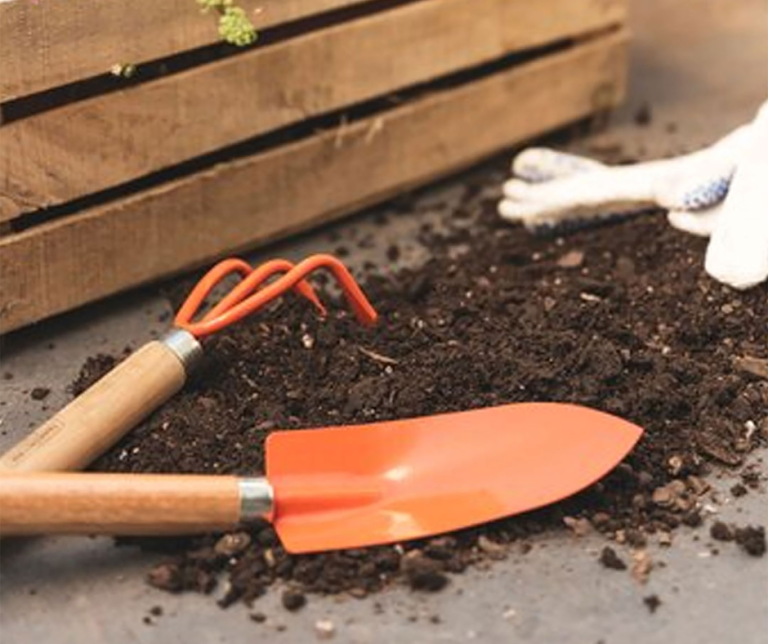
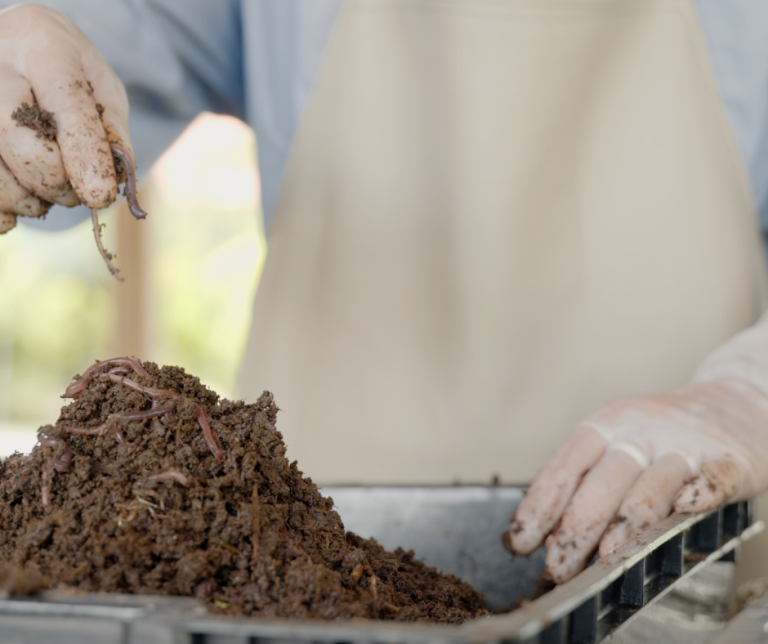
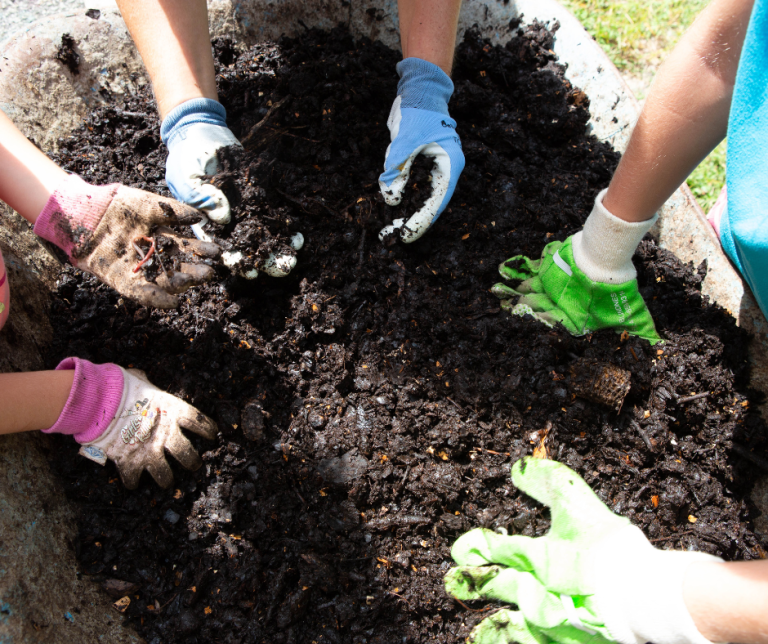
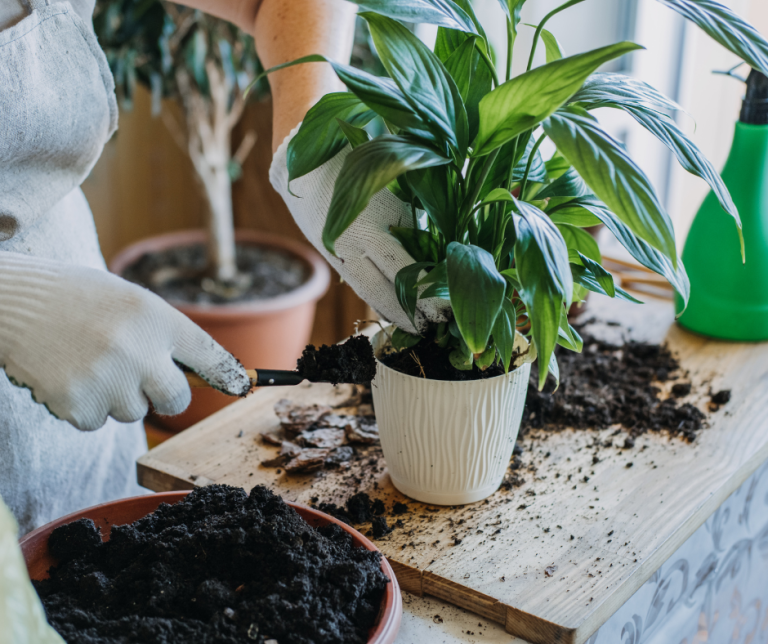
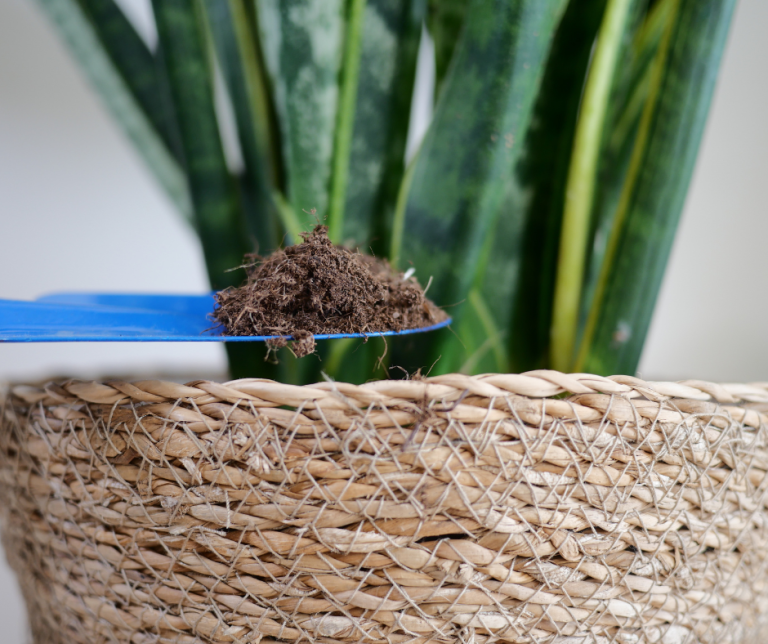
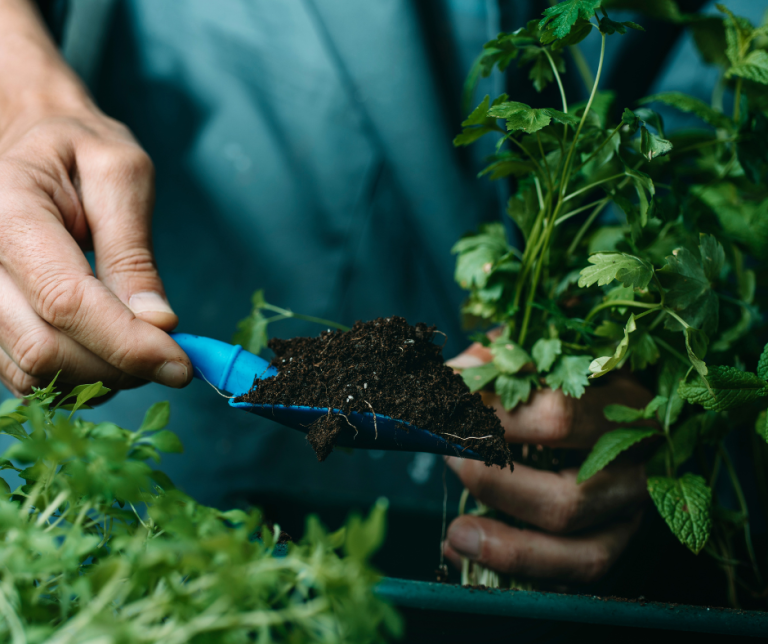
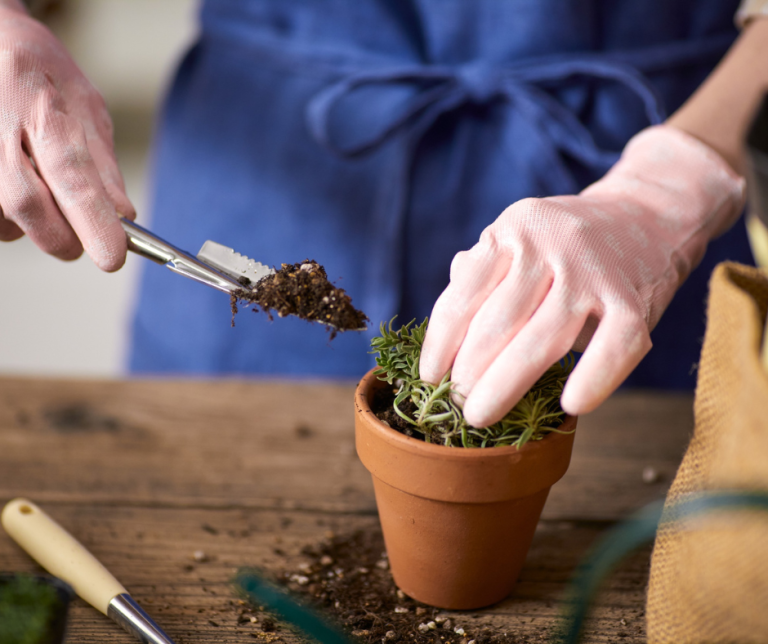
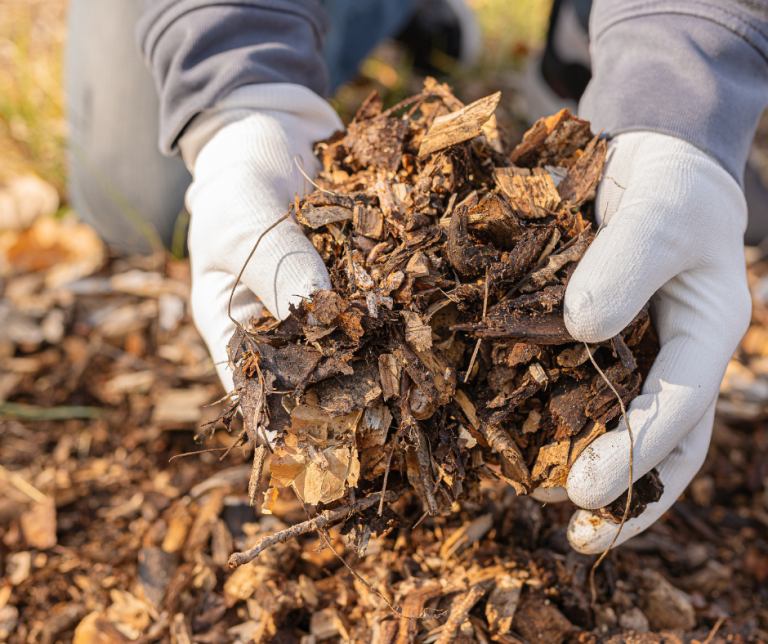
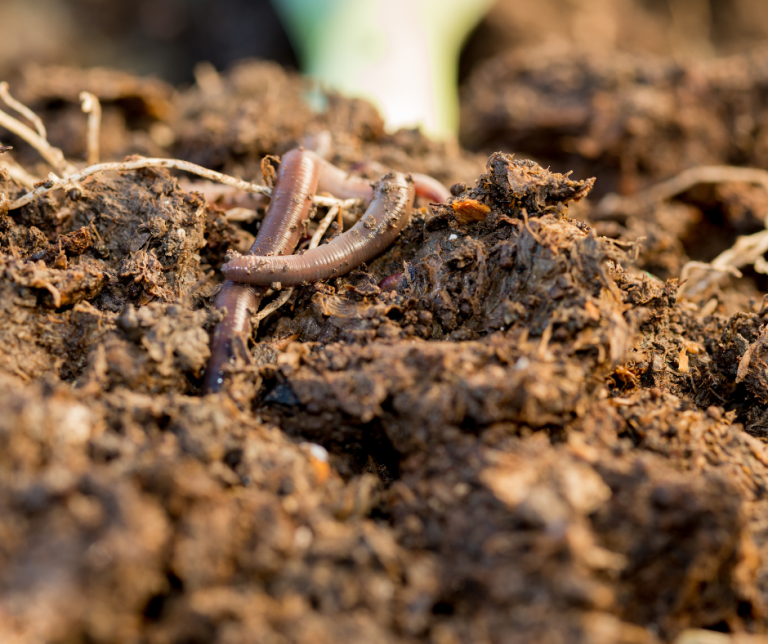
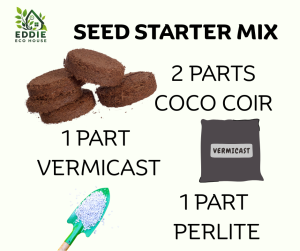
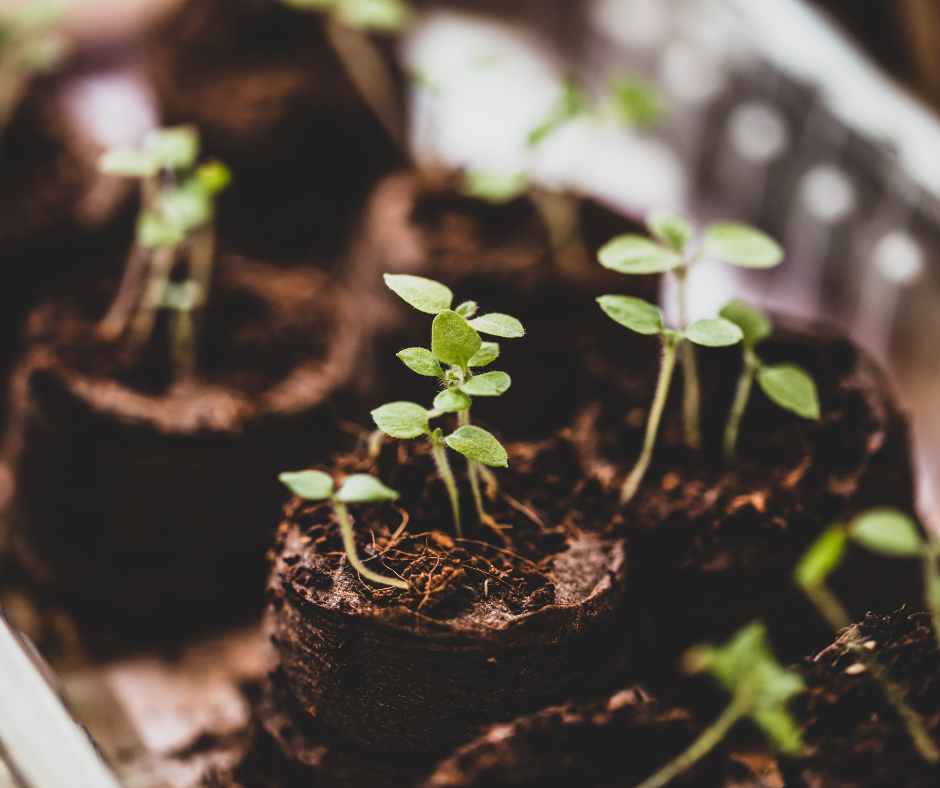
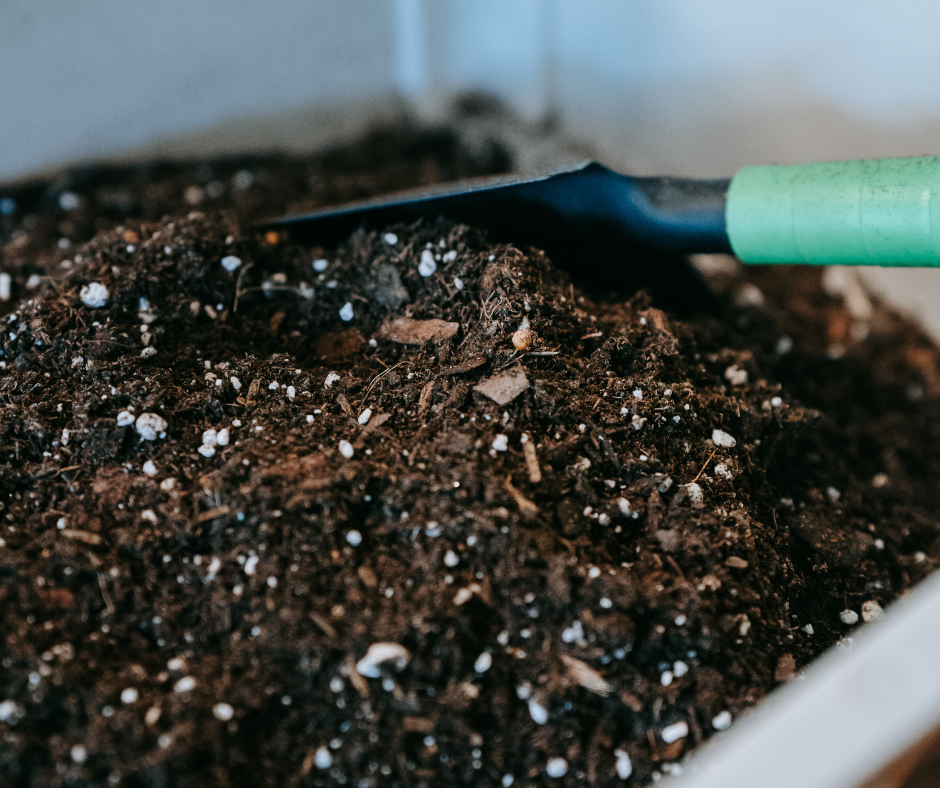
Vermicast—also called worm castings or worm poo—is the end product of a composting worm’s digestion. It’s a dark, crumbly, odourless material packed with nutrients, beneficial microbes, and organic matter


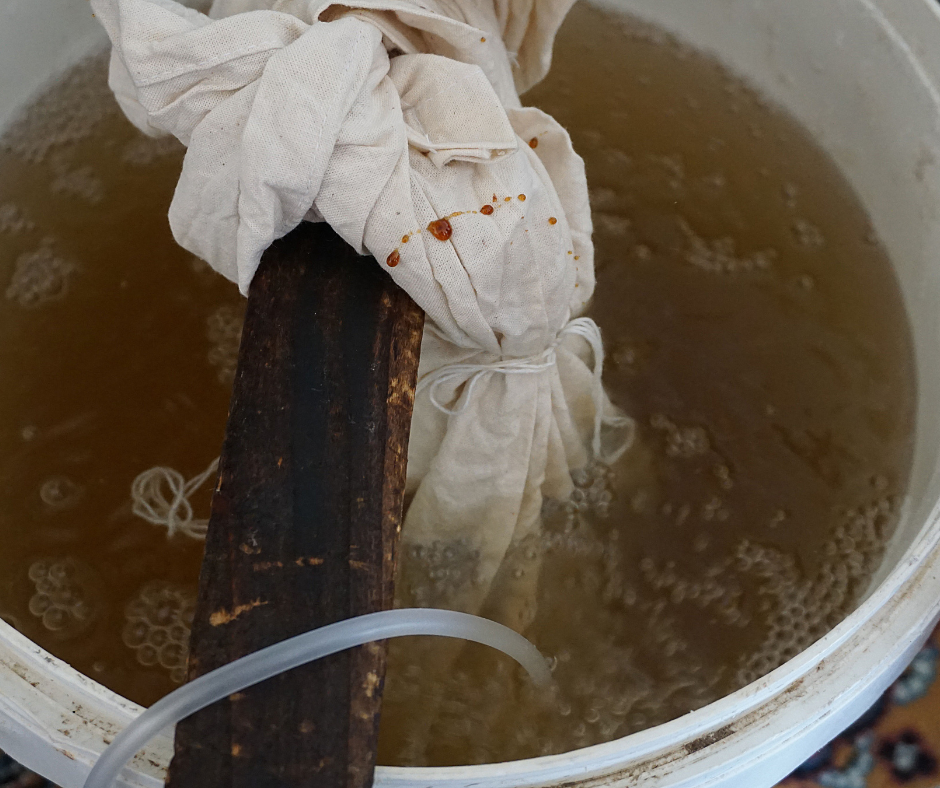
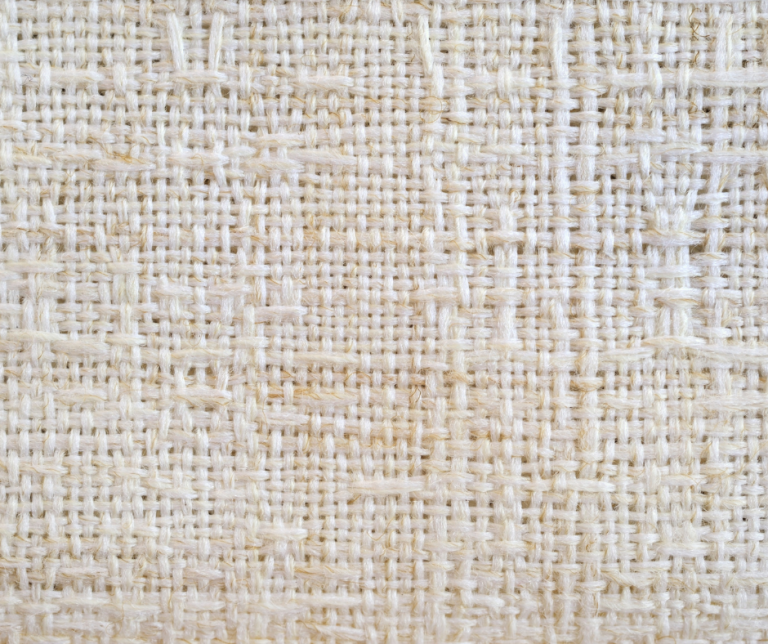
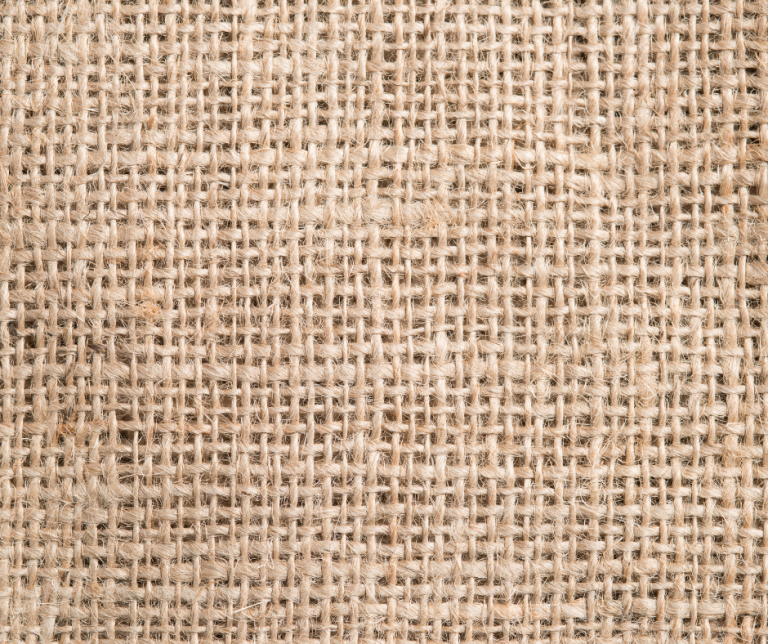
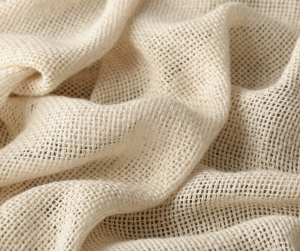
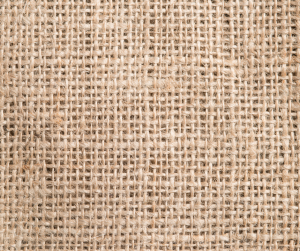
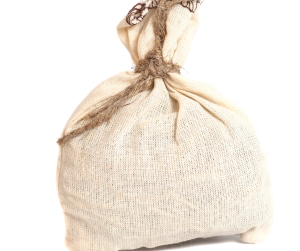
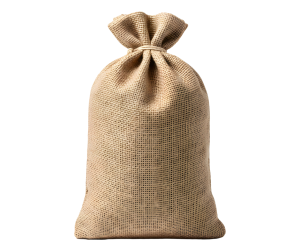
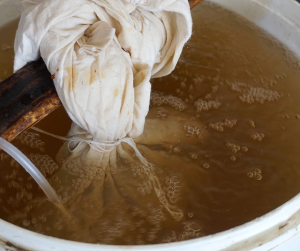
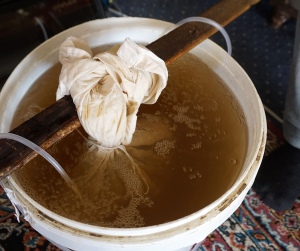
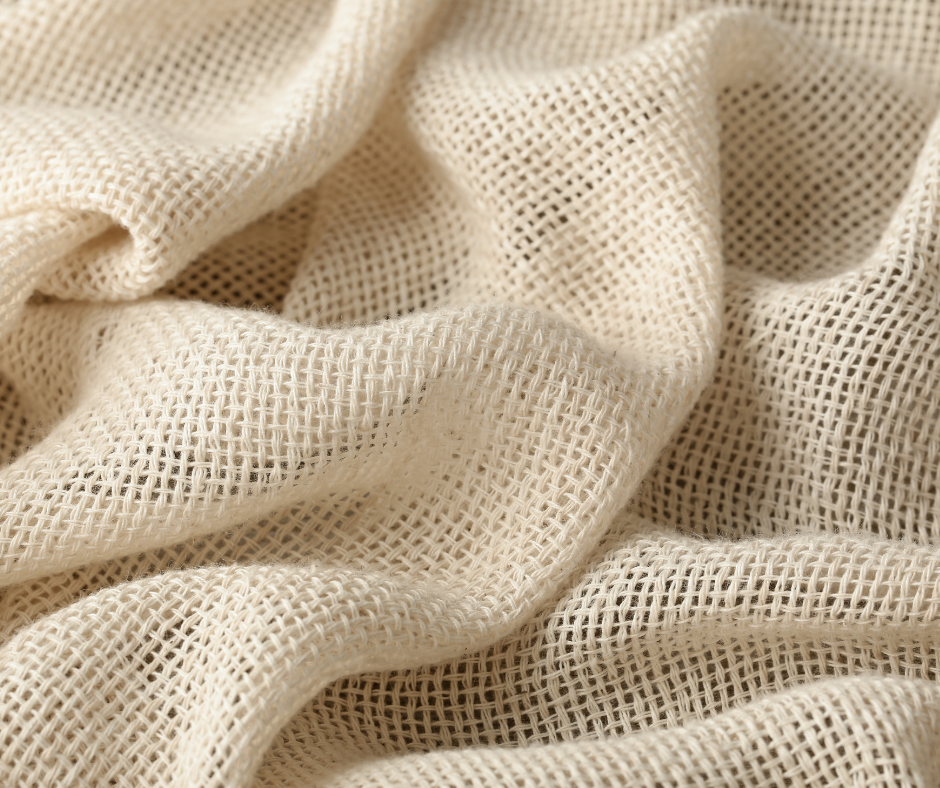
Step 1: Bag Castings
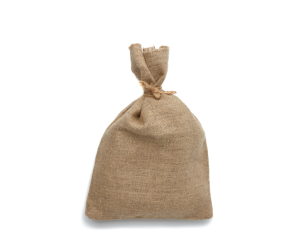
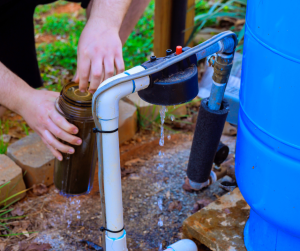
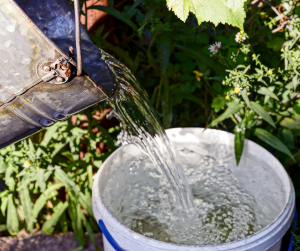
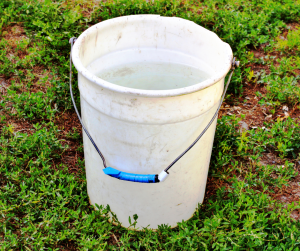
Step 2: Place Bag in Water


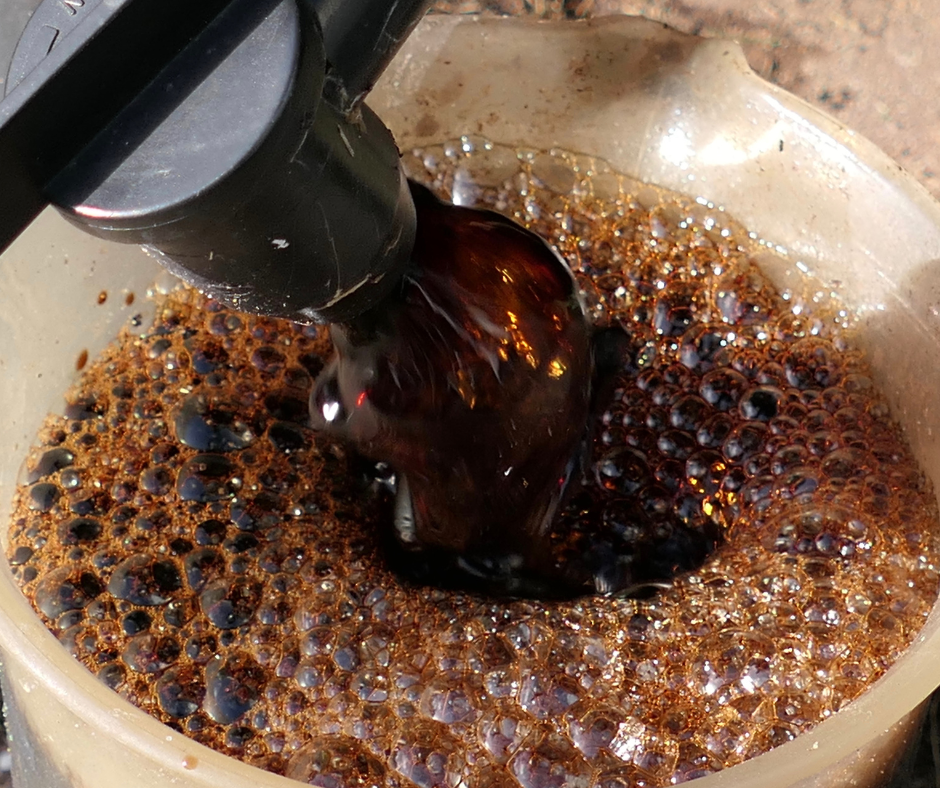
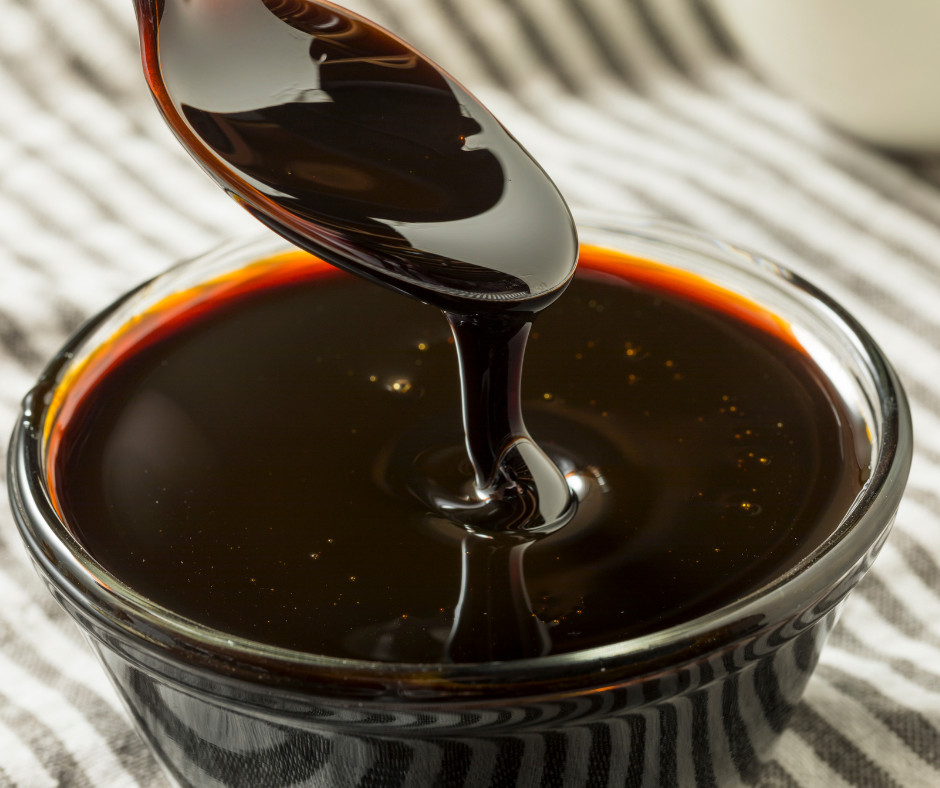
Step 3: Add Molasses (optional)
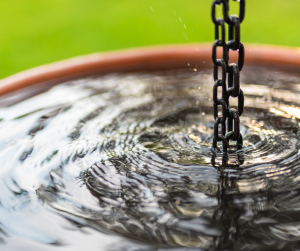
Step 4: Aerate

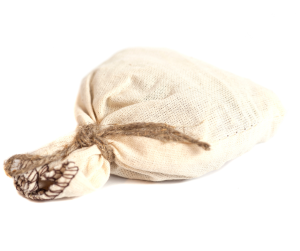
Step 5: Remove Bag
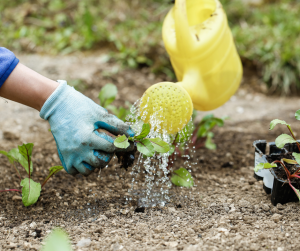
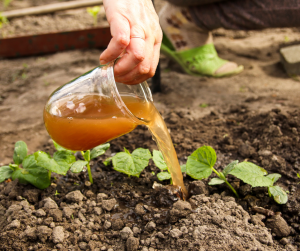
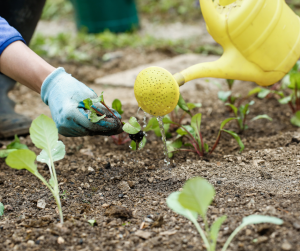
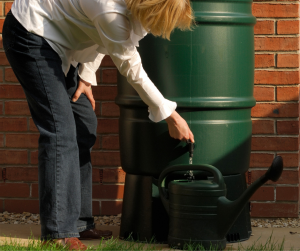
Step 6: Use Immediately
Step 7: Clean the Bag