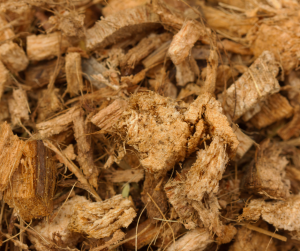

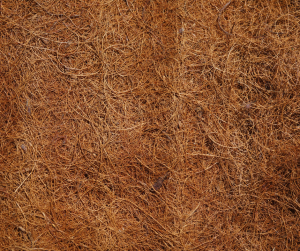


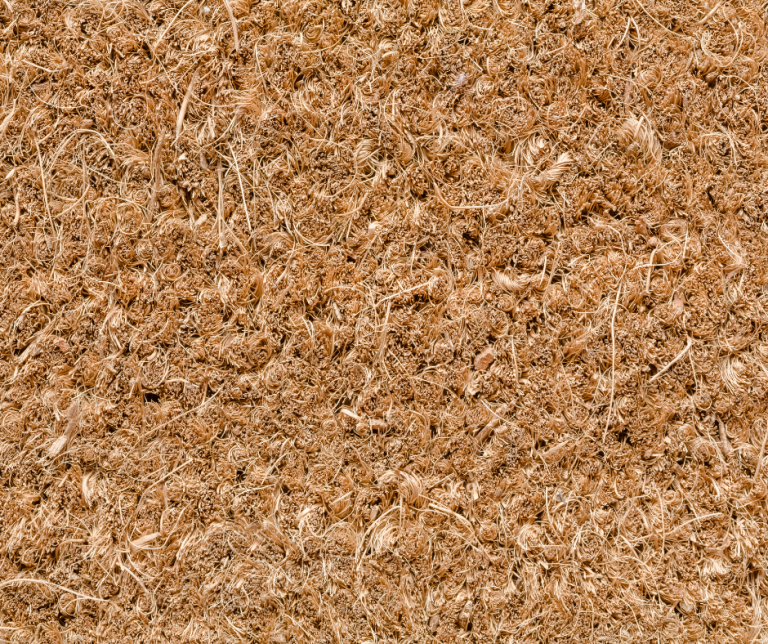
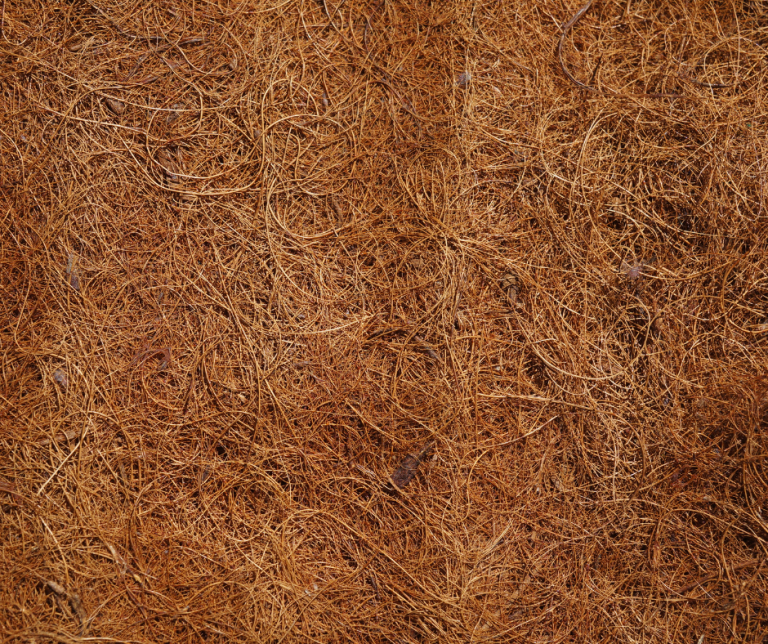


Coconut Coir Options:

Recommended Suppliers:
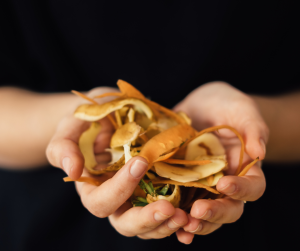

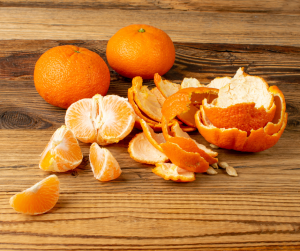
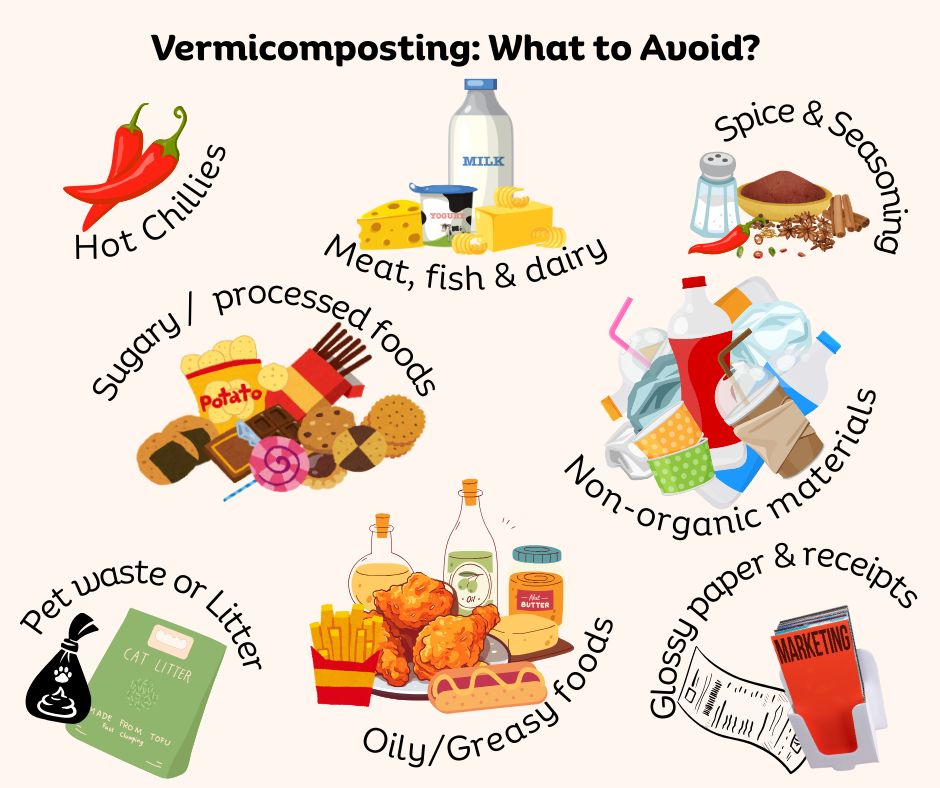
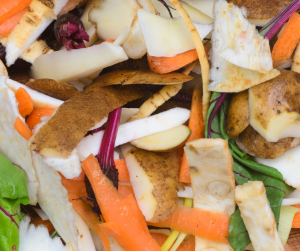
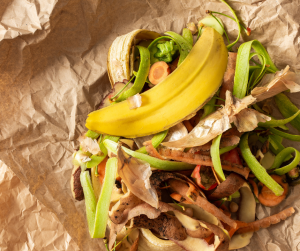
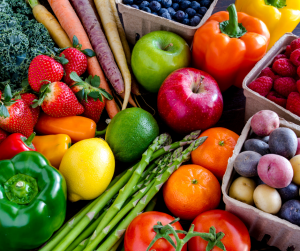
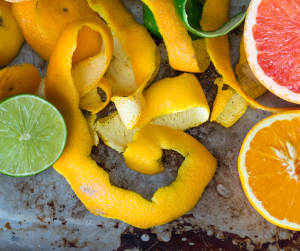
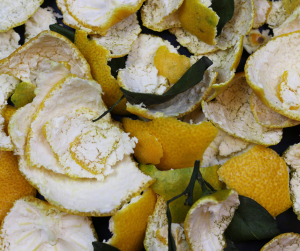
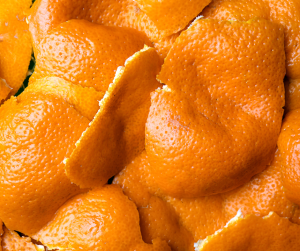
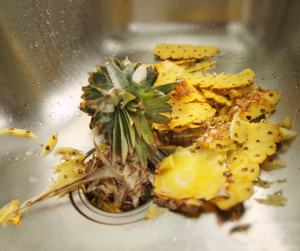
Citrus Peels

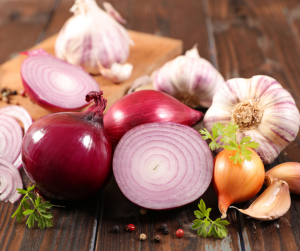
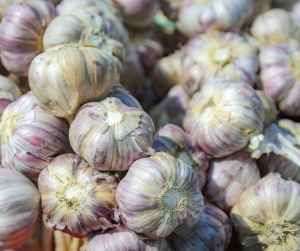
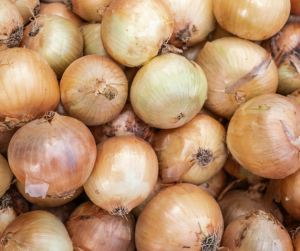
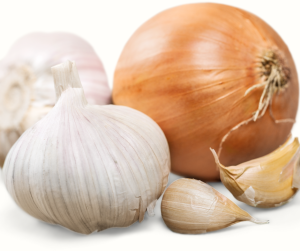
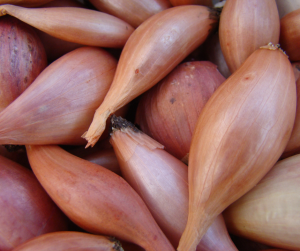
Onion & Garlic Scraps

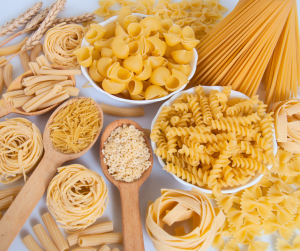
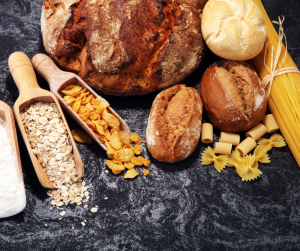
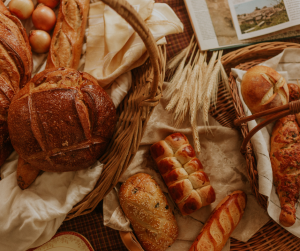
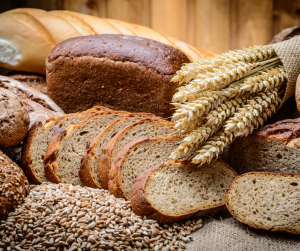
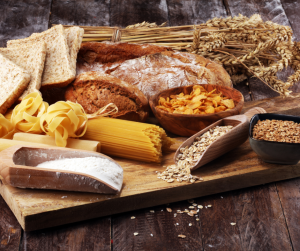
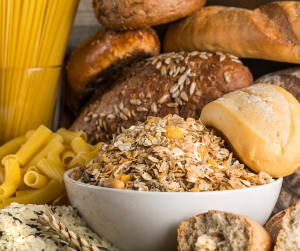
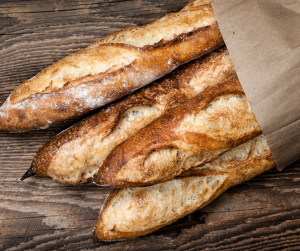
Bread, Pasta & Grains

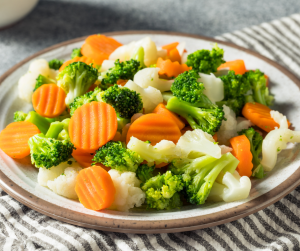
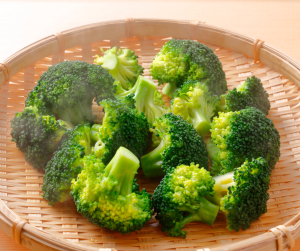
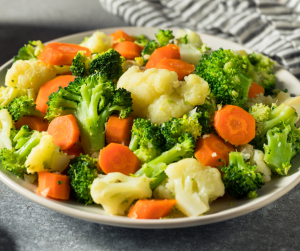
Cooked Vegatables

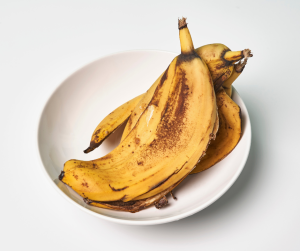
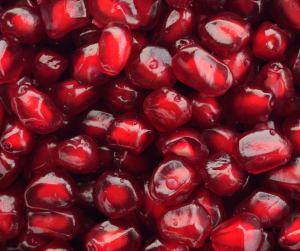
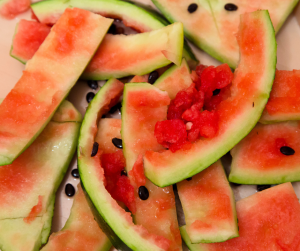
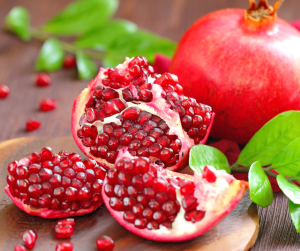
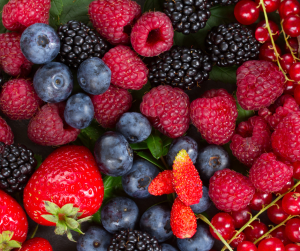
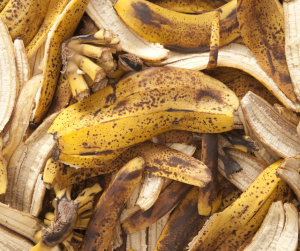
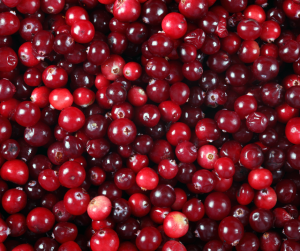
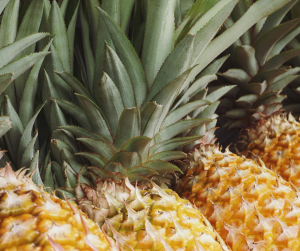
Certain Fruit Scraps
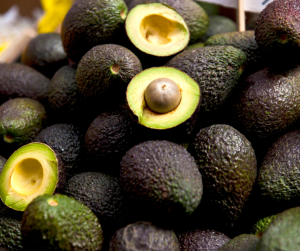
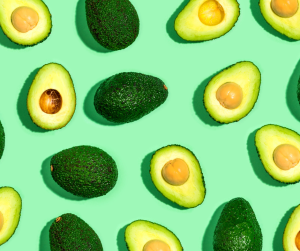
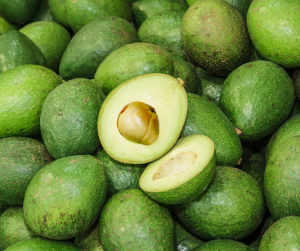
Avocado Scraps
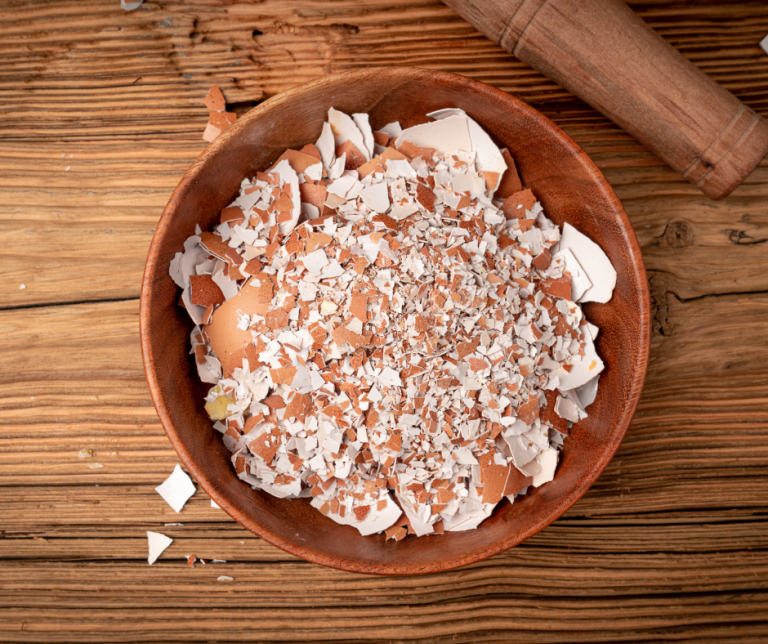
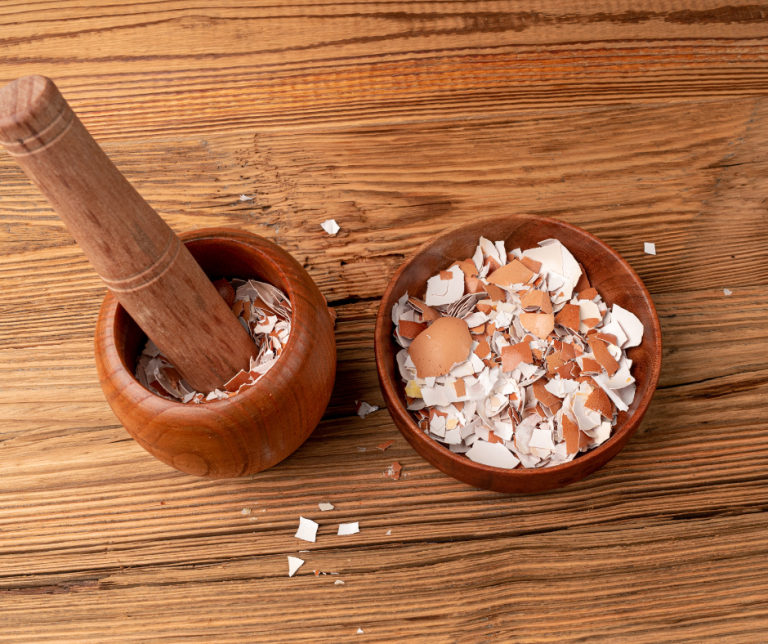
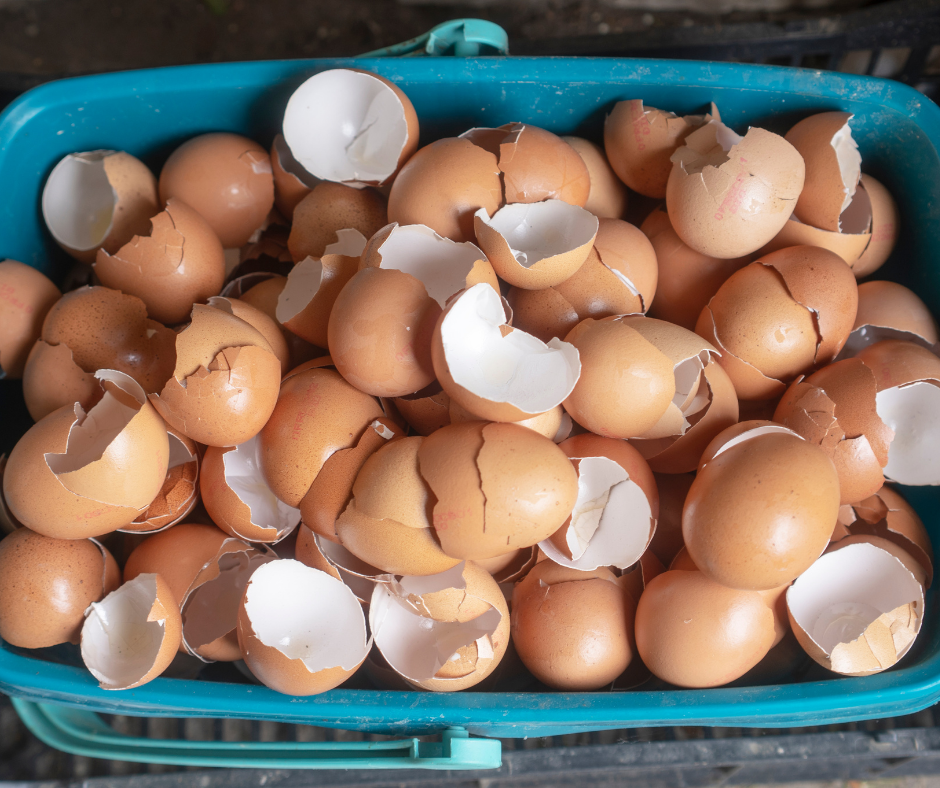
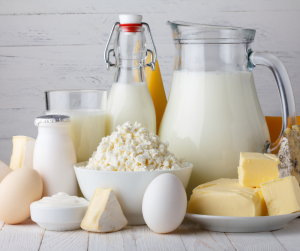
 Crushed Eggshells are the top choice for grit in your worm bin. They’re rich in calcium, fully compostable, and a fantastic way to recycle kitchen waste. To prepare eggshells for your bin: rinse thoroughly, dry completely, then crush into a fine, grit-like powder. This helps worms grind their food more effectively and supports healthy digestion
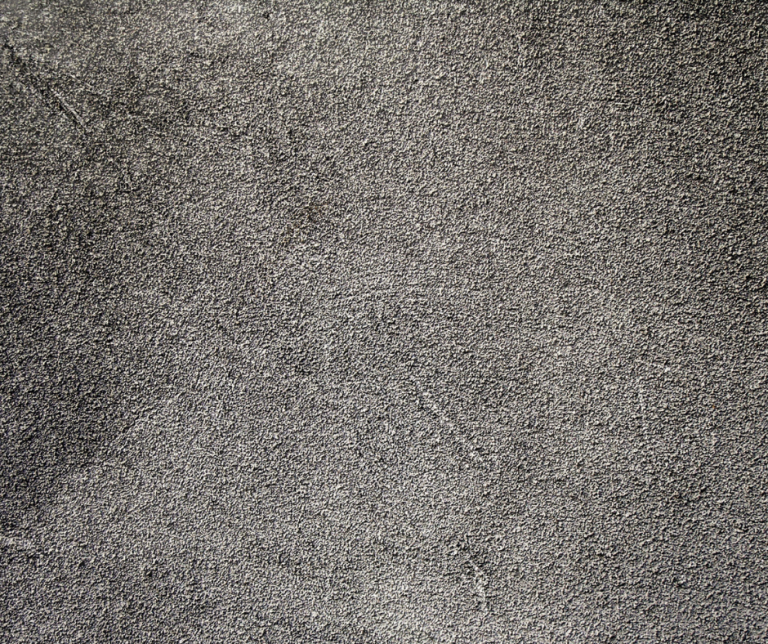
 No Eggs? No Problem!
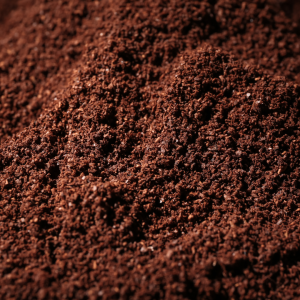
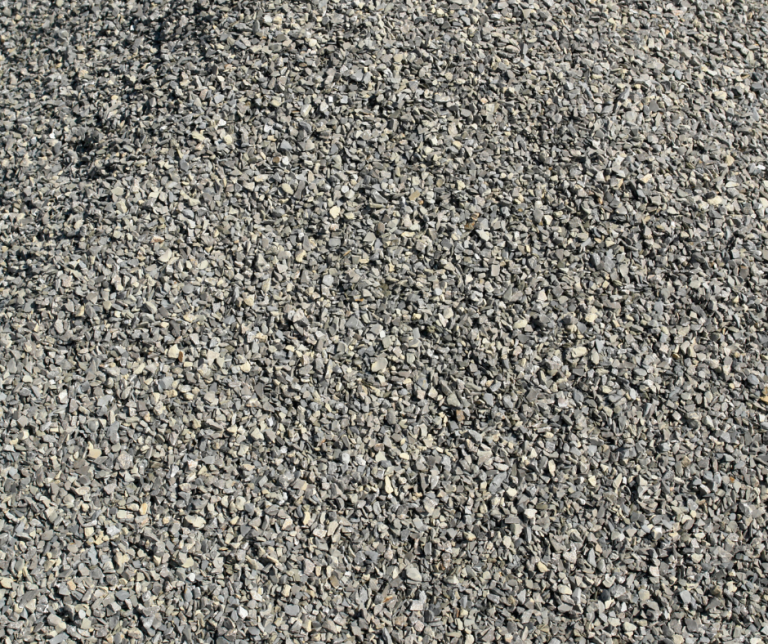
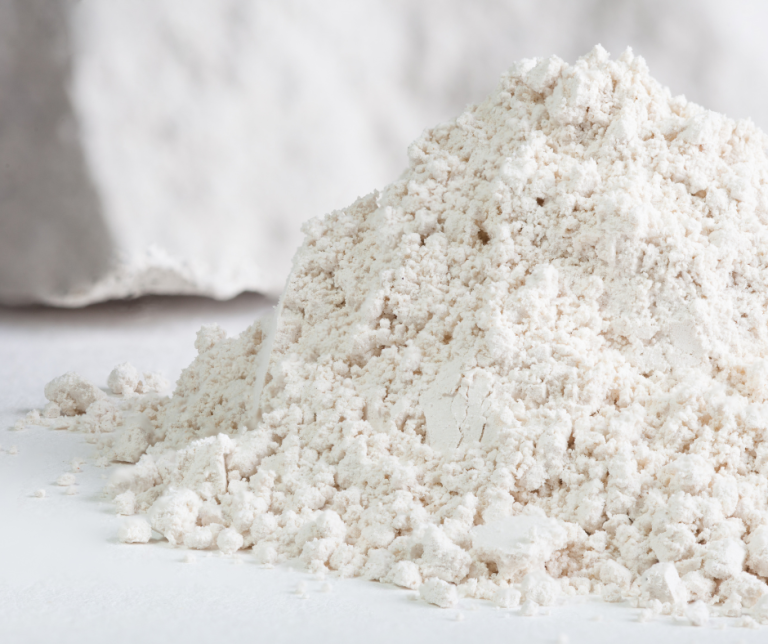
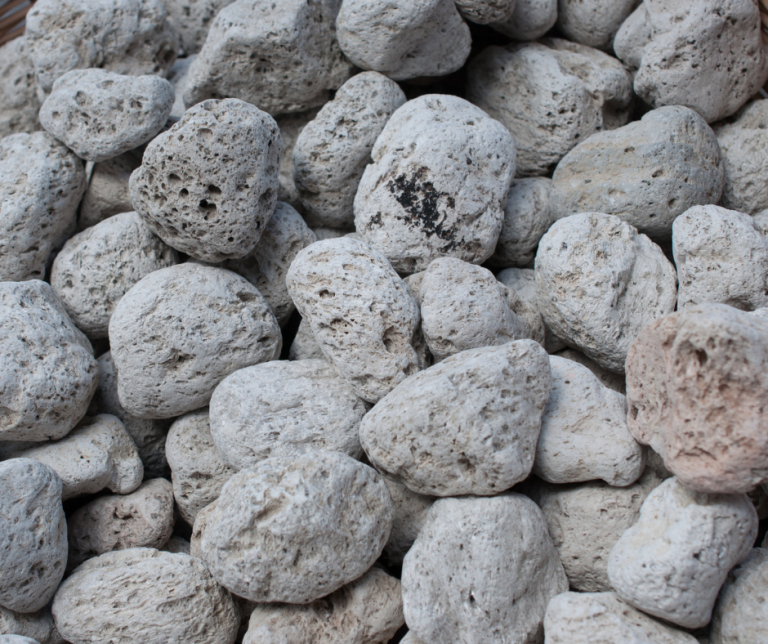
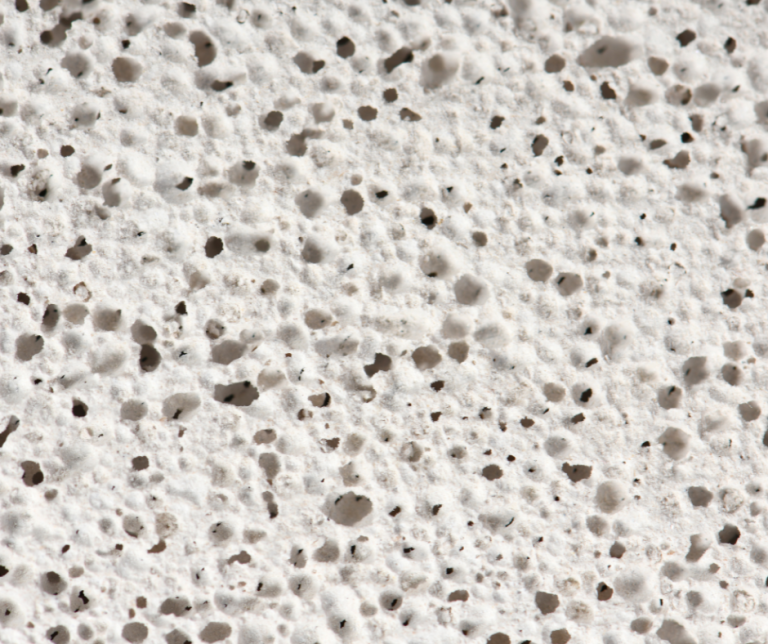
If you prefer, you can also purchase alternatives like horticultural grit, rock dust, or mineral dusts to aid worm digestion and enrich your bin.
These options are explored in more depth in Section 8: Optional Extras.