


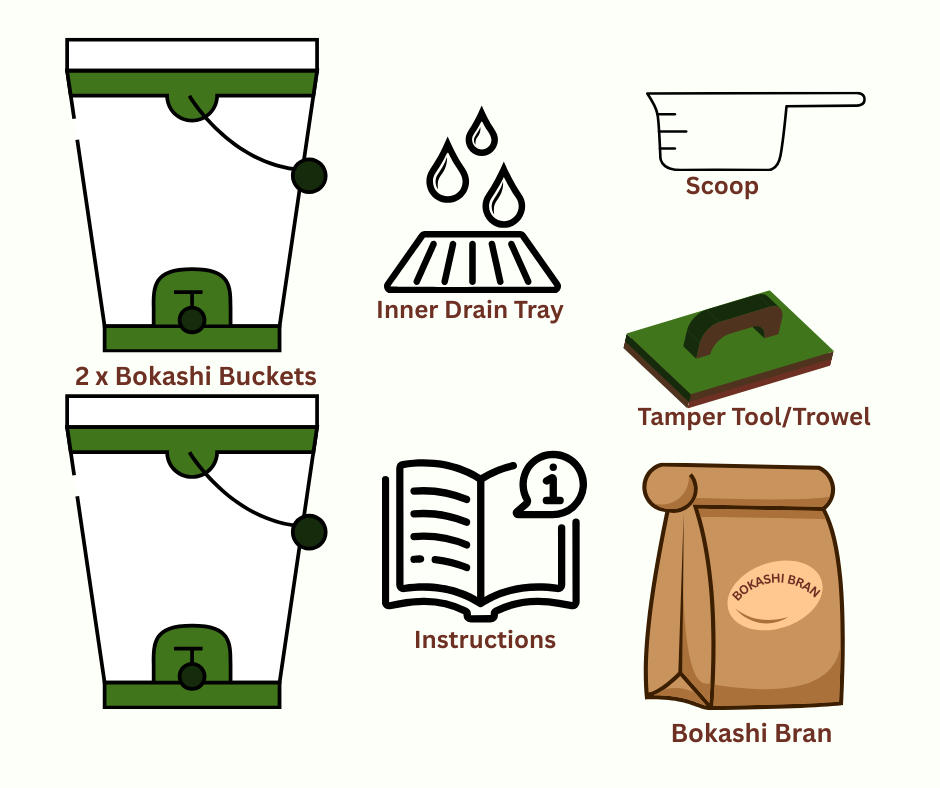
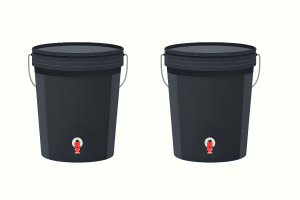


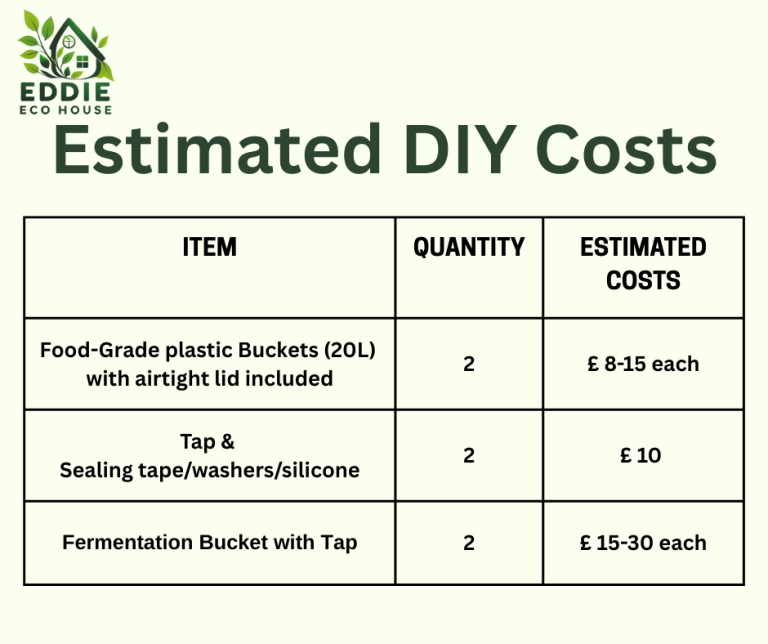
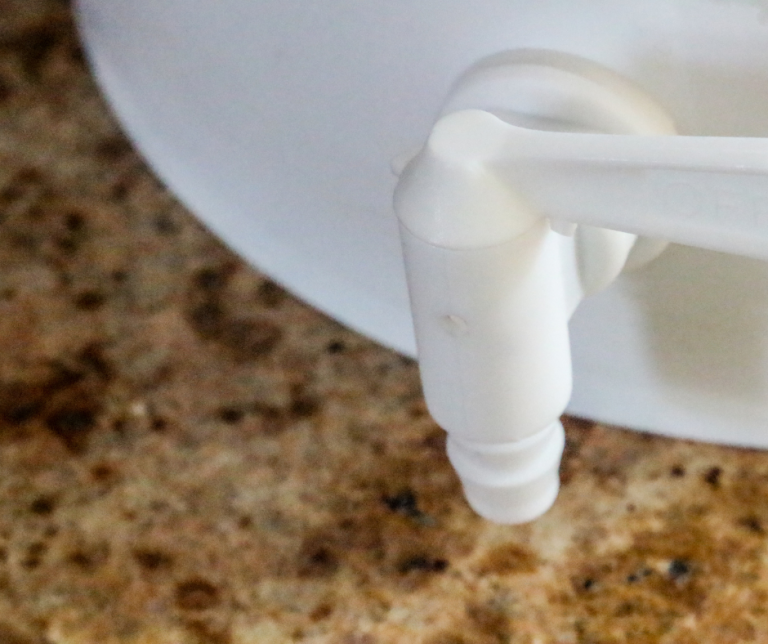
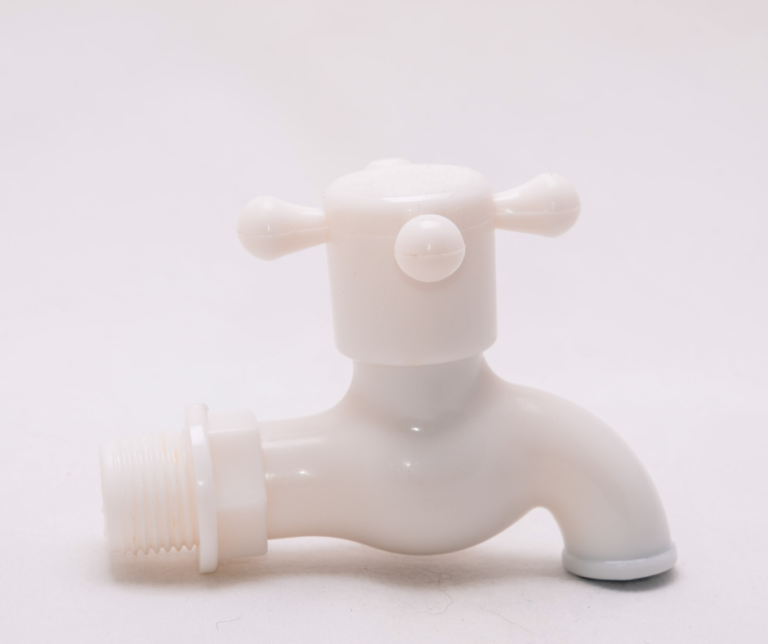
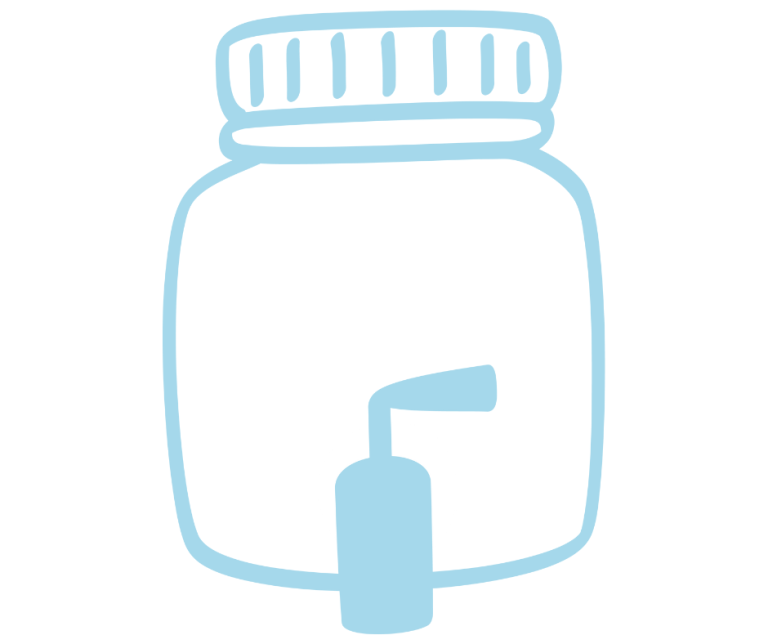
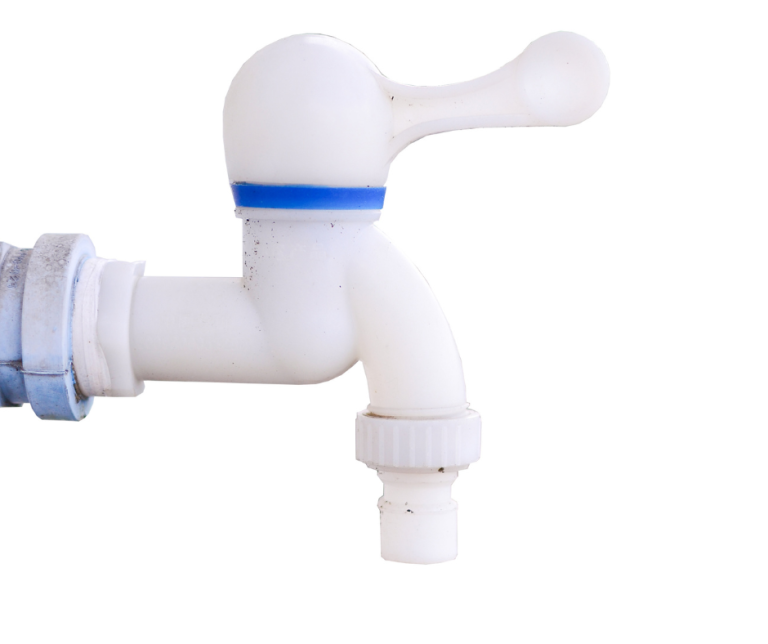
DIY Approach - Tap & Bucket
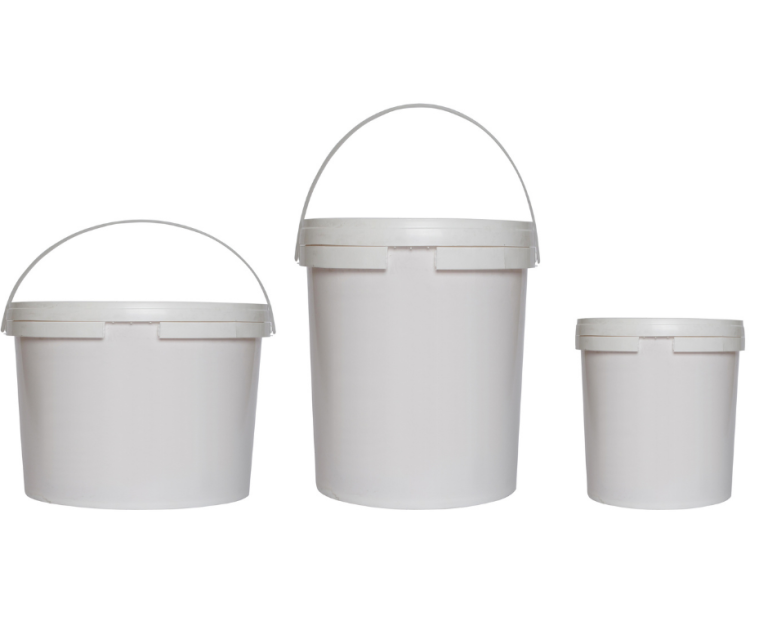


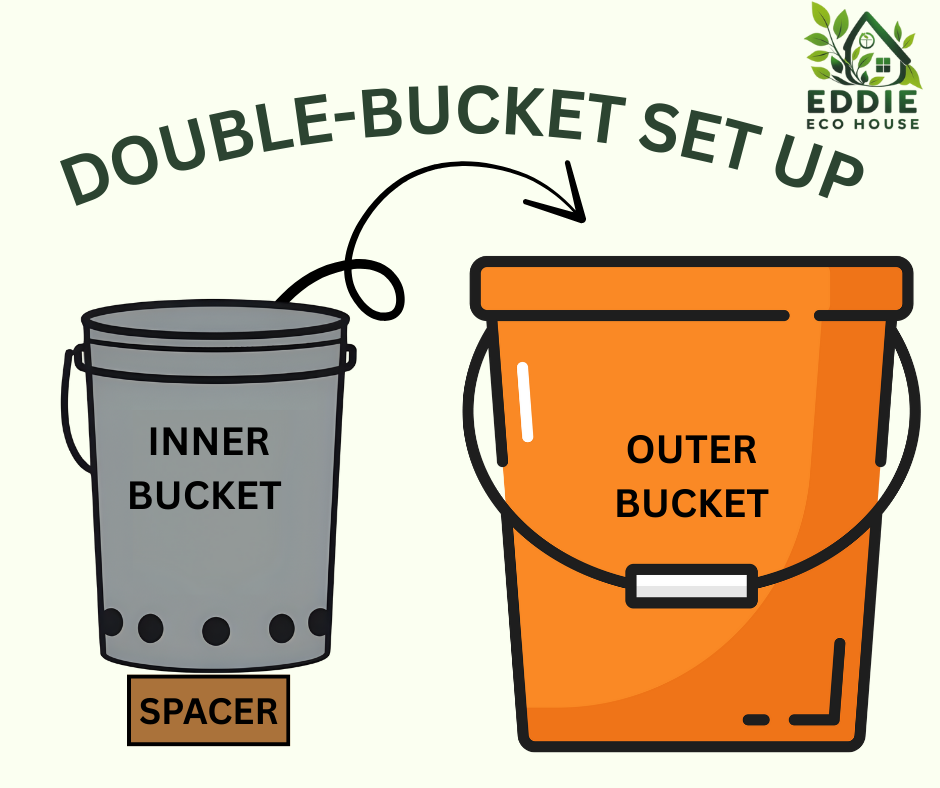
DIY Approach - Double-Bucket


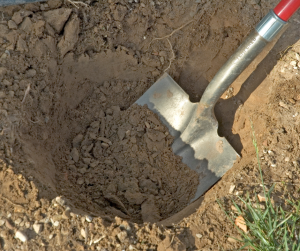
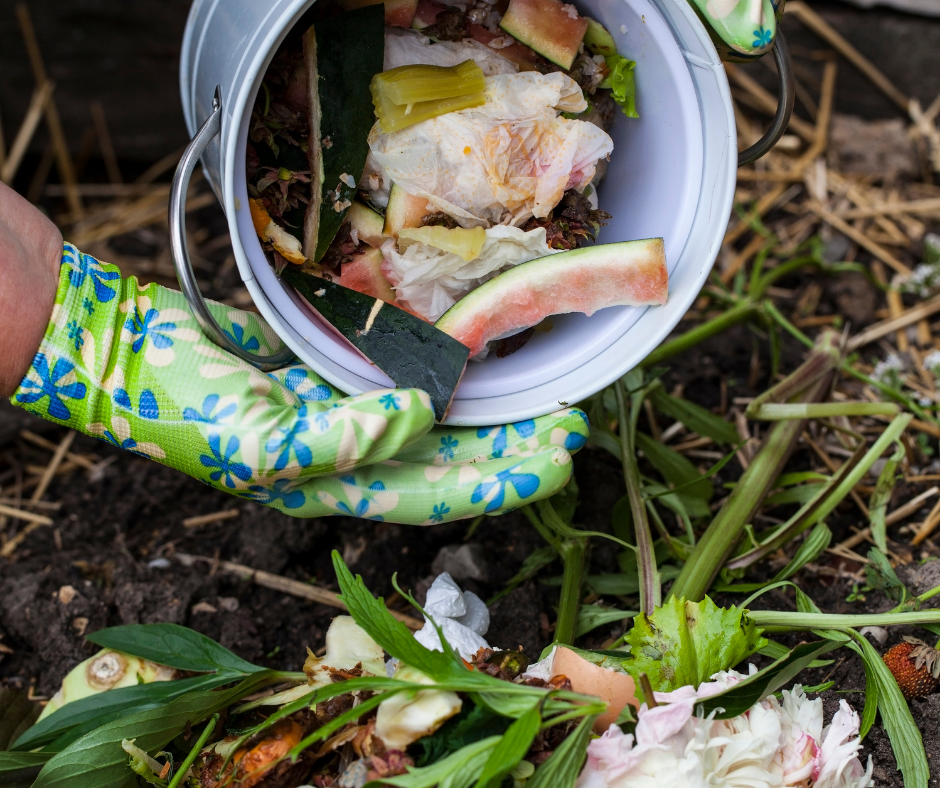
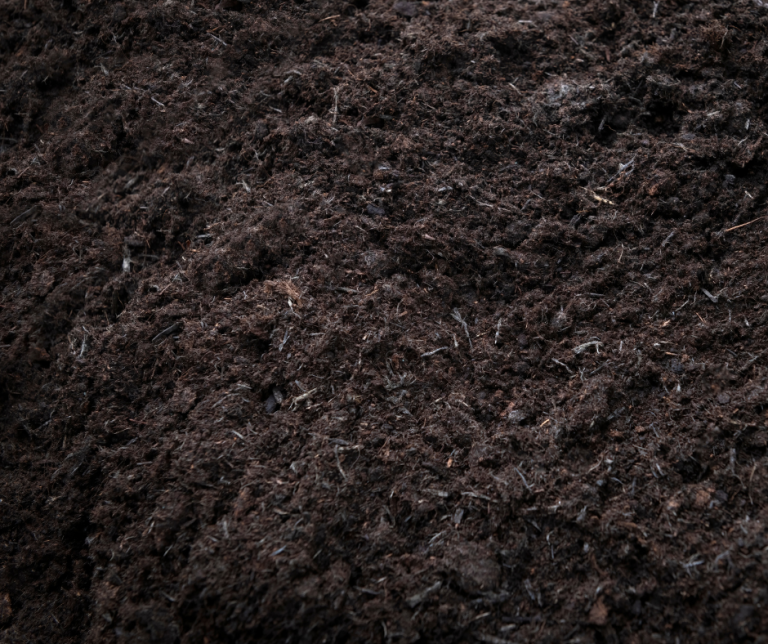
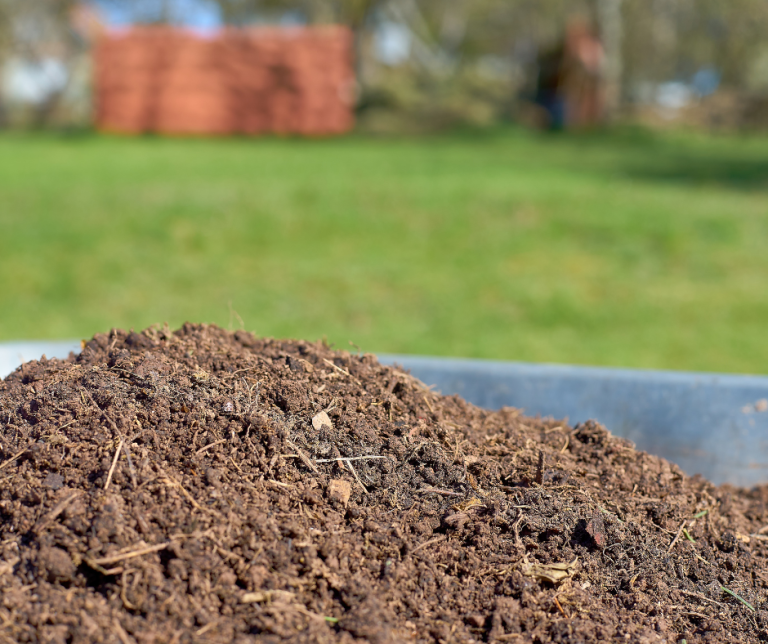
Option 1: Trench Method
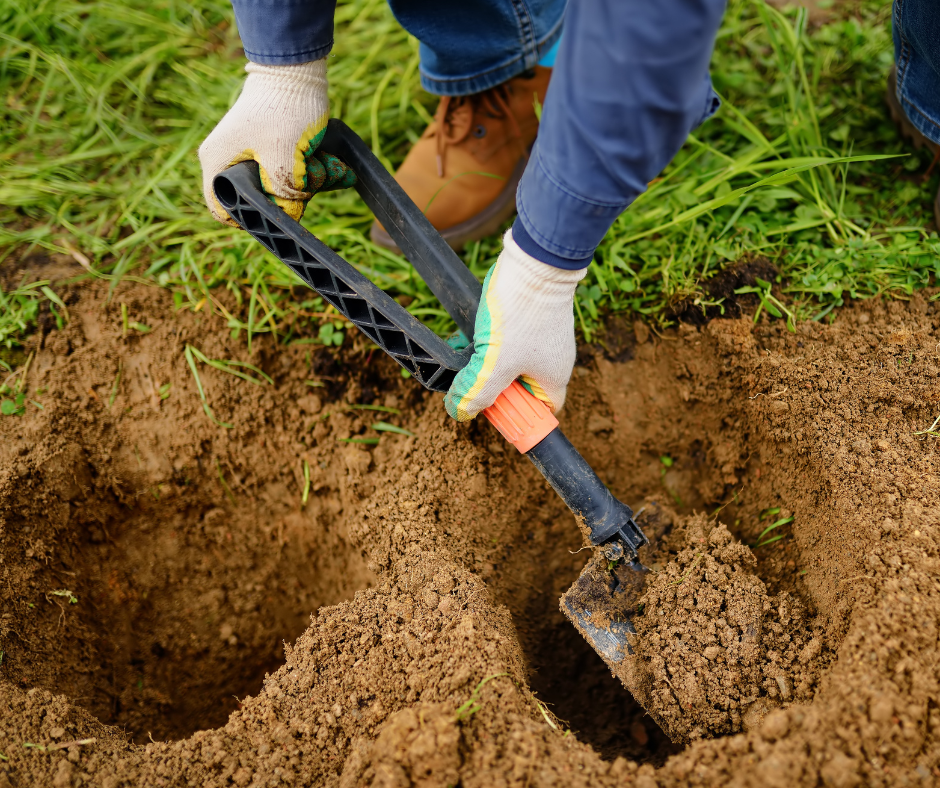
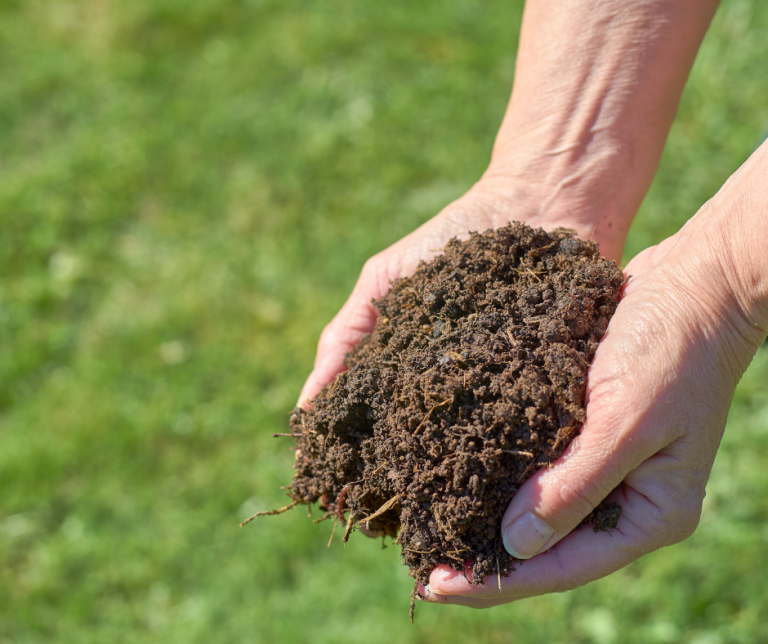
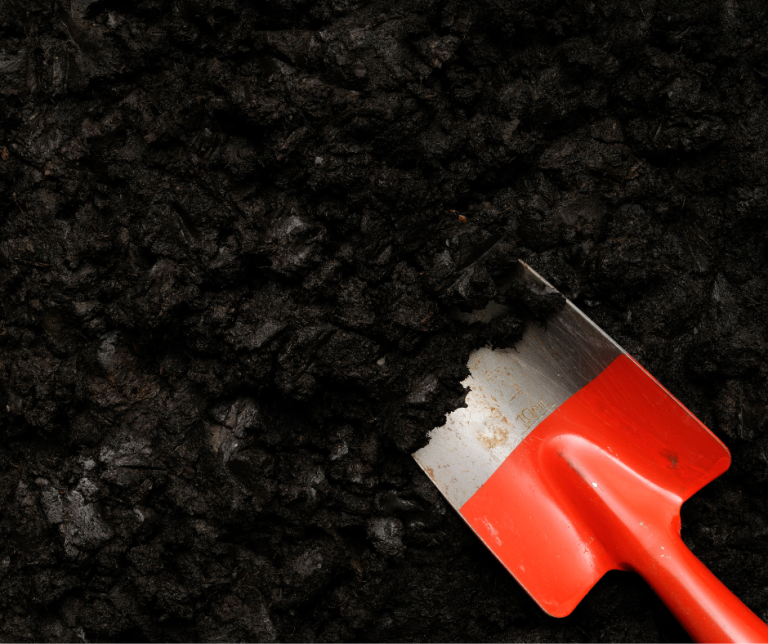
Option 2: Multiple Holes
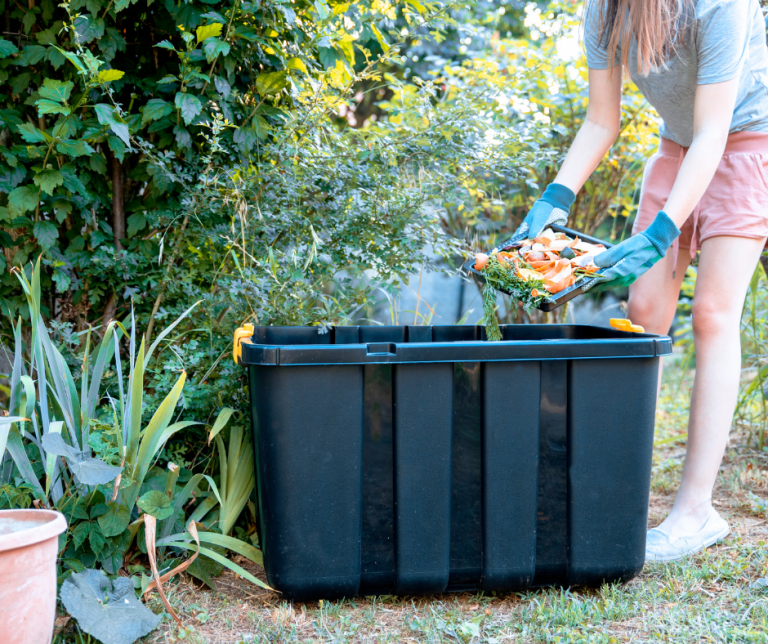
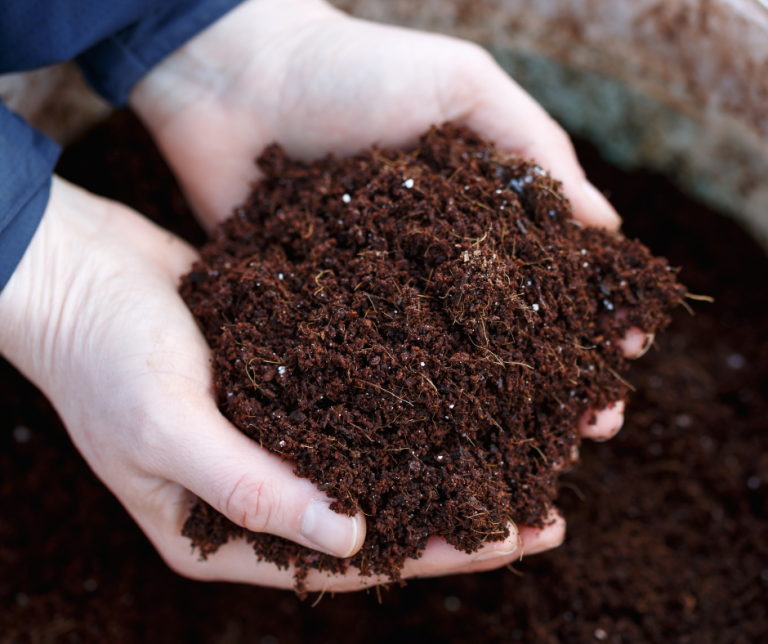
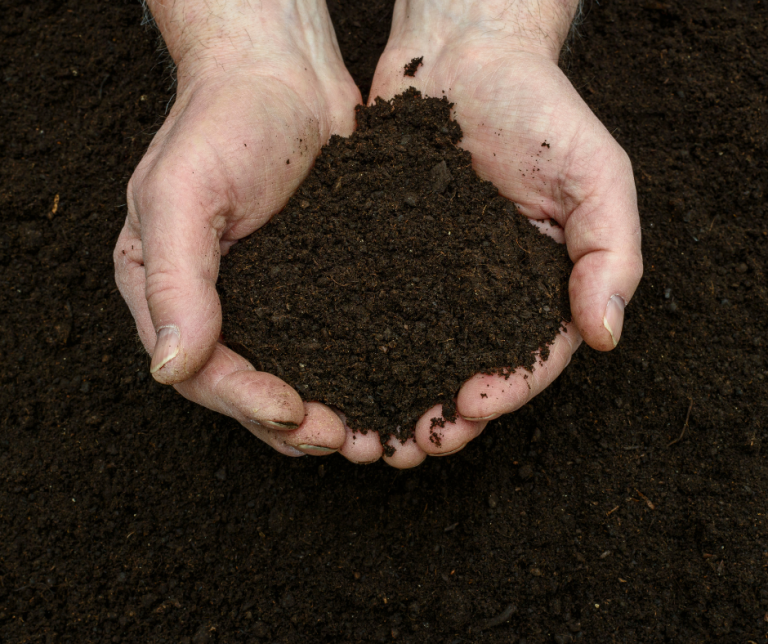
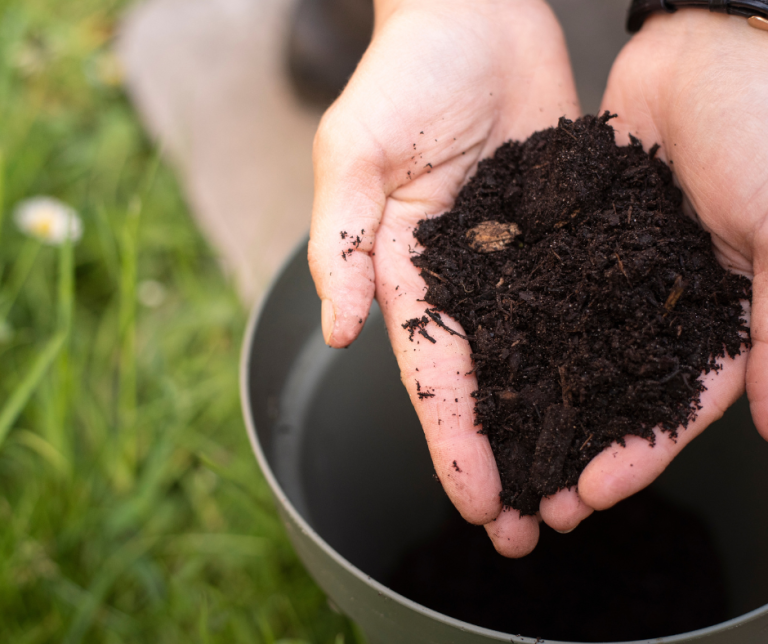
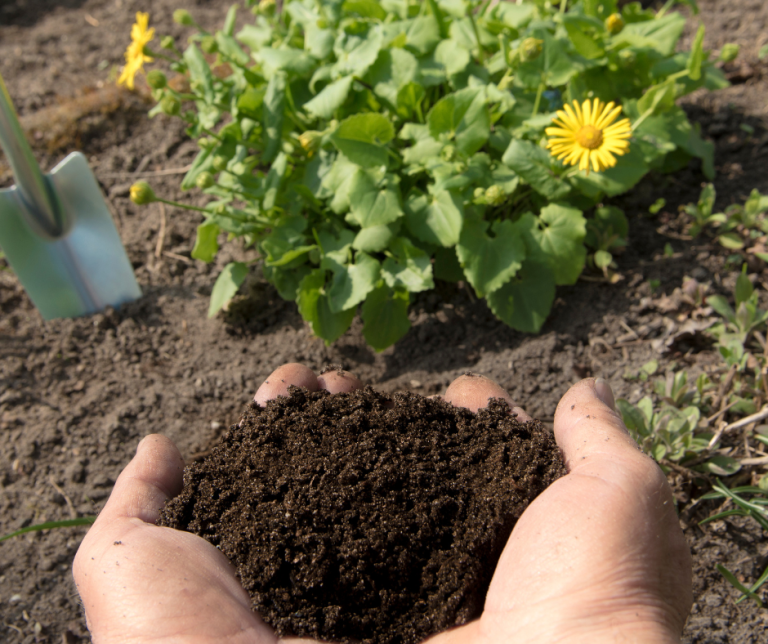
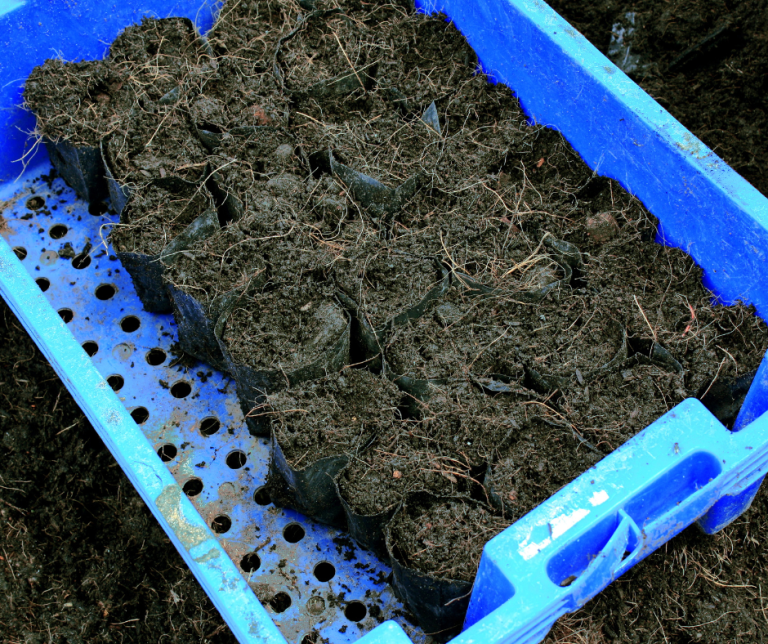
Option 3: Container Soil Enrichment
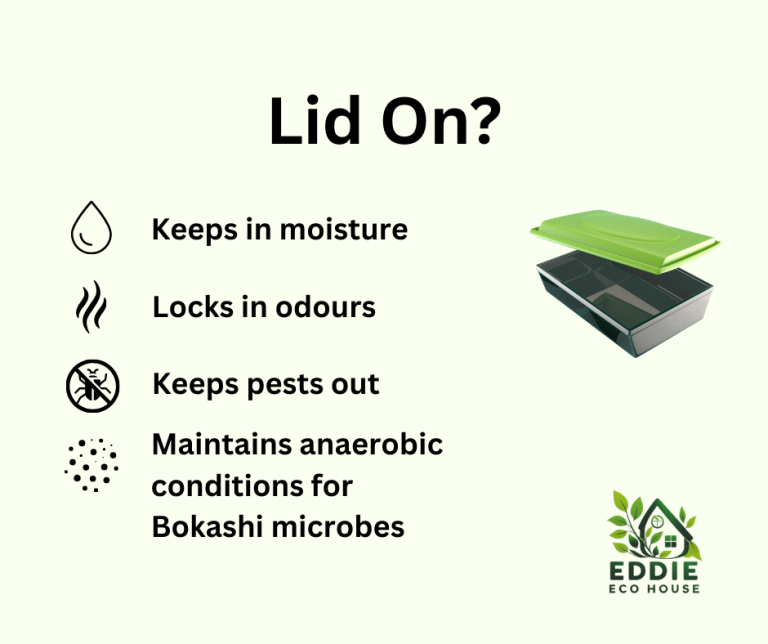


Bad Odour?

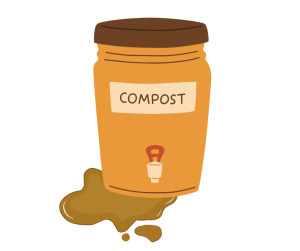
Leachate Overflow?

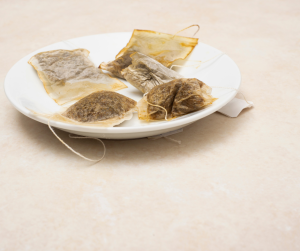
Mould Growth?

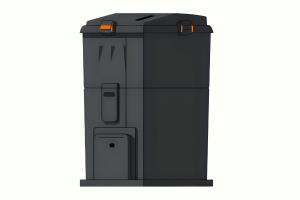
Leaking tap on Bokashi Bin?


The product display was implemented using the affiliate-toolkit WordPress plugin.
