


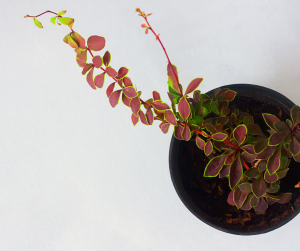


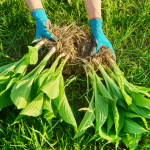
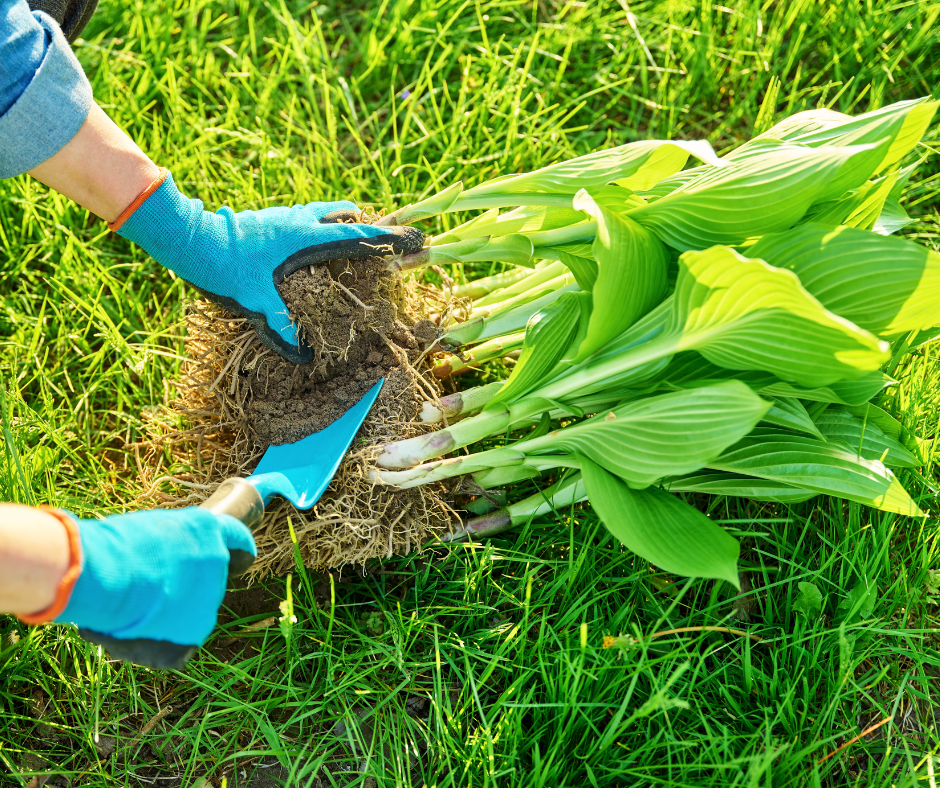
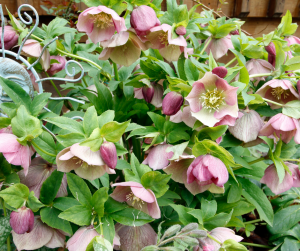
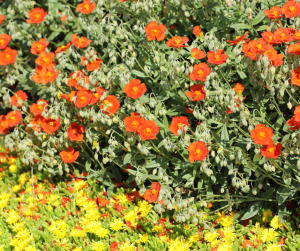
How to Divide Your Herbaceous Perennials


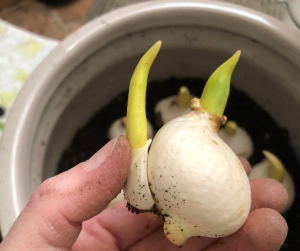
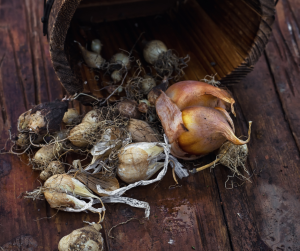
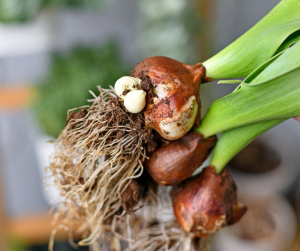
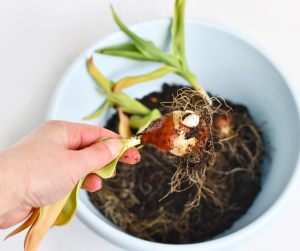
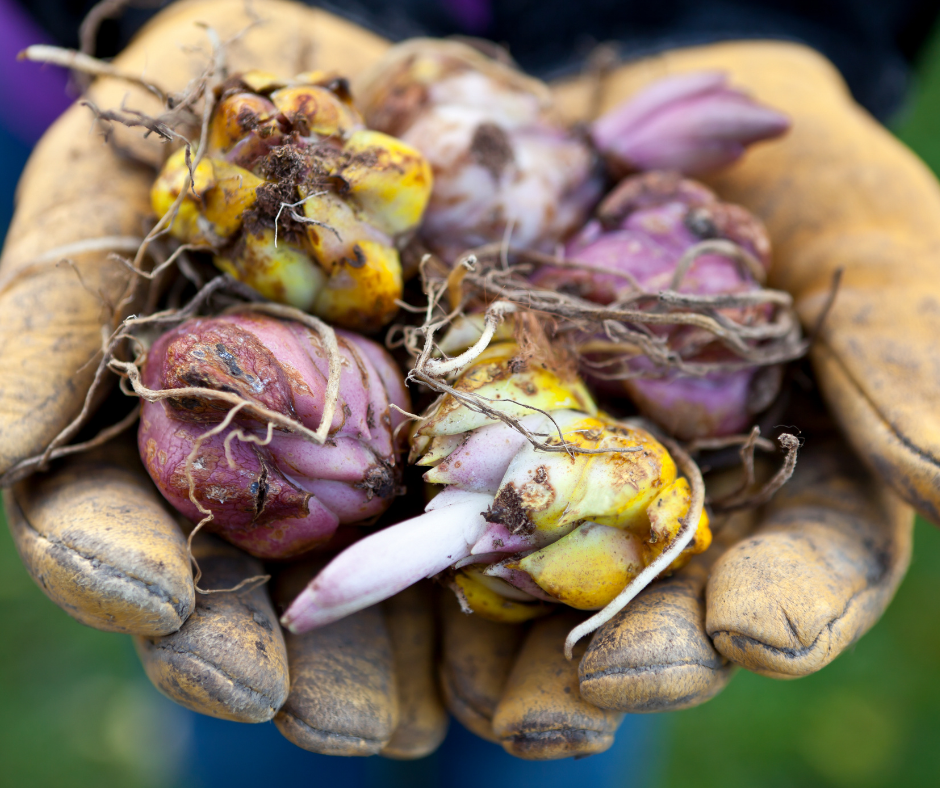
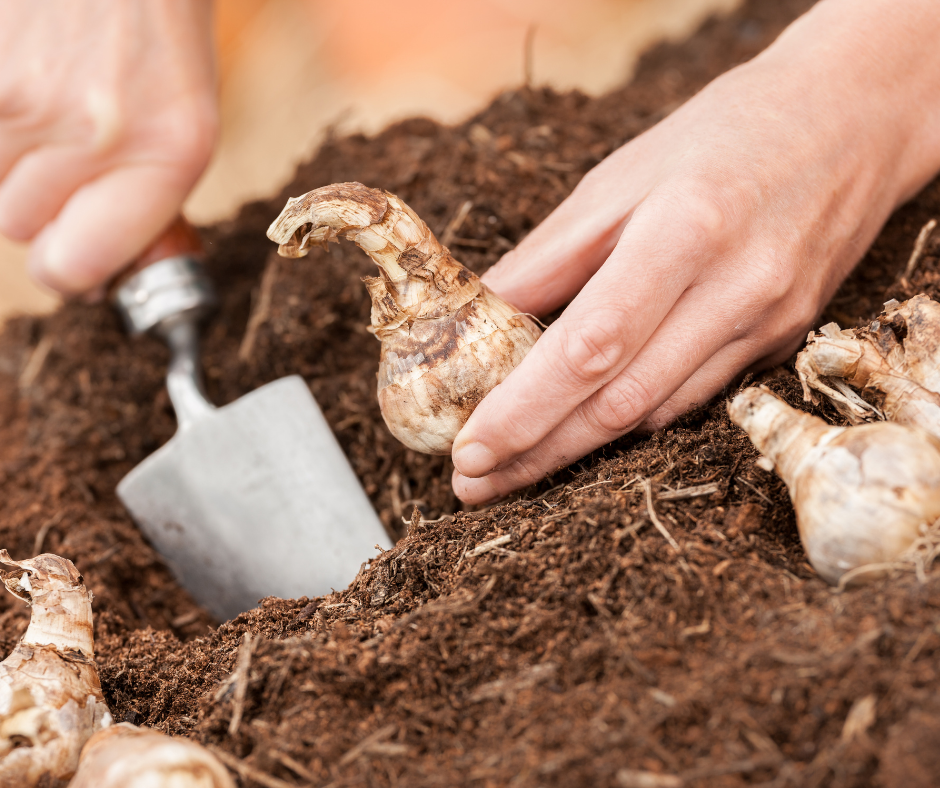
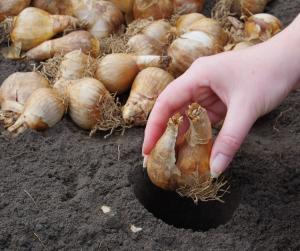
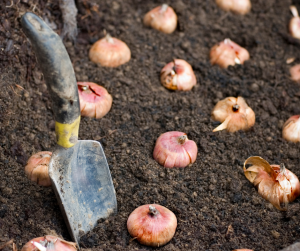
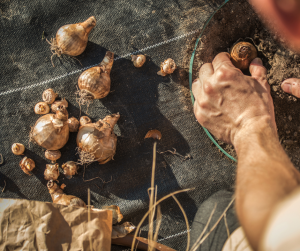
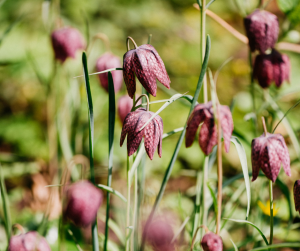
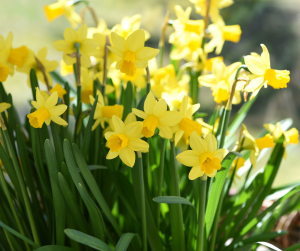
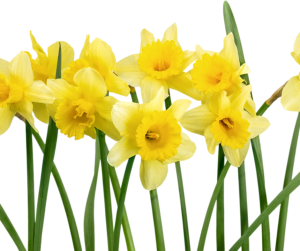
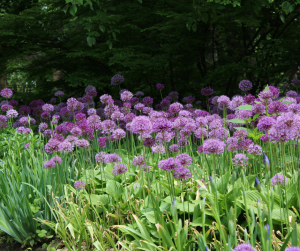
How to Divide Bulbs
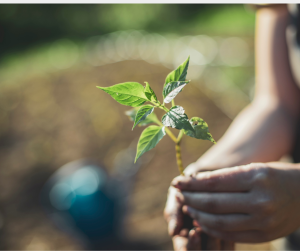
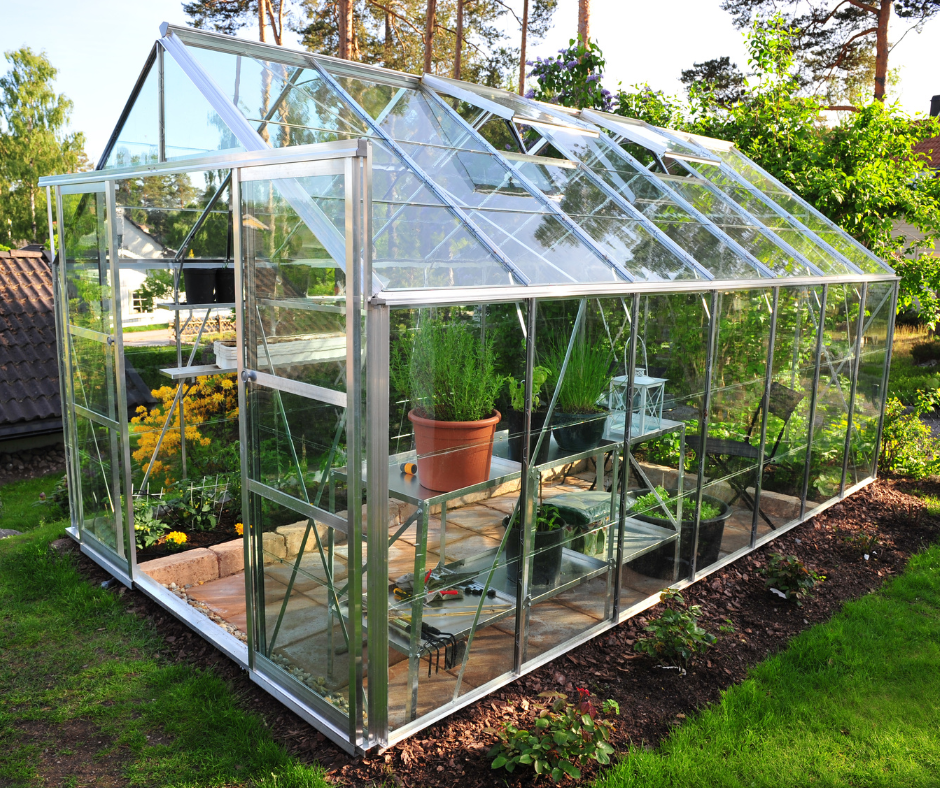
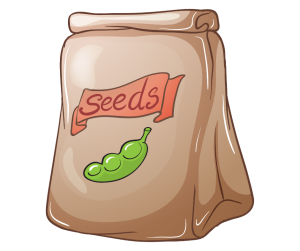
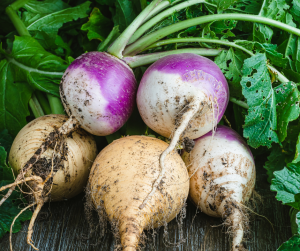
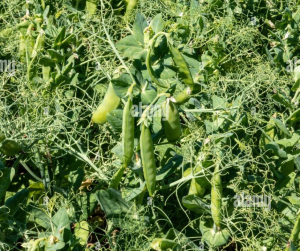
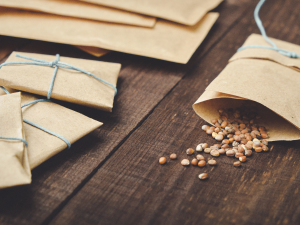
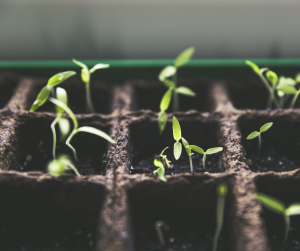
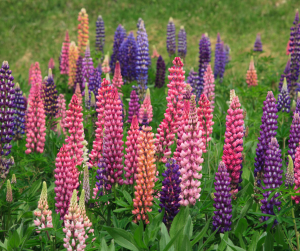
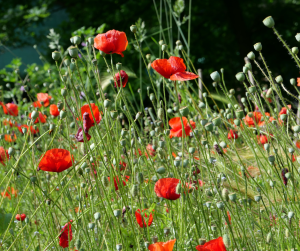
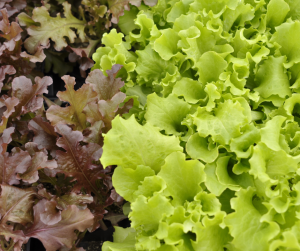
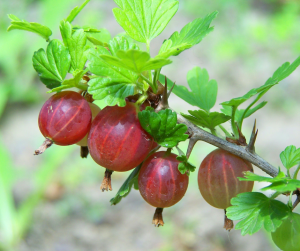
 Seed Sowing in September
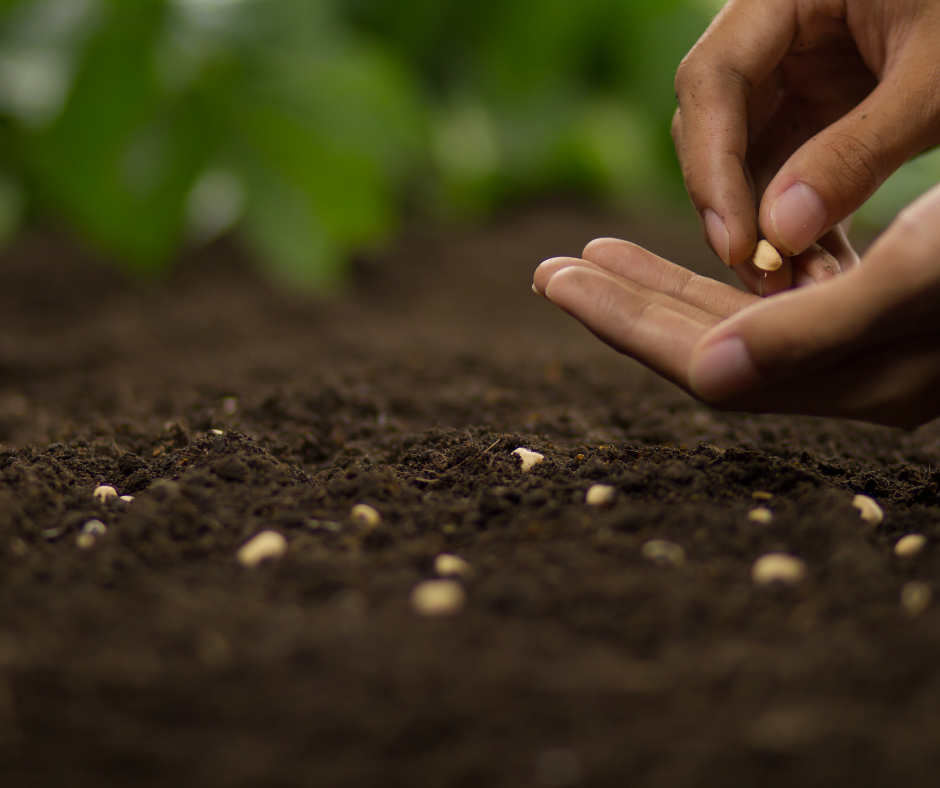
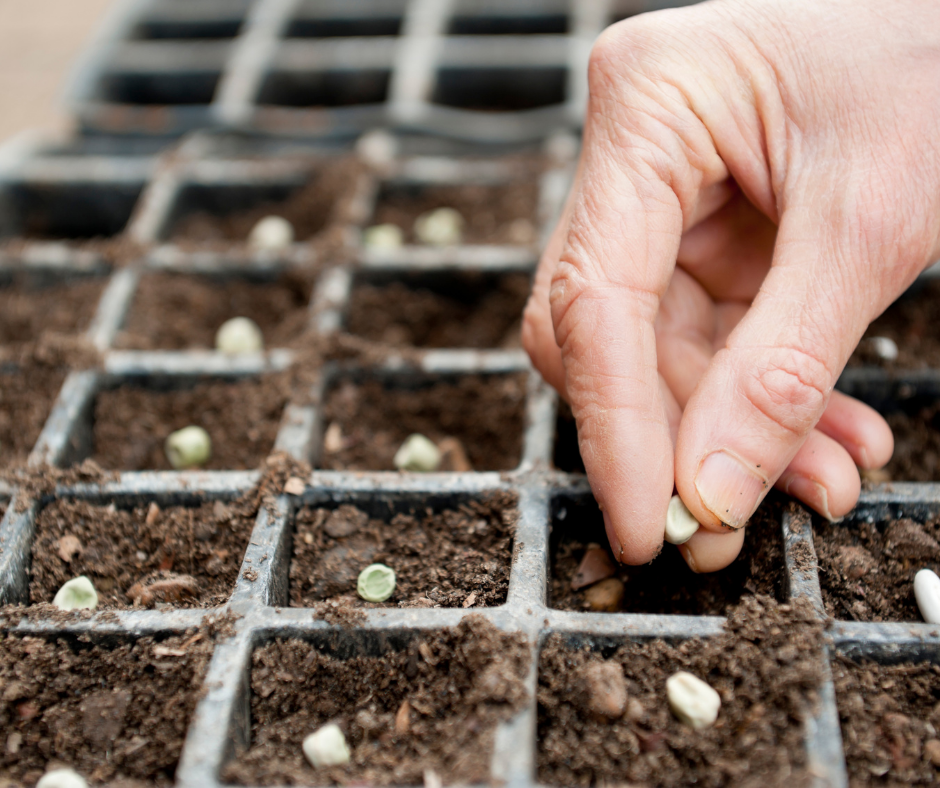
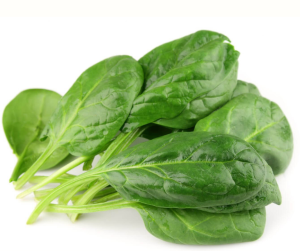
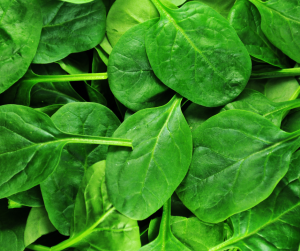
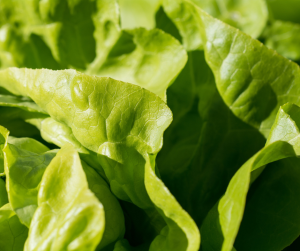
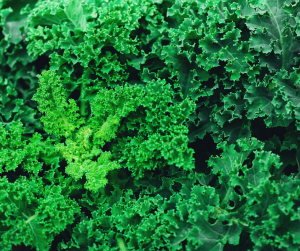
September is a prime time to sow hardy perennials, biennials, and winter greens — warm soil and cooler air create ideal conditions for strong, steady growth. Whether you’re planning spring blooms or winter crops, sowing now sets your garden up for success.
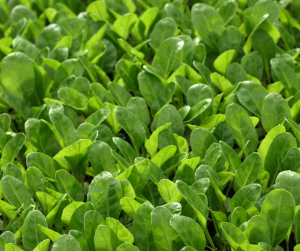
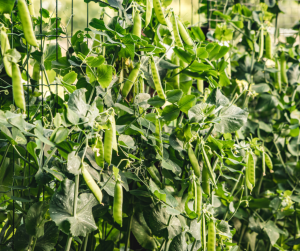
Direct Sowing
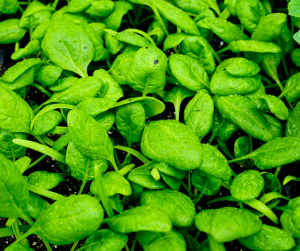
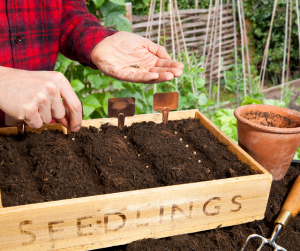
Module Trays
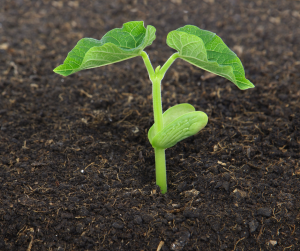
Under Cover
Planting Cloves or Sets

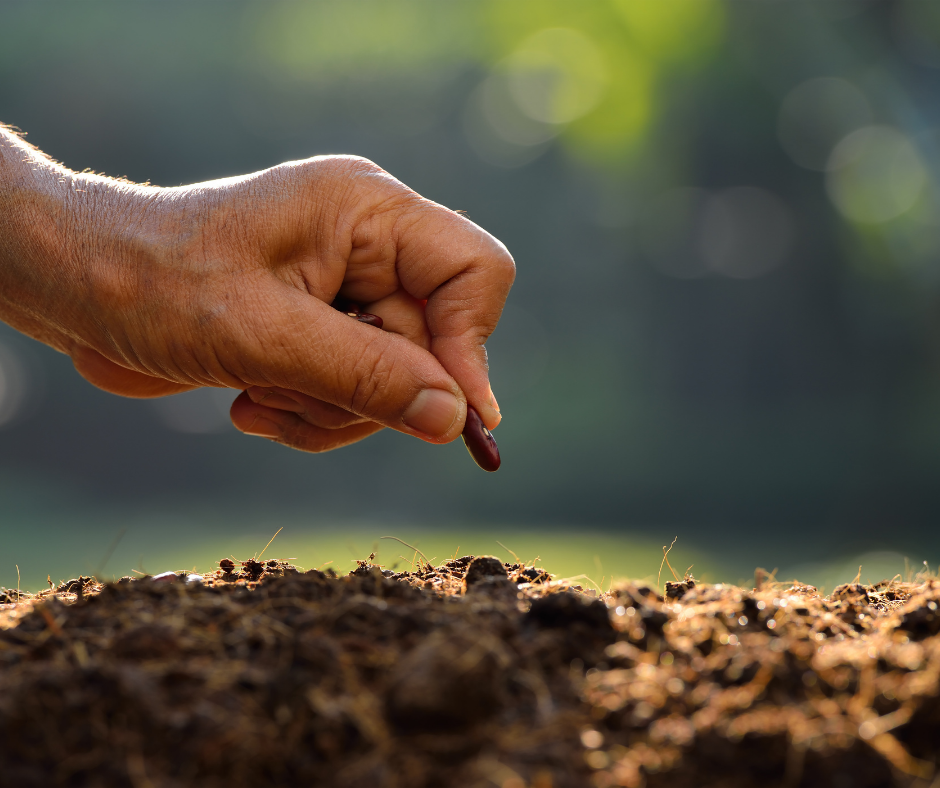
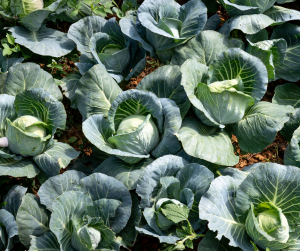
Direct Sowing
Module Trays
Under Cover


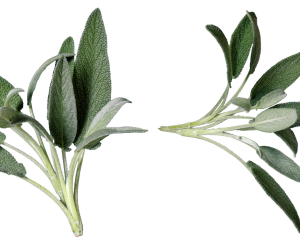
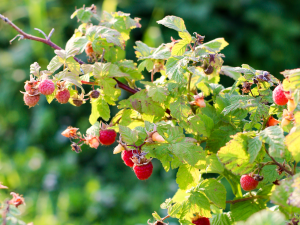
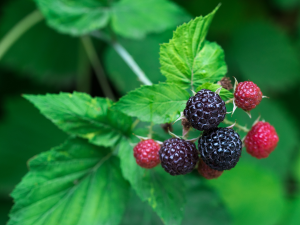
Simple Layering Method

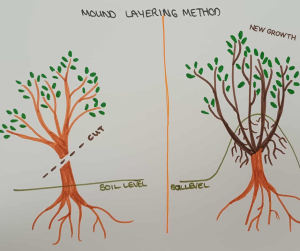
Mound Layering Method

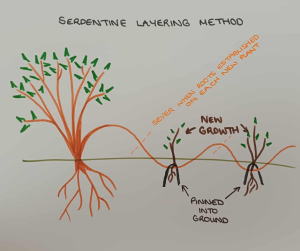
Serpentine Layering Method

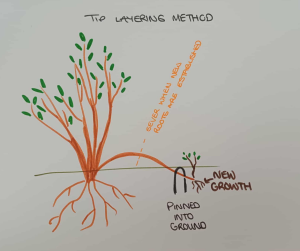
Tip Layering Method


Our McQueen Dairies Milk Delivery
Our McQueen Dairies Milk Delivery A Little Change That’s Made Life Easier One small switch we’ve made recently is getting our milk delivered by McQueen
Mother’s Day 2026
🌷 Mother’s Day at Eddie Eco House Celebrate the mums, grandmas, step‑mums, mother figures and everyday heroes who bring light, comfort and joy to our days

Bamboo: What’s the Big Deal?
Want to know more about bamboo and why it’s a great alternative to plastic? Discover how this fast-growing, biodegradable material offers strength, versatility, and natural antibacterial properties—making it a smart choice for sustainable living.
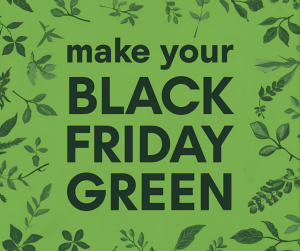
🌍 7 Powerful Sustainable Black Friday Tips: How to Shop Ethically and Joyfully
🌍 7 Powerful Sustainable Black Friday Tips: How to Shop Ethically and Joyfully Black Friday is often associated with overconsumption and waste, but it doesn’t
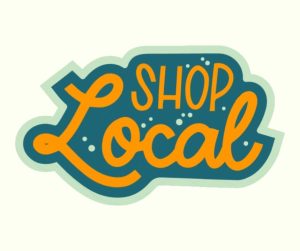
🌿 Why Buying Local Isn’t Just Nice — It’s Essential
Discover why supporting local businesses goes beyond feel-good shopping. From reducing carbon emissions and packaging waste to boosting community resilience and economic fairness, buying local is a powerful way to make a difference. Learn how choosing nearby suppliers means fresher produce, better quality goods, and real support for independent makers. Every local purchase is a vote for sustainability, vibrant high streets, and a more ethical economy.
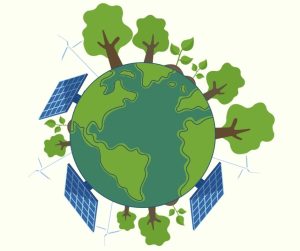
🌍 Climate Change Sceptic?
🌍 Sustainable Living Without Climate Conviction: Smart Choices for Every Consumer
Not convinced by climate change? That’s okay. You can still make eco-friendly decisions that save money, boost energy independence, and improve your lifestyle—without changing your beliefs. From solar panels and EVs to recycled materials and plastic alternatives, sustainable choices offer practical benefits like lower costs, safer products, and support for local businesses. Discover how smart consumerism can align with any worldview—because sustainability isn’t just about carbon, it’s about common sense.